Back by popular demand, the general all-things Road forum!
Moderator: robbosmans
-
amngwlvs
- Posts: 162
- Joined: Fri Apr 20, 2018 2:45 pm
- Location: Barrie, Ontario
by amngwlvs on Wed Mar 27, 2019 5:54 pm
Hey WW,
This may be a 2 part thread but input on either or both questions would be appreciated!
A) I've been considering trying to clean up the front end of my TCR Disc by going with a bar end Di2 Junction box on the right drop and internally routed bars (Pro Vibe and Pro Vibe stem but open to suggestions). I think, and forgive my Di2 noobness, this should leave me with a front brake line coming from the bottom of the left side of the bar and a rear brake line/1 Di2 wire that could be shrink wrapped together exiting from the bottom right side of the bar and into the frame with all other Di2 wires inside the bars. That said, other than the new handle bar and bar end junction box what other Di2 components would I need?
In the interim, B) my junction box is currently under my stem. The Di2 wire exits the from the front right side of the top tube and rear brake line exits from the front left side of the down tube. Does anyone know if the Di2 wire is long enough I could remove the fork, run the Di2 wire down the back of the head tube and have it exit on the left side with the brake line, which could then be shrink wrapped together? Or is this giong to involve pulling half my bike apart and adding a longer wire to do this cleanly?
Thanks in advance!
edit:
This image I found online helps show things a bit better...

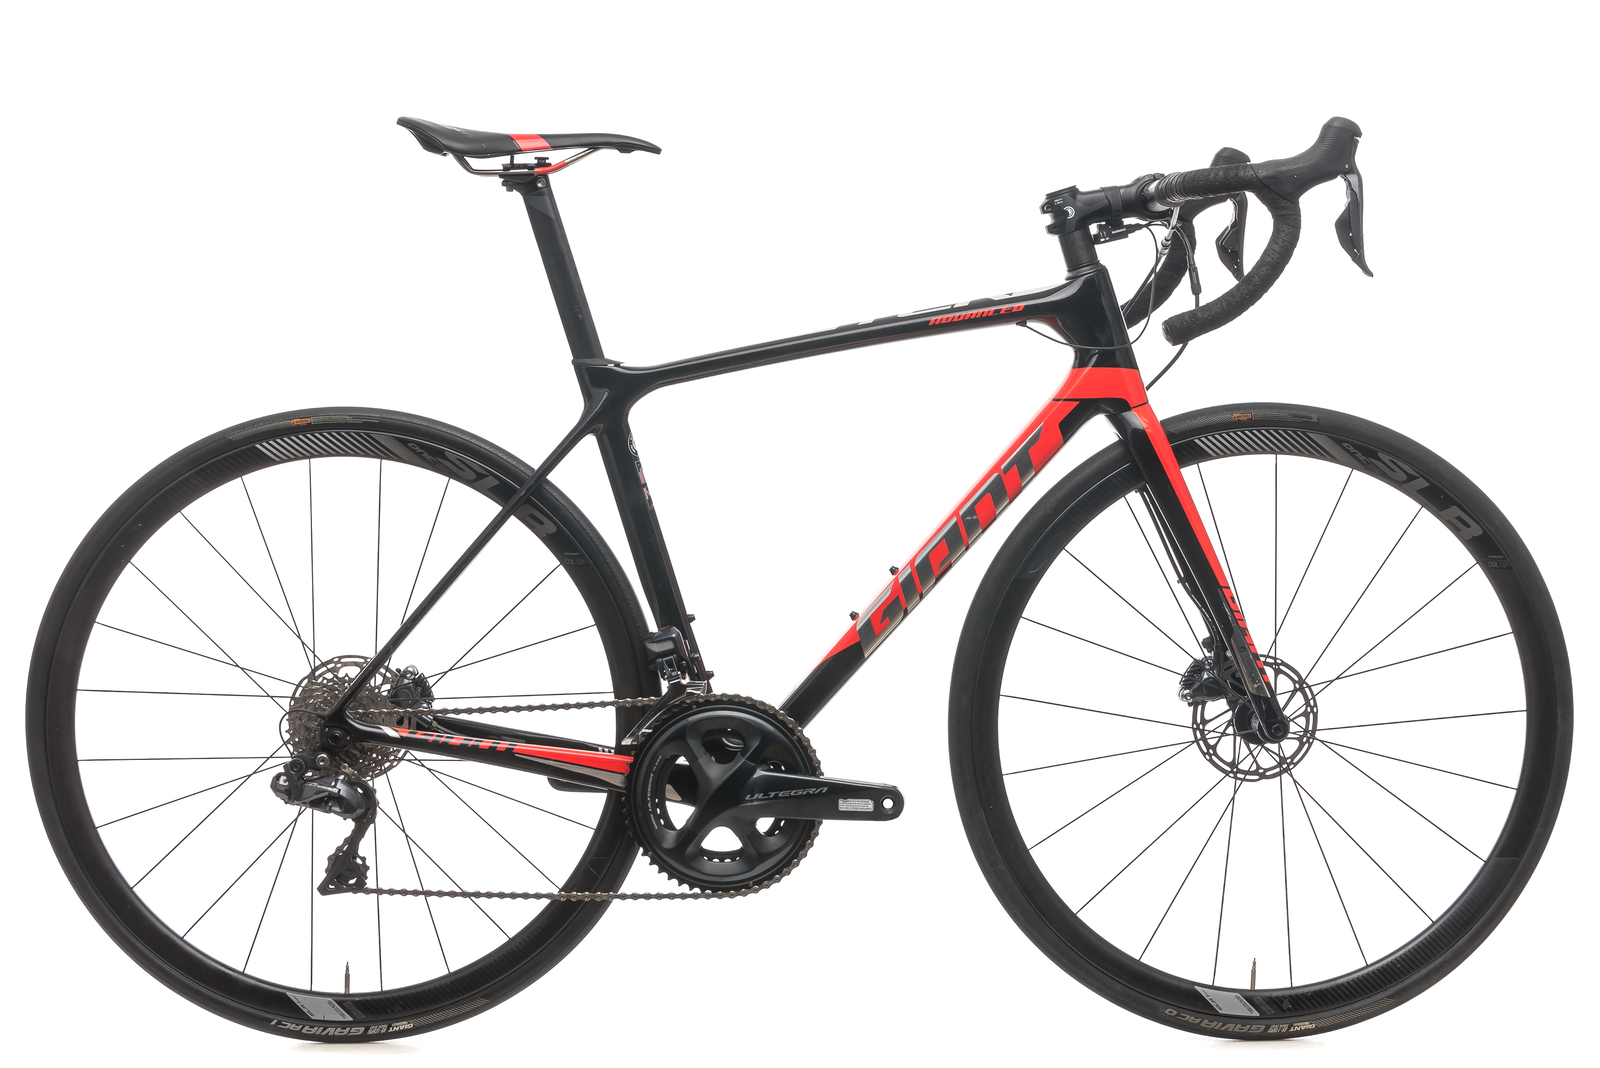
2018 Giant TCR Advanced Pro 0 Disc
2015 Giant Propel Advanced 2
2013 Trek 520
-
dricked
- Posts: 188
- Joined: Tue Jan 09, 2018 1:57 pm
by dricked on Wed Mar 27, 2019 9:47 pm
You can fish it through the left side where the blanking plate is above the brake line. I drilled my plate out on my defy and it was as good as it gets really.
-
amngwlvs
- Posts: 162
- Joined: Fri Apr 20, 2018 2:45 pm
- Location: Barrie, Ontario
by amngwlvs on Wed Mar 27, 2019 9:56 pm
dricked wrote: ↑Wed Mar 27, 2019 9:47 pm
You can fish it through the left side where the blanking plate is above the brake line. I drilled my plate out on my defy and it was as good as it gets really.
Thanks for the reply! I wondered what the hell the plate was even for? Guess you can't run it out with the brake line? I may just have to settle for that option then.
2018 Giant TCR Advanced Pro 0 Disc
2015 Giant Propel Advanced 2
2013 Trek 520
-
amngwlvs
- Posts: 162
- Joined: Fri Apr 20, 2018 2:45 pm
- Location: Barrie, Ontario
by amngwlvs on Wed Mar 27, 2019 9:59 pm
dricked wrote: ↑Wed Mar 27, 2019 9:58 pm
Not enough space I don’t think. The plate is where the cables go in for mechanical. If you take the fork off there’s lots of space to work there.
Ahhh, that makes perfect sense. Thanks so much for the reply. I may just try that if no one has any other insight.
2018 Giant TCR Advanced Pro 0 Disc
2015 Giant Propel Advanced 2
2013 Trek 520
-
motorapido
- Posts: 334
- Joined: Fri Jul 30, 2010 7:08 pm
by motorapido on Wed Mar 27, 2019 10:06 pm
That looks very messy,
If you run a Garmin or similar get an out front mount and put the di2 junction on the underside, it will clean up the stem and put the cables closer to the underside of the handlebar and the brake hoses, then as you have said, run the di2 cable alongside the the rear brake line and in through an enlarged hole in frame grommet.
if you can't run heatshrink, get a small size of automotive spiral cable wrap, or just wind electricians tape to bind the Di2 cable and the brake hose together. You could also use this on the cable runs from each shifter to the Di2 junction.
Other options at more cost are, a bar end Di2 junction, or a stem that takes the Di2 junction internally like a Pro Vibe stem. or a one piece carbon bar stem, there are few out there that integrate Di2 junctions into the stem, and many have cheaper copies similar to the Canyon H11
-
amngwlvs
- Posts: 162
- Joined: Fri Apr 20, 2018 2:45 pm
- Location: Barrie, Ontario
by amngwlvs on Thu Mar 28, 2019 1:08 am
motorapido wrote: ↑Wed Mar 27, 2019 10:06 pm
That looks very messy,
If you run a Garmin or similar get an out front mount and put the di2 junction on the underside, it will clean up the stem and put the cables closer to the underside of the handlebar and the brake hoses, then as you have said, run the di2 cable alongside the the rear brake line and in through an enlarged hole in frame grommet.
if you can't run heatshrink, get a small size of automotive spiral cable wrap, or just wind electricians tape to bind the Di2 cable and the brake hose together. You could also use this on the cable runs from each shifter to the Di2 junction.
Other options at more cost are, a bar end Di2 junction, or a stem that takes the Di2 junction internally like a Pro Vibe stem. or a one piece carbon bar stem, there are few out there that integrate Di2 junctions into the stem, and many have cheaper copies similar to the Canyon H11
Thanks for the detailed reply! I run a Garmin 520 on a K-Edge out front mount with the GoPro mount on the bottom side. I know that there are companies that are 3D printing inserts for the bottom that are designed to hold a Di2 junction box so you bring up some good points in your first two paragraphs; I could easily auto cable wrap or electrical tape some things together to clean things up a bunch, thanks!
Though your third paragraph intrigues me the most... I've been thinking about buying a 110mm Pro Vibe stem to replace my 100mm Giant stem anyways but I didn't realize it would hold the junction box. If I bought the Pro Vibe bars and ran the cables internally and put the junction box in the Pro Vibe stem where does the single Di2 wire exit the stem before heading into the frame? Any chance you have photos or a video that show how the junction box integrates into the stem?
2018 Giant TCR Advanced Pro 0 Disc
2015 Giant Propel Advanced 2
2013 Trek 520
-
Schadenfreude
- Posts: 111
- Joined: Sun Feb 10, 2019 10:47 pm
by Schadenfreude on Thu Mar 28, 2019 2:59 am
amngwlvs wrote: ↑Wed Mar 27, 2019 5:54 pm
<snip>That said, other than the new handle bar and bar end junction box what other Di2 components would I need? <snip>
If you go with the bar end junction box, you could also fit a EW-WU111 Di2 D-Fly E-Tube Bluetooth Wireless Unit in the other bar end. It doesn't cost a whole lot more to do and I like it. It's easier to configure your di2 and you can push some info to your head unit, like di2 battery level and gear selection.
Re: your di2 cable exiting the side of the top tube: I upgraded my defy and ran a di2 cable from the left position (it didn't have the other exit and the mech cable exited from the position on the right and heat shrinked it with the brake cable. But I also had to change the brake cable so in the process I made it a lot shorter than what it is in the photo you supplied. The Defy originally had those quick connect hydraulic hoses too, which hadds to the 'uncleanliness' of the look. It was easier to heat shrink the di2 cable and hose after changing the hose. I doubt the existing di2 cable is long enough to extend all the way to the shifter, you might have to replace it. There's likely to be a junction box at the bottom bracket, so you might need access to that, which means taking out the crankset and bottom bracket. I had mine stripped to the frame, but that was a mech -> di2 upgrade.
-
dricked
- Posts: 188
- Joined: Tue Jan 09, 2018 1:57 pm
by dricked on Thu Mar 28, 2019 3:16 am
Here’s my defy, it’s hard but you can see the di2 wire. I used heat shrink, maybe both will fit in the brake hose opening but I remember it being too tight. I shortened the rear brake cable up after I took this pic.
-
Attachments
-
 Viewed 6651 times")
-
amngwlvs
- Posts: 162
- Joined: Fri Apr 20, 2018 2:45 pm
- Location: Barrie, Ontario
by amngwlvs on Thu Mar 28, 2019 10:13 pm
Schadenfreude wrote: ↑Thu Mar 28, 2019 2:59 am
amngwlvs wrote: ↑Wed Mar 27, 2019 5:54 pm
<snip>That said, other than the new handle bar and bar end junction box what other Di2 components would I need? <snip>
If you go with the bar end junction box, you could also fit a EW-WU111 Di2 D-Fly E-Tube Bluetooth Wireless Unit in the other bar end. It doesn't cost a whole lot more to do and I like it. It's easier to configure your di2 and you can push some info to your head unit, like di2 battery level and gear selection.
Re: your di2 cable exiting the side of the top tube: I upgraded my defy and ran a di2 cable from the left position (it didn't have the other exit and the mech cable exited from the position on the right and heat shrinked it with the brake cable. But I also had to change the brake cable so in the process I made it a lot shorter than what it is in the photo you supplied. The Defy originally had those quick connect hydraulic hoses too, which hadds to the 'uncleanliness' of the look. It was easier to heat shrink the di2 cable and hose after changing the hose. I doubt the existing di2 cable is long enough to extend all the way to the shifter, you might have to replace it. There's likely to be a junction box at the bottom bracket, so you might need access to that, which means taking out the crankset and bottom bracket. I had mine stripped to the frame, but that was a mech -> di2 upgrade.
Awesome, thanks the the recommendation. I've looked into the D-Fly a bit before and it's certainly been on my radar. Thanks for the info on the length of the Di2 wire. If I have to get all up in the BB area that may get beyond my pay grade/don't have the tools to do it. Thanks again!
dricked wrote: ↑Thu Mar 28, 2019 3:16 am
Here’s my defy, it’s hard but you can see the di2 wire. I used heat shrink, maybe both will fit in the brake hose opening but I remember it being too tight. I shortened the rear brake cable up after I took this pic.
Great, thanks for the pic. That actually turned out pretty good! Where is tour junction box?
Thanks for the link. I've watched part of that before and it certainly looks like the cleanest option!
2018 Giant TCR Advanced Pro 0 Disc
2015 Giant Propel Advanced 2
2013 Trek 520
-
dricked
- Posts: 188
- Joined: Tue Jan 09, 2018 1:57 pm
-
Schadenfreude
- Posts: 111
- Joined: Sun Feb 10, 2019 10:47 pm
by Schadenfreude on Fri Mar 29, 2019 1:42 am
amngwlvs wrote: ↑Thu Mar 28, 2019 10:13 pm
Schadenfreude wrote: ↑Thu Mar 28, 2019 2:59 am
amngwlvs wrote: ↑Wed Mar 27, 2019 5:54 pm
<snip>That said, other than the new handle bar and bar end junction box what other Di2 components would I need? <snip>
If you go with the bar end junction box, you could also fit a EW-WU111 Di2 D-Fly E-Tube Bluetooth Wireless Unit in the other bar end. It doesn't cost a whole lot more to do and I like it. It's easier to configure your di2 and you can push some info to your head unit, like di2 battery level and gear selection.
Re: your di2 cable exiting the side of the top tube: I upgraded my defy and ran a di2 cable from the left position (it didn't have the other exit and the mech cable exited from the position on the right and heat shrinked it with the brake cable. But I also had to change the brake cable so in the process I made it a lot shorter than what it is in the photo you supplied. The Defy originally had those quick connect hydraulic hoses too, which hadds to the 'uncleanliness' of the look. It was easier to heat shrink the di2 cable and hose after changing the hose. I doubt the existing di2 cable is long enough to extend all the way to the shifter, you might have to replace it. There's likely to be a junction box at the bottom bracket, so you might need access to that, which means taking out the crankset and bottom bracket. I had mine stripped to the frame, but that was a mech -> di2 upgrade.
Awesome, thanks the the recommendation. I've looked into the D-Fly a bit before and it's certainly been on my radar. Thanks for the info on the length of the Di2 wire. If I have to get all up in the BB area that may get beyond my pay grade/don't have the tools to do it. Thanks again!
I did it all myself, with very little experience in working on a bike. I researched for weeks though. There's a Youtube channel called Ridess of Japan. The guy has a couple of series now about building up a di2 hydraulic bike. The scariest part is getting the BB out as it requires hitting a tool into the bracket with a plastic mallet. But yeah, this requires the removal tool and installation tool. You could ask a bike mechanic to remove the crankset and BB for you, do the wiring and then take it back for installation? At least you don't need to install the hyrdaulic lines.
Just while I remember, if you change the exit point of the di2 cable, then find something to plug up the current exit. You might have been given some spares when you bought the bike? Or check out giantspares.co.uk, or ask the dealer.
-
TheRich
- Posts: 1037
- Joined: Tue Jan 01, 2019 1:36 am
by TheRich on Fri Mar 29, 2019 2:53 am
motorapido wrote: ↑Wed Mar 27, 2019 10:06 pm
That looks very messy,
If you run a Garmin or similar get an out front mount and put the di2 junction on the underside, it will clean up the stem and put the cables closer to the underside of the handlebar and the brake hoses, then as you have said, run the di2 cable alongside the the rear brake line and in through an enlarged hole in frame grommet.
if you can't run heatshrink, get a small size of automotive spiral cable wrap, or just wind electricians tape to bind the Di2 cable and the brake hose together. You could also use this on the cable runs from each shifter to the Di2 junction.
Other options at more cost are, a bar end Di2 junction, or a stem that takes the Di2 junction internally like a Pro Vibe stem. or a one piece carbon bar stem, there are few out there that integrate Di2 junctions into the stem, and many have cheaper copies similar to the Canyon H11
I did the junction box under the out front mount, with double sided tape backed up by a zip tie, and it's flipped around with the wires facing backwards. From the rider's perspective with a GPS mounted, it's almost invisible...especially the zip tie, which is underneath the GPS because that's admittedly a little janky.
Electrical tape is easier than heat shrink and is virtually indistinguishable from more than a couple feet away.
It just depends on just how perfect you want it to look and how much trouble you want to go through.
-
jlok
- Posts: 2409
- Joined: Tue Jun 30, 2015 3:30 am
by jlok on Fri Mar 29, 2019 3:48 am
I stuck the junction A under the arm of K-Edge mount, then the Di2 wire were bundled with brake hose by shrink wrap, went into the brake hose port together.
Rikulau V9 DB Custom < BMC TM02 < Litespeed T1sl Disc < Giant Propel Advanced SL Disc 1 < Propel Adv < TCR Adv SL Disc < KTM Revelator Sky < CAAD 12 Disc < Domane S Disc < Alize < CAAD 10


