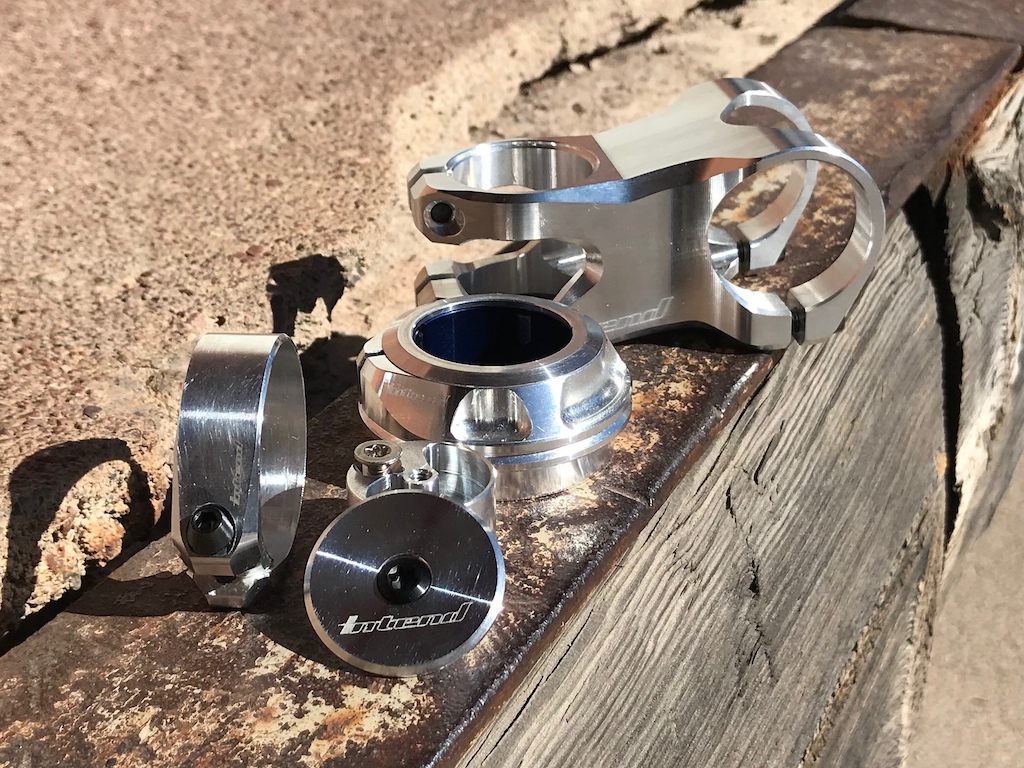
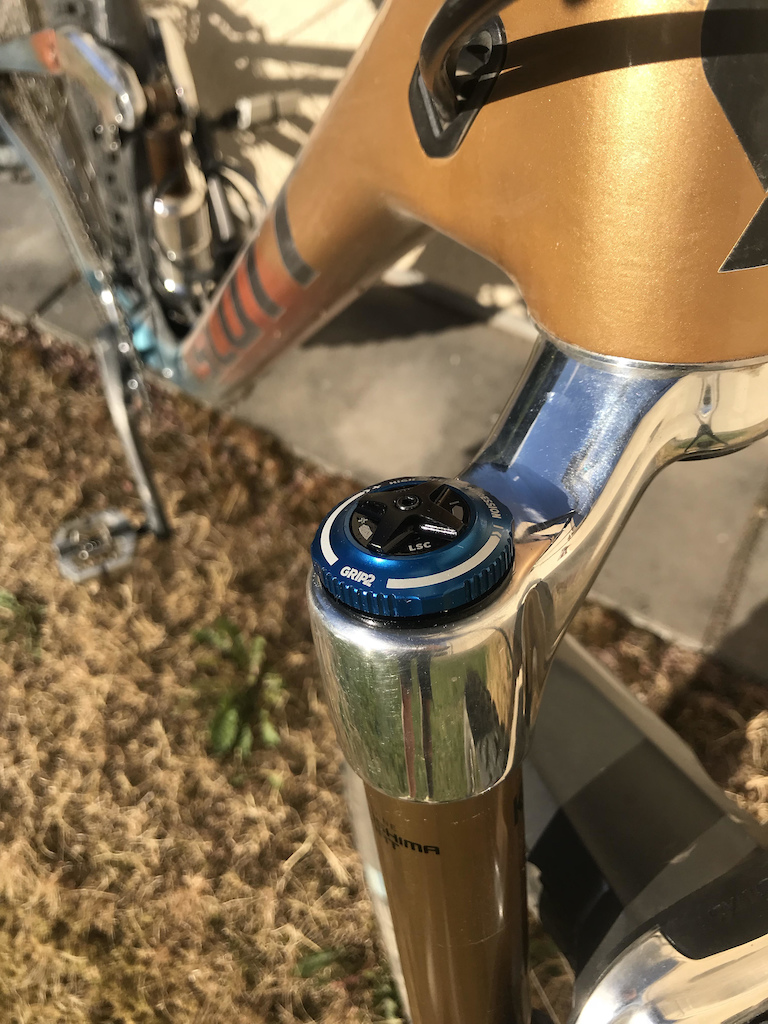
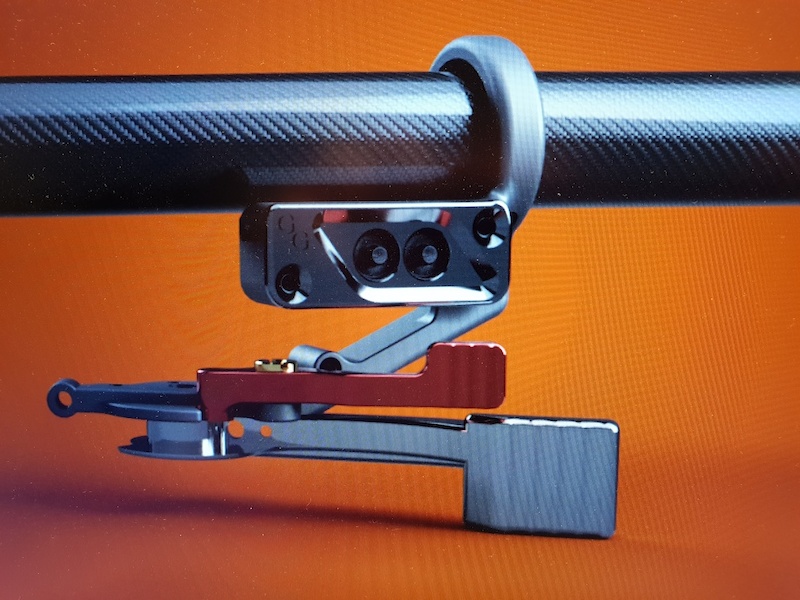
A shipment from Intend is on it's way, and then it's "just" the CNC'd remote missing.
Moderators: MrCurrieinahurry, maxim809, Moderator Team


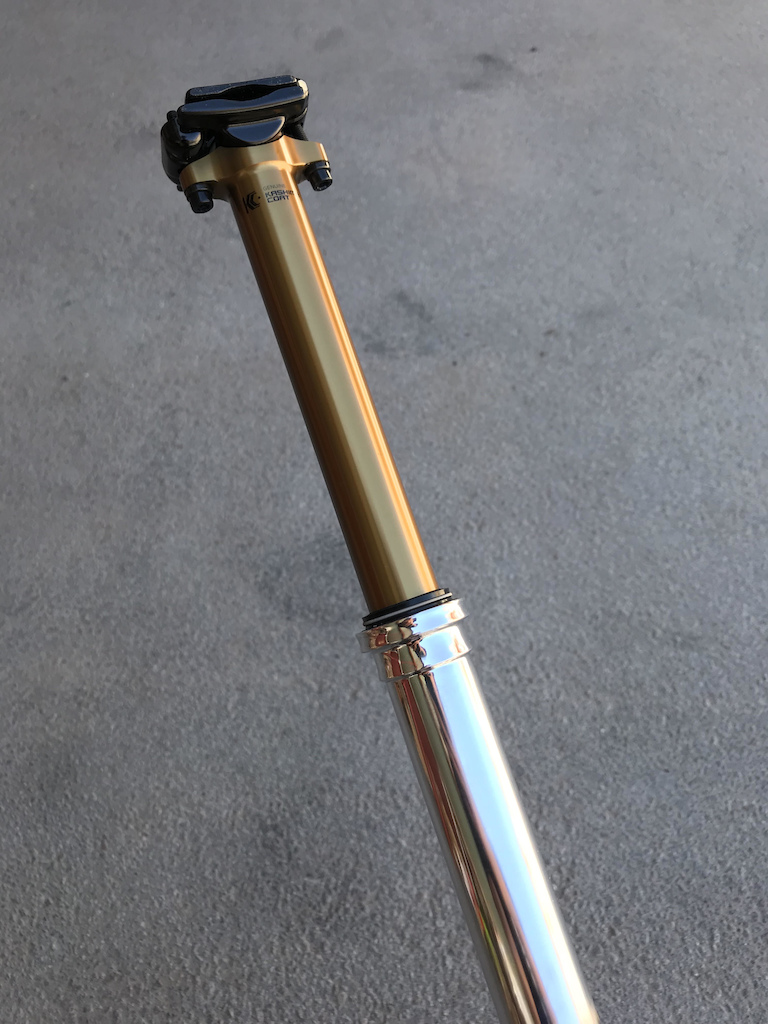
Thanks! Really happy with how it turned out, and feels good finally be done with the complete "set" of fork, shock and dropper.
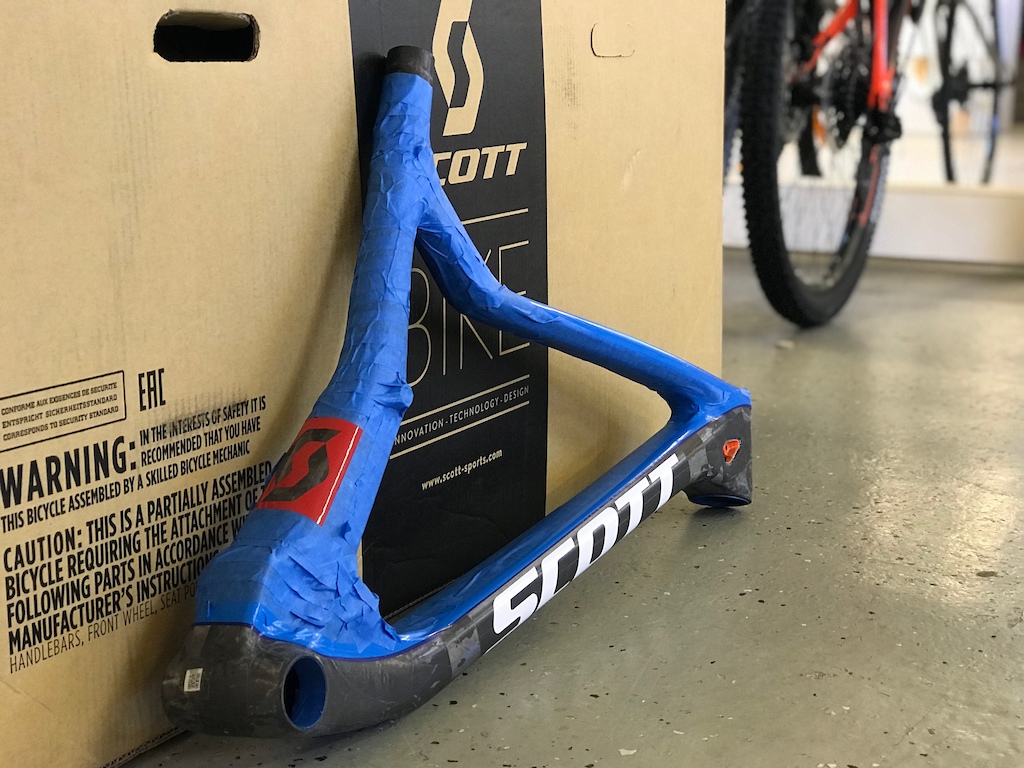
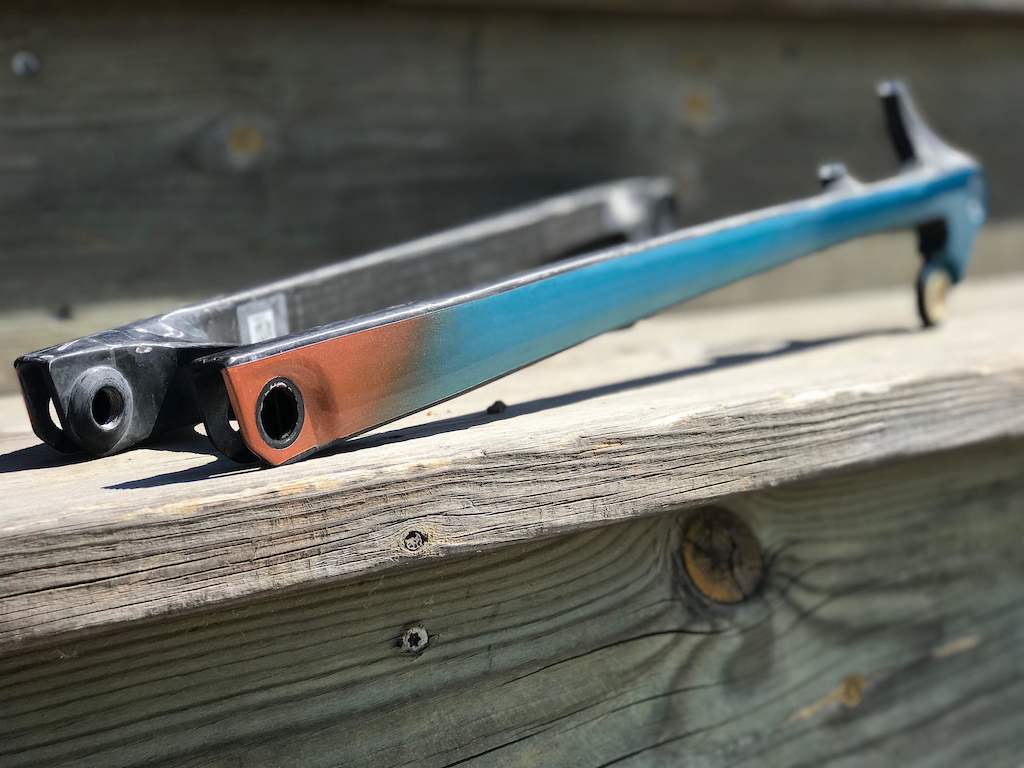
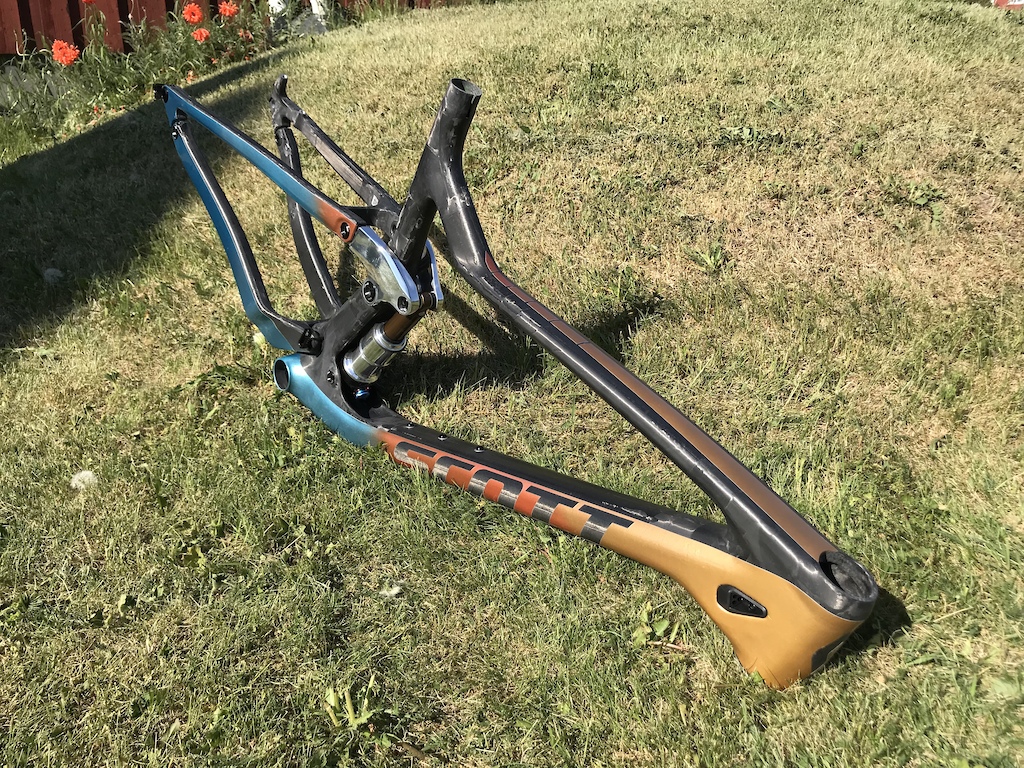
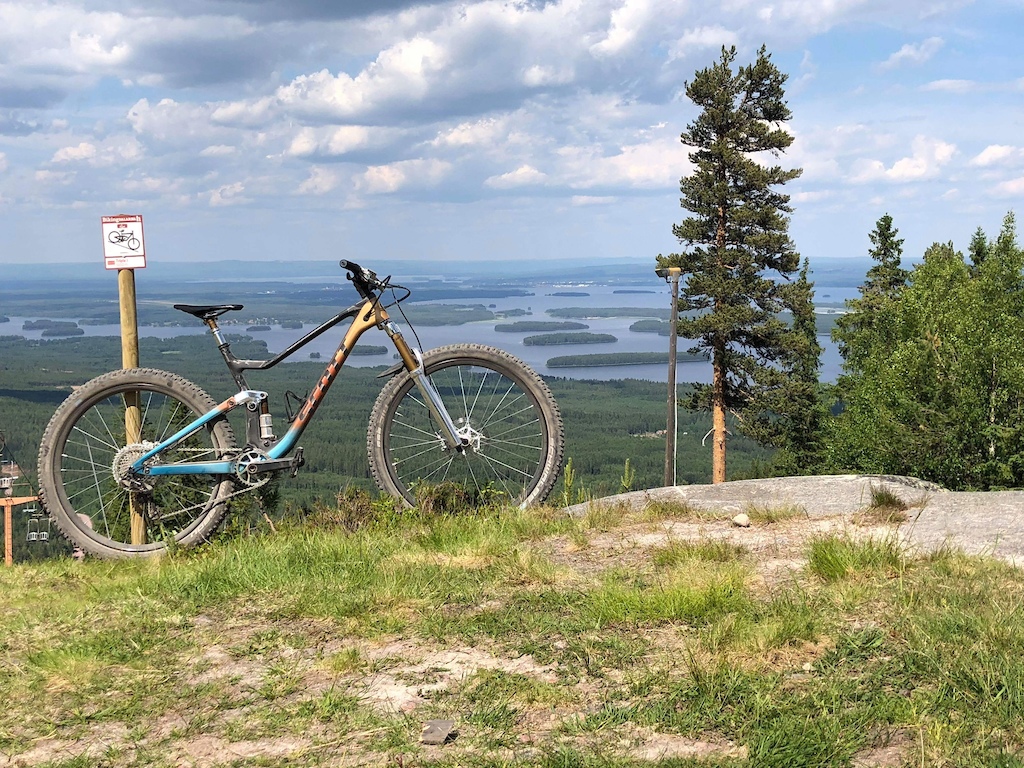
It's actually a quite striking paint job, with the outside of seat/chainstays, downtube and my "signature" stripe on the toptube painted. All visible carbon will be kept completely raw, no clearcoat, and the logos are raw carbon as well. Makes for a really cool contrast between the too.andreszucs wrote: ↑Thu May 31, 2018 6:58 pmInteresting, adding some color to it...just a small line along the frame?
Sent from my iPhone using Tapatalk Pro

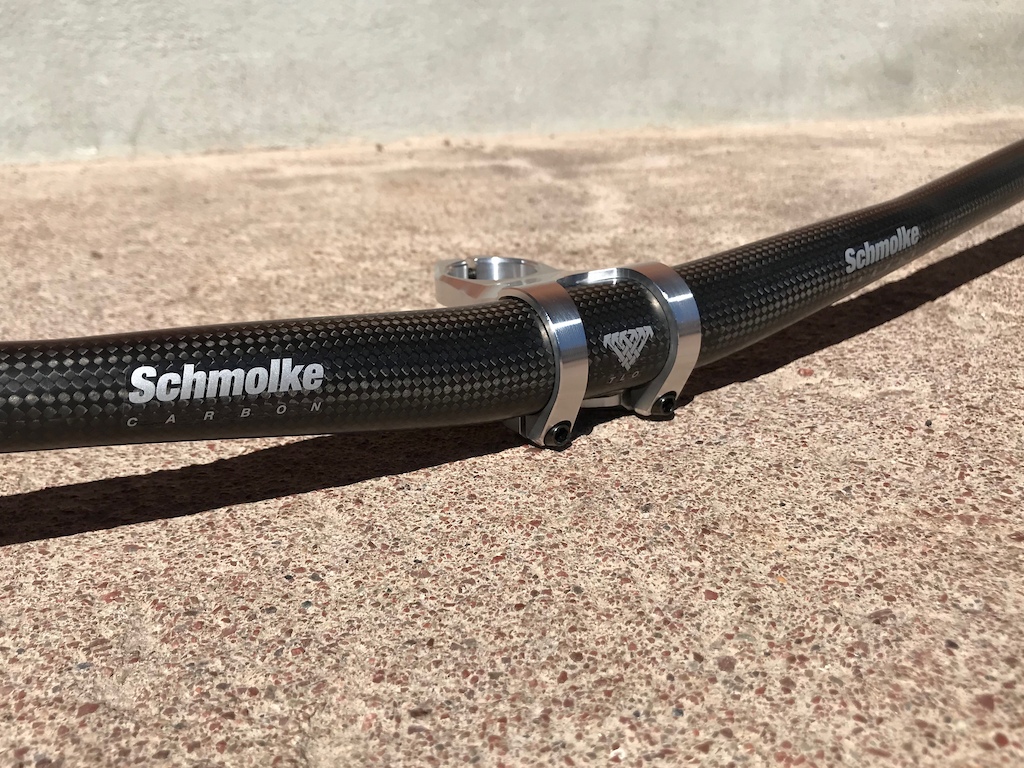
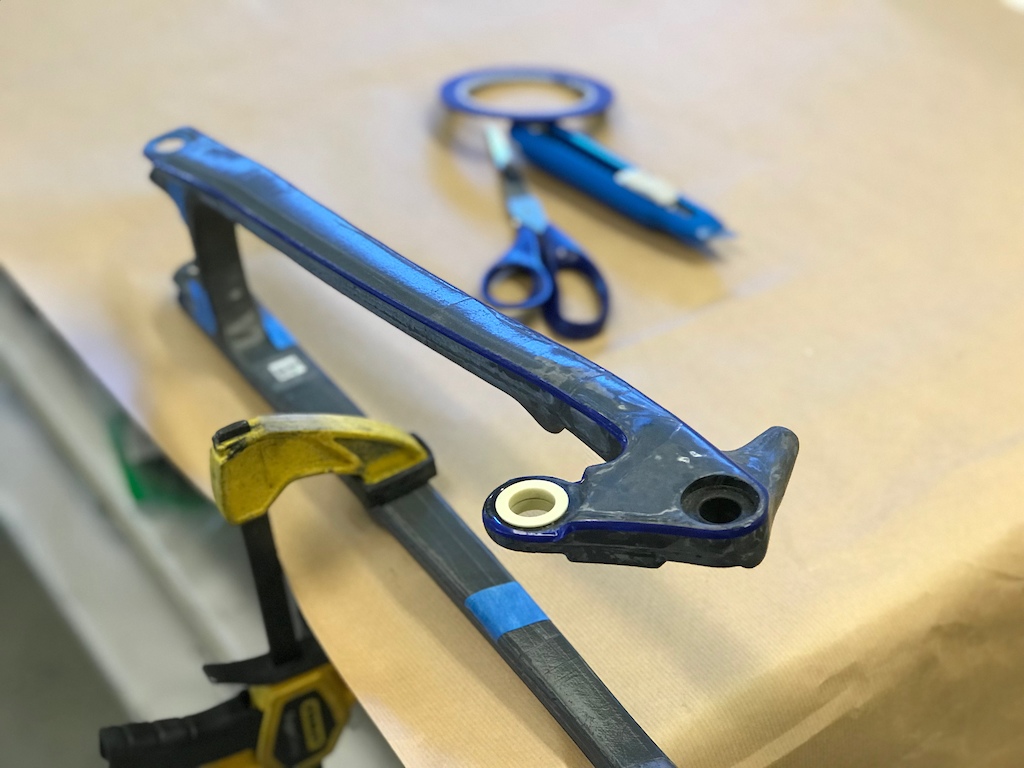
The raw UD in sunlight looks so much nicer than the stock look, did you weight the arms before/after? Any clear cover afterwards?
Agreed! Didn't weigh these ones but on my others I think it was just 3-4g or so. No clear for me, I just wax them every now and then.
Great gradient! You’re an artist man! Don’t think I would be able to paint so nicely.Gullholm wrote:Agreed! Didn't weigh these ones but on my others I think it was just 3-4g or so. No clear for me, I just wax them every now and then.
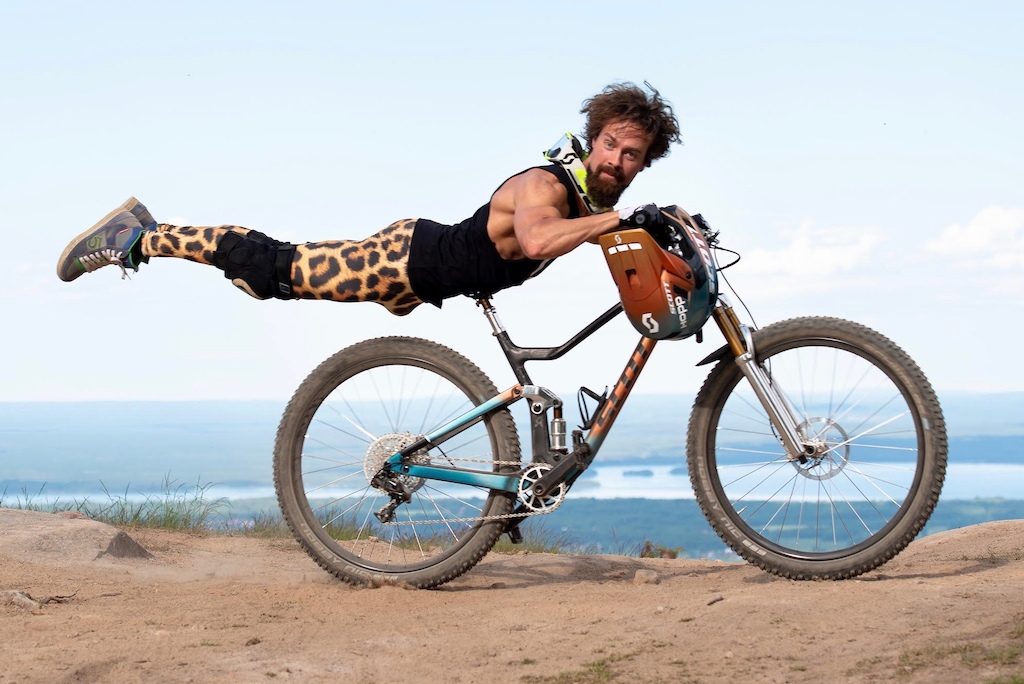
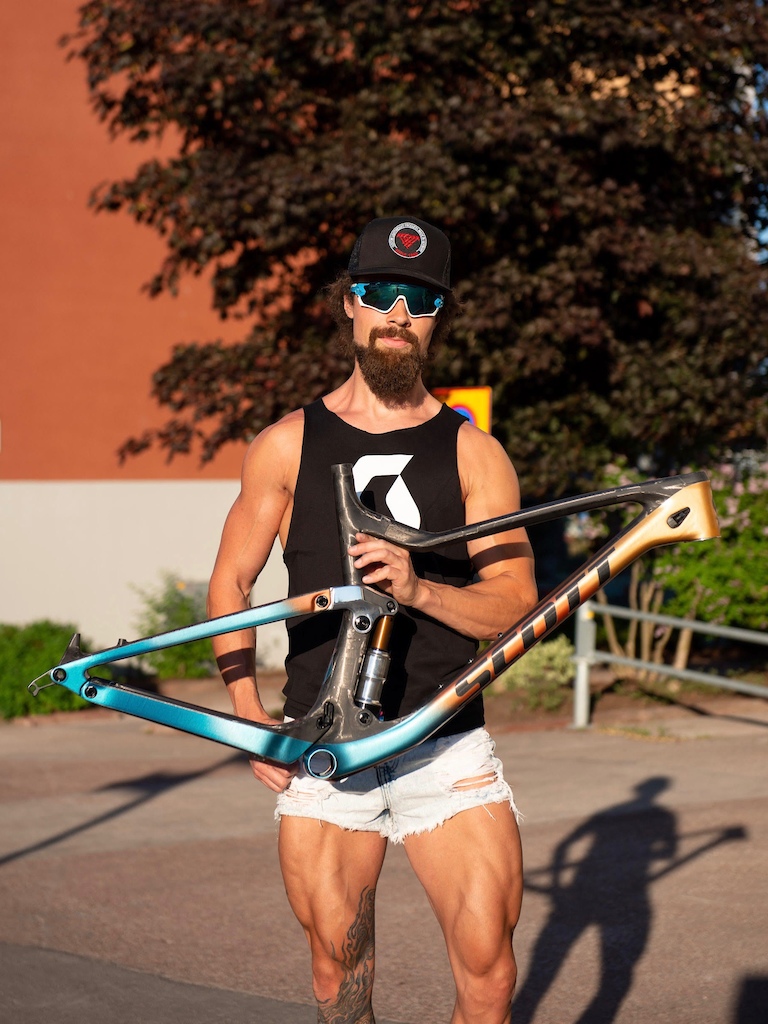
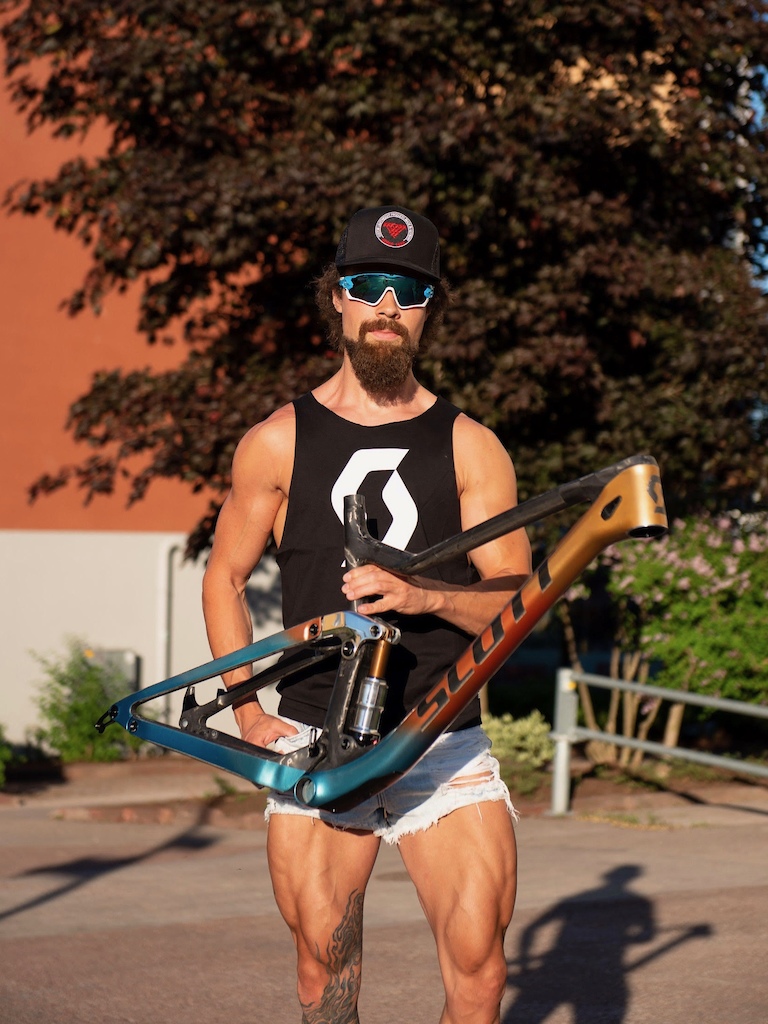
So here's the frame finally! You'll have to survive me being in the pics too, they were primarily taken for Instagram haha.
Hope you like it!
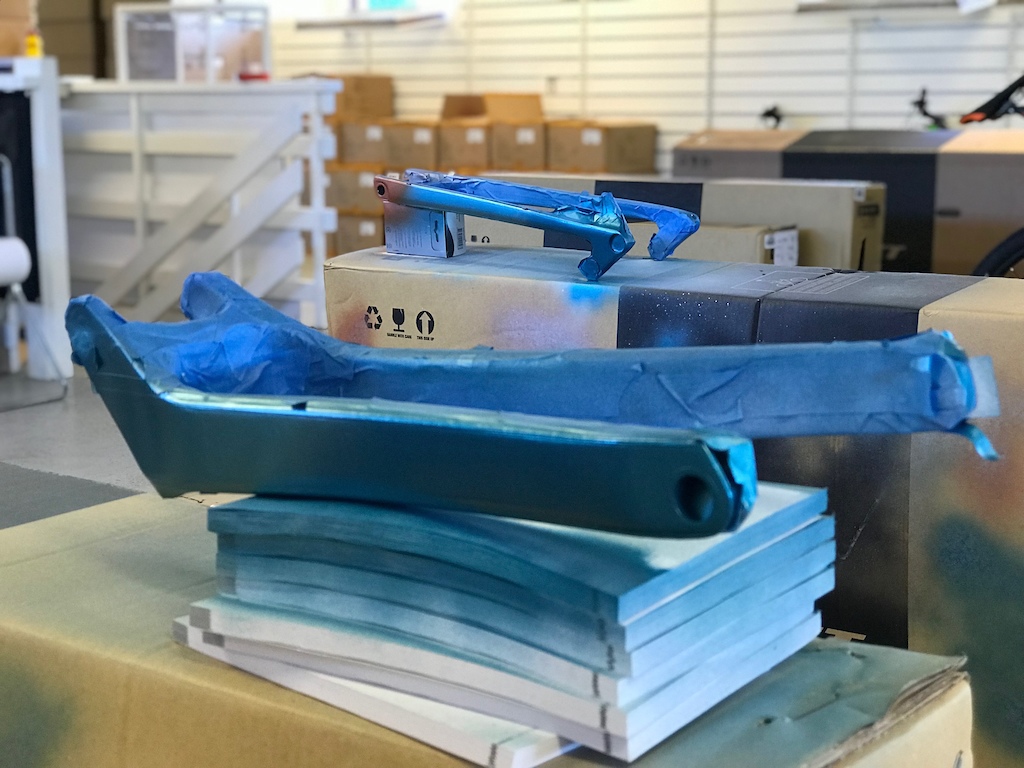
Thanks a lot! Was quite nerve wracking to do that paint job. Was my first time doing something a little more advanced with masking and fading, but except for a couple of minor rookie mistakes I'm super happy with the result.andreszucs wrote: ↑Sat Jun 02, 2018 3:56 pmGreat gradient! You’re an artist man! Don’t think I would be able to paint so nicely.
Also....must be an excellent power-to-weight ratio when you ride your 13lbs scale with those legs!
Sent from my iPhone using Tapatalk Pro
Thanks a lot! Maybe I'm sometimes a bit too much of a perfectionist haha.chris47 wrote: ↑Tue Jun 05, 2018 6:27 am"looks allright from a distance"
Ahaha no! looks amazing from all distances i´d say. Really a nice fade paintjob. Could you show us how you did it?
Really love your mentality to bikes. its rare that people go the distance and DIY things, most just buy a ton of production stuff and call it a day

| 13.06.2020:The "Comfort" of Narrow Handlebars | |
| 14.01.2020:FAR Ventoux C5 Review | |
| 25.08.2019:Orange Seal, does it live up to it's fame? | |
| 14.03.2019:Tune Factory Visit February 2019 | |
| 02.01.2019:EE cycleworks brakes review |

| 01.01.1970:Jagwire Elite link cable review |
| 01.01.1970:Review: Elite Cannibal Bottle Cages |
| 01.01.1970:Giro Trans E70 review |
| 01.01.1970:Vittoria Rubino Pro 3 review |
| 01.01.1970:Specialized S-Works Power Test |