


I am starting a project with my Rocky mountain Vertex 50 RSL. I am stripping down the VERY THICK white paint and will either clear coat it or paint it matte black.
I am not telling you guys the parts that will come over later. Keeping a bit of excitement!
Frame weight, size M, with paint, der hanger: 1364g
The setup

photo 1 (2) par devincification, sur Flickr
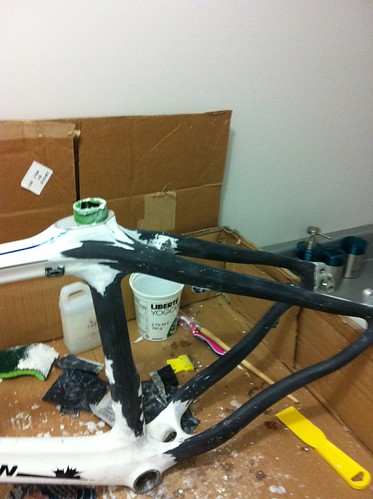
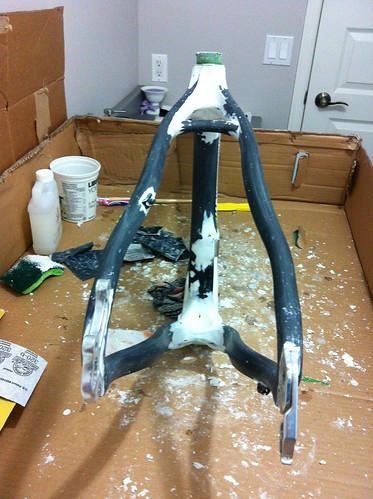
I am still in the stripping phase and I badly need help with this. I have used carbolift and it doesnt show the results I was hoping for. Here are the steps I followed:
1-Room kept at 25-26C
2-sanding down the part of the frame with 120 grit, also tried 100 grit.
3-Applying carbolift, thin coat, let act 30 min, then applied a thick coat, covered in cling wrap and let act for 12 hours.
4-Removed the wrap and scraped with a plastic paint scraper.
The carbolift has removed a part of the paint but I still have some huge work to do.
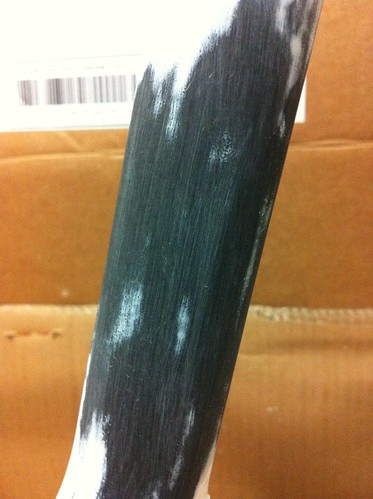
Here you can see the DS chainstay, I have done 3 cycles of carbolift on it and there is a thin layer of paint that wont even move.

photo 1 par devincification, sur Flickr
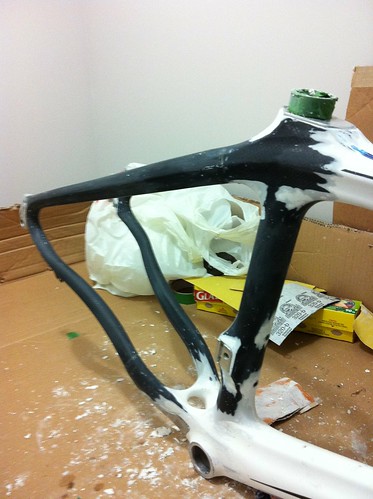
Here is the NDS chainstay, done 1 cycle of carbolift on it

photo 2 par devincification, sur Flickr
What I would need is some advice on how to sand down the remaining paint without damaging the carbon. What kind of sand paper, what grit size, what technique.
Thanks! Stay tuned for some updates!


