

It's about a 5-minute job once you actually know how to do it.
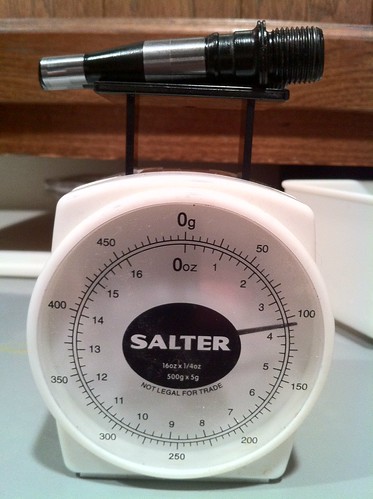
The stock spindle pair is 105g.
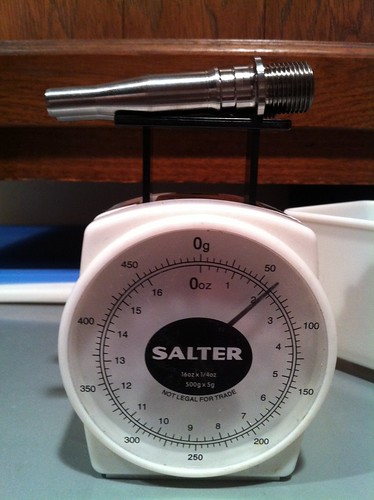
The ti spindle pair is 60g. ($55 + 5 shipping.)
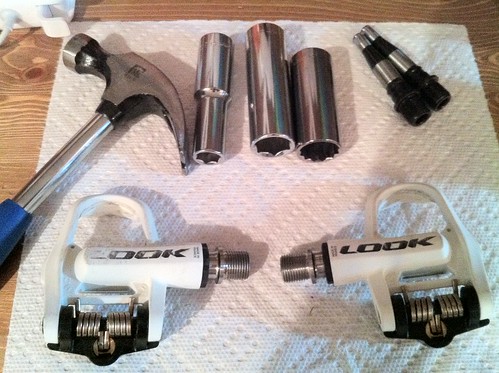
You need:
-A Hammer
-19mm, 18mm (or 17mm), and 12mm deep-well sockets
-Grease
Note that the parts are Left/Right specific, and that the threads are pedal-specific. So do one at a time.
(1) Use the 19mm socket to unscrew the black plastic threaded collar from the pedal. For me, it loosened by hand. (remember that threads are pedal-specific.)
(2) Pull out the stock spindle and note the parts and their orientation. From the outside-in, you'll see:
--Threaded collar (that threads into pedal body)
--Rubber Dust seal (under the thread collar)
--Small Shim (beveled edge facing towards the bearings
--Two Cartridge Bearings
--Large Shim (beveled edge facing into the pedal.
**look at the pedal upwards from the narrow end. Note how the spindle body just meets the inside of the large shim. that's how far you're going to knock the shim on when you put it on the new spindle.
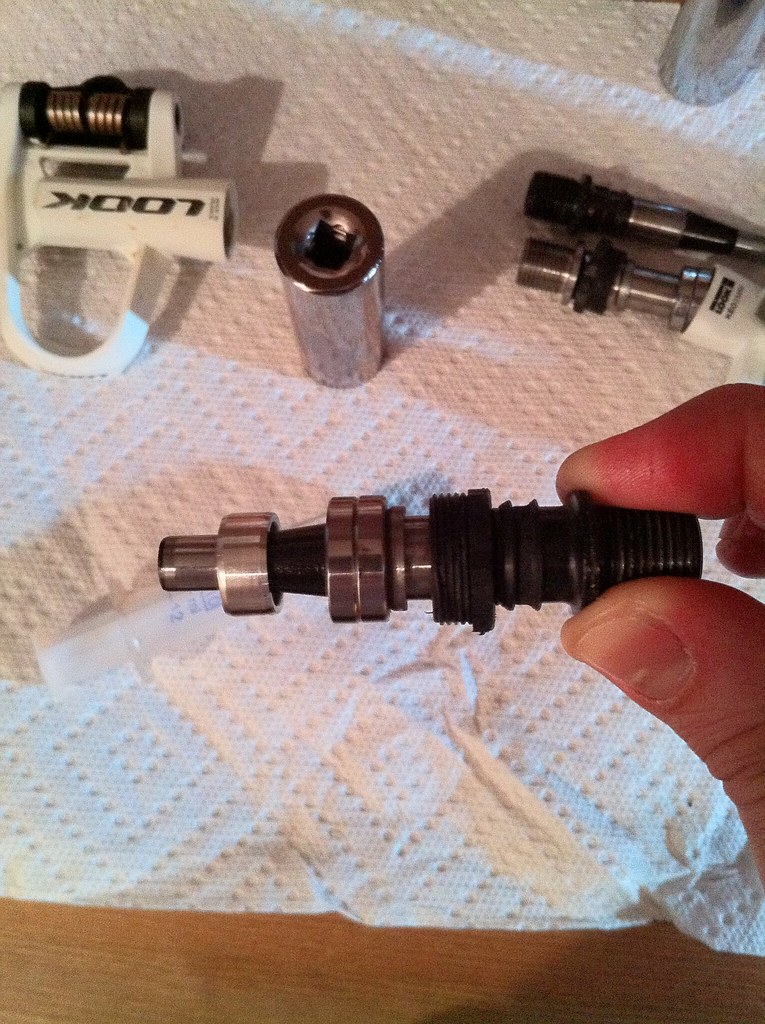
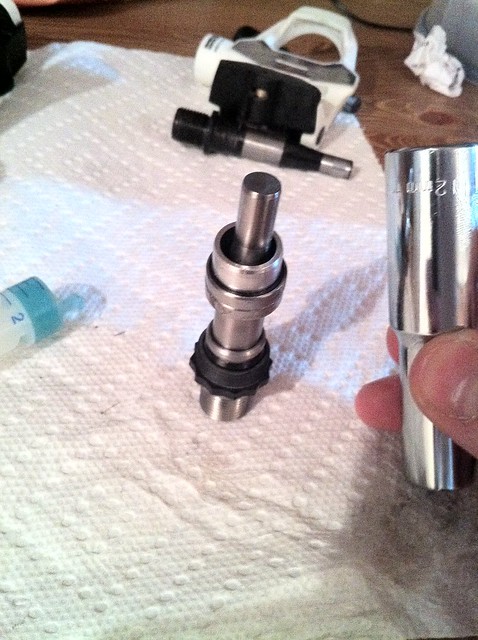
Here is an exploded view, with the threaded collar pulled down past the rubber dust seal:
Here are the parts lined up:

(3) To remove the bearings from the old spindle:
--hold the spindle with the narrow end pointed down
--slide the 17mm (in my case, 18mm) socket down over the pedal threads. It should rest on the plastic threaded collar.
--hold everything steady, and hammer the top until the parts slide down.
**remember that you are hammering plastic, so i used lots of medium-force hits, rather than smashing it apart. It took a while, but everything did slide off.
**note that these parts are only held on by friction. they look extremely tight, but they will come off.
(4) Slide the rubber dust seal off, and put it on the new spindle.
(5) Grease everything.
(6) Reassemble the parts in reverse order:
--dust cover
--threaded collar
--small shim (beveled edge facing the narrow end of the spindle
--2 bearings
--large shim
(6) Hold the spindle with the narrow side facing up, and slide your 12mm socket over the narrow end. hold everything in place, and hammer down until everything is seated properly.
(7) Grease the spindles and re-assemble with the 19mm socket.
Now, remember that I'm not the manufacturer, i'm just a guy who bought these. So i probably can't help if anything goes wrong with yours.
It wasn't difficult, and the pedals are 45g lighter for the pair.


