

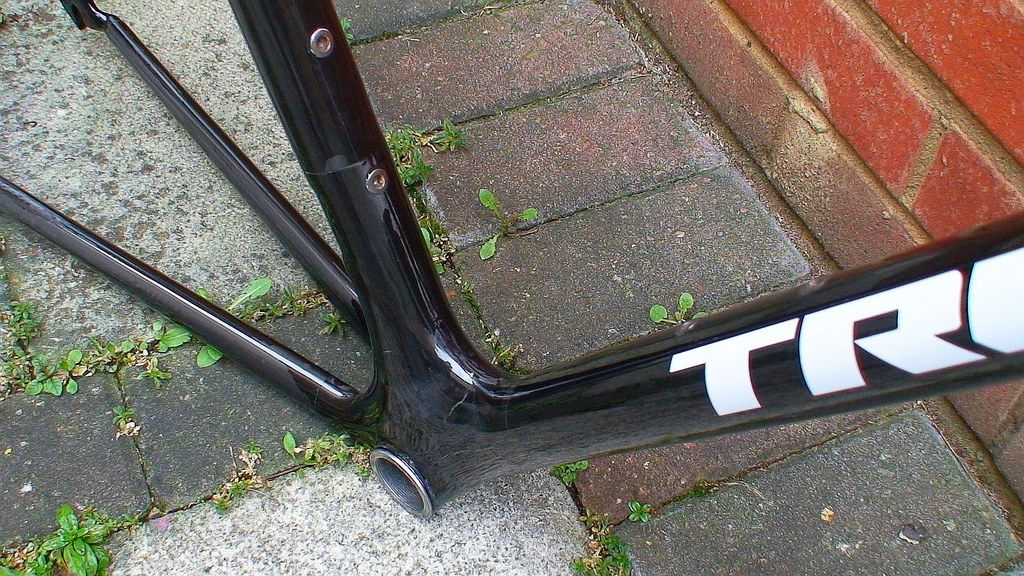
A lot of them are of the opinion that frame will be one day considered a classic
I wish I was kidding
Moderators: robbosmans, Moderator Team


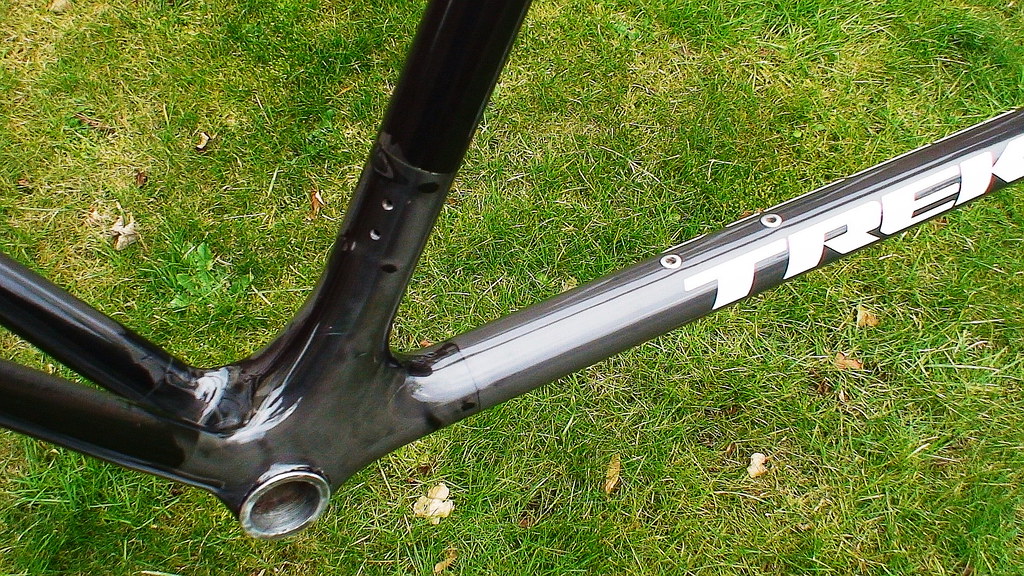
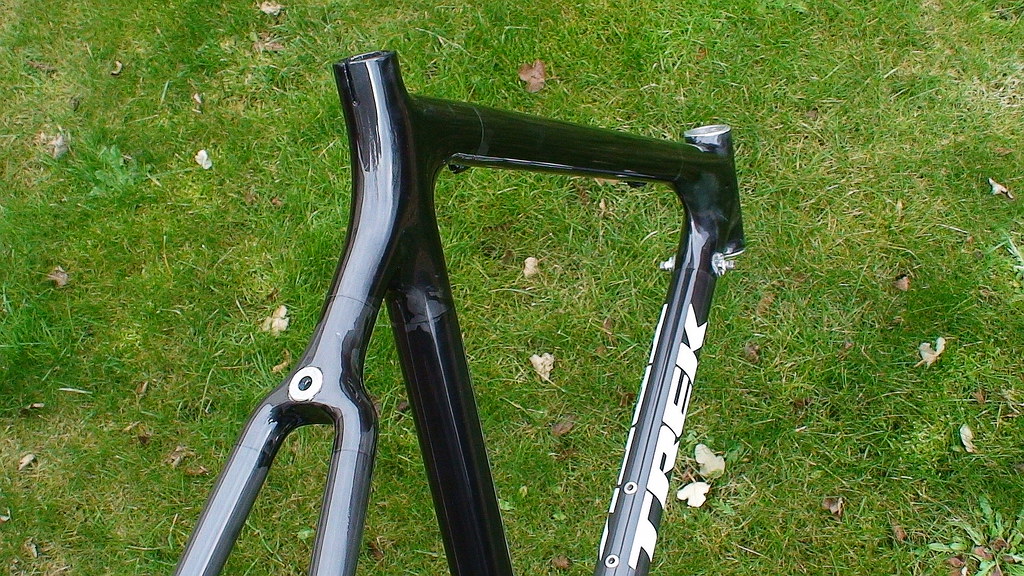

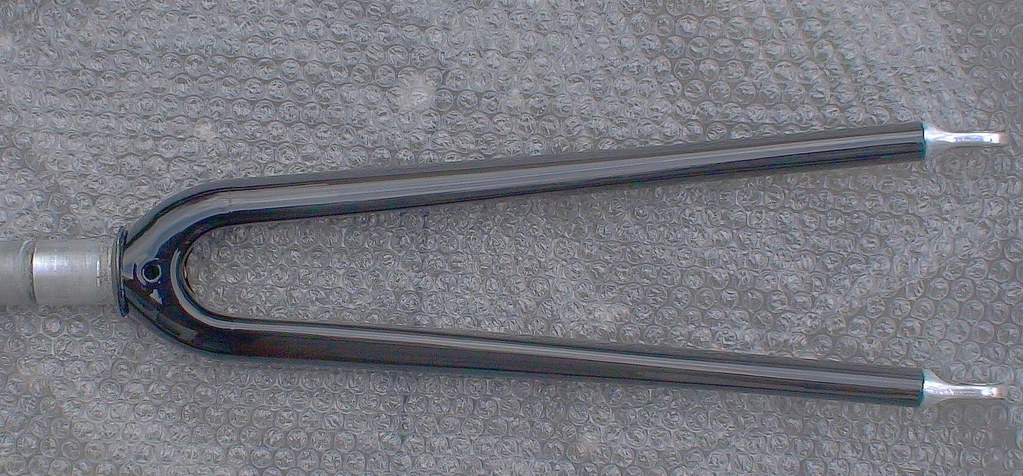

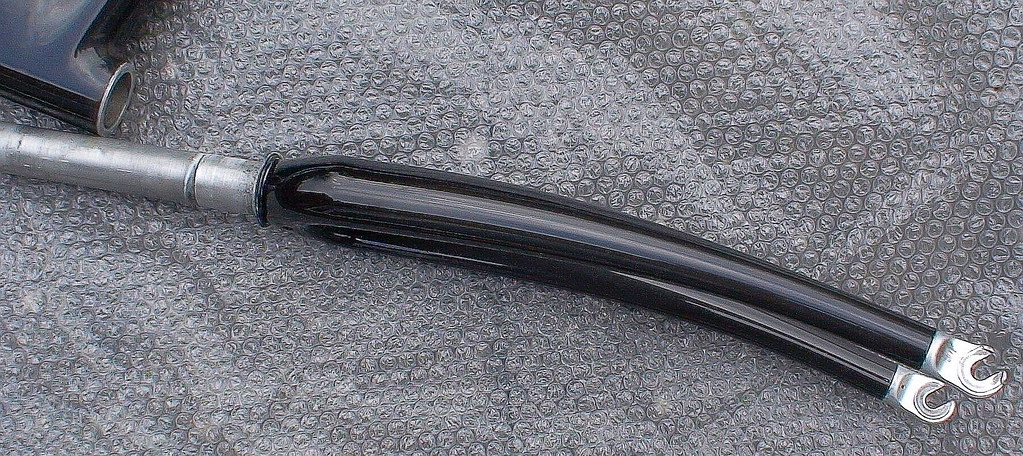

Can you post a pic from the side?

| 01.01.1970:Jagwire Elite link cable review |
| 01.01.1970:Review: Elite Cannibal Bottle Cages |
| 01.01.1970:Giro Trans E70 review |
| 01.01.1970:Vittoria Rubino Pro 3 review |
| 01.01.1970:Specialized S-Works Power Test |

| 13.06.2020:The "Comfort" of Narrow Handlebars | |
| 14.01.2020:FAR Ventoux C5 Review | |
| 25.08.2019:Orange Seal, does it live up to it's fame? | |
| 14.03.2019:Tune Factory Visit February 2019 | |
| 02.01.2019:EE cycleworks brakes review |


