as the instructions for these cables are totally crap And no one knows can say how to install with campag 11
So here is a how too
ok first of all if you don't care about power cords, want less weight and want an easy install.....
use std ilinks for the brakes and mini ilinks for the shifter......
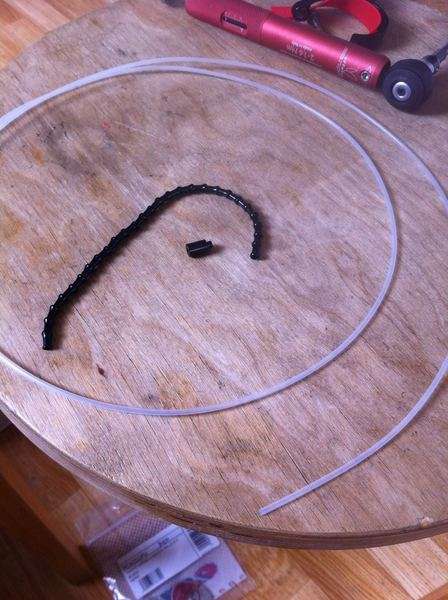
first of all take your old housings and make up a suitable length of ilink house thats basically the same length. make4 sure you compress the linkings so the length is accurate.
start on one side of the bike first it's easier over all....
choose the right end peice to suit the adjuster/cable guild your using ( totally same method for both brakes and shifter...)
then fed in the liner with the flared end winding up at the shifter end of the housing. ( only the front cables get fed through this way )
if the liner isn't flared then flare it out with something the right shape.. heat the tool your going to use to encourage the liner to stay flared
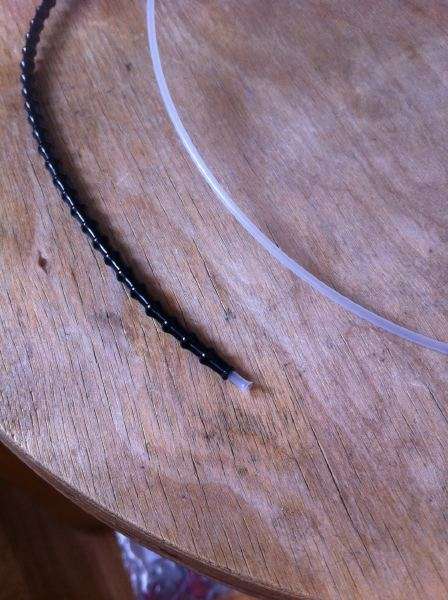
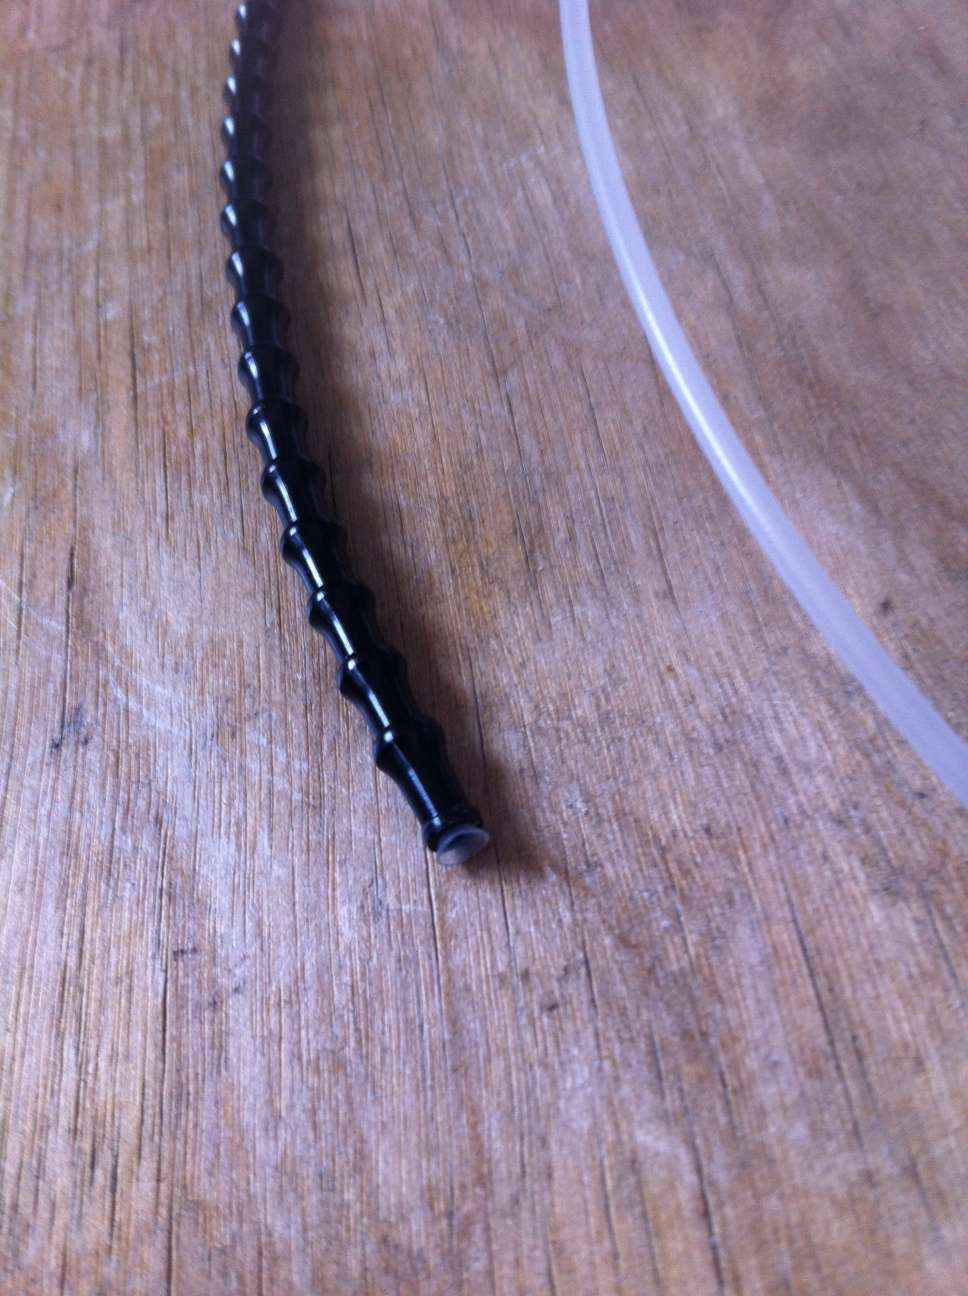
trim the liner so that you have a couple of cm hanging out of the end of the housing...
the reason for this is..... it gives you a little room to increase the length of the housings and more importantly by having the liner extending past the end of the housing it makes the liner less likely to migrate into the shifter body, an issue some have had.
once your happy with the length thread the housings on to the cables and straight into the shifter bodies, no ferrules or extensions needed, straight in. You'll also have to file down the OD of the brake cable stops, they are about 0.5mm to wide, as the are made of lead this only takes a sec. Then tape the cables/housings down onto your bars using cheap clear packing tape. it doesn't stretch so your cables wont move under the tape at all
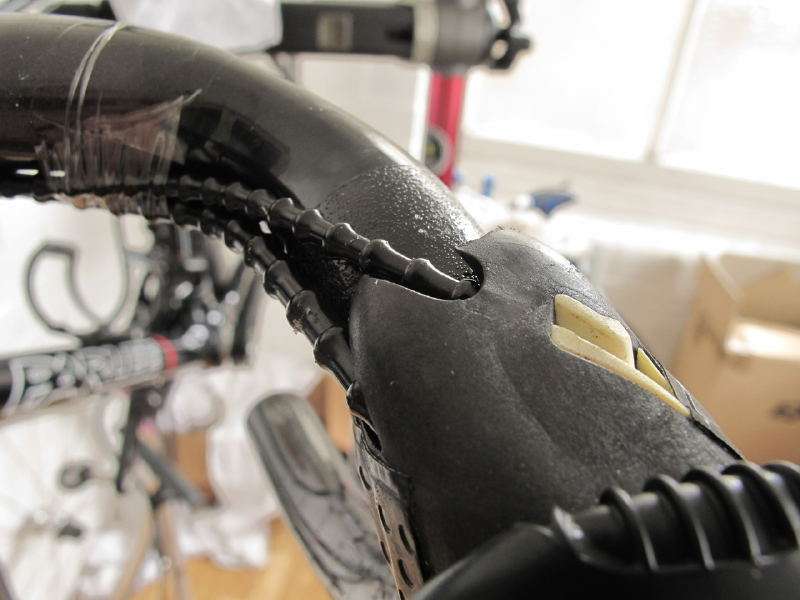
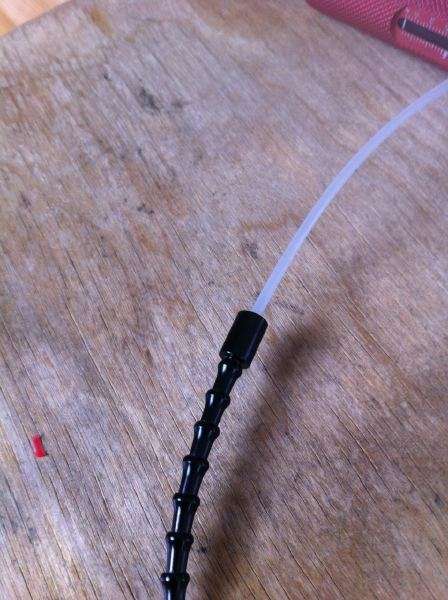
fead the extended liner through the adjuster/cable guide and make sure its pulled all the way through, you don't want it bunching at the flared end..
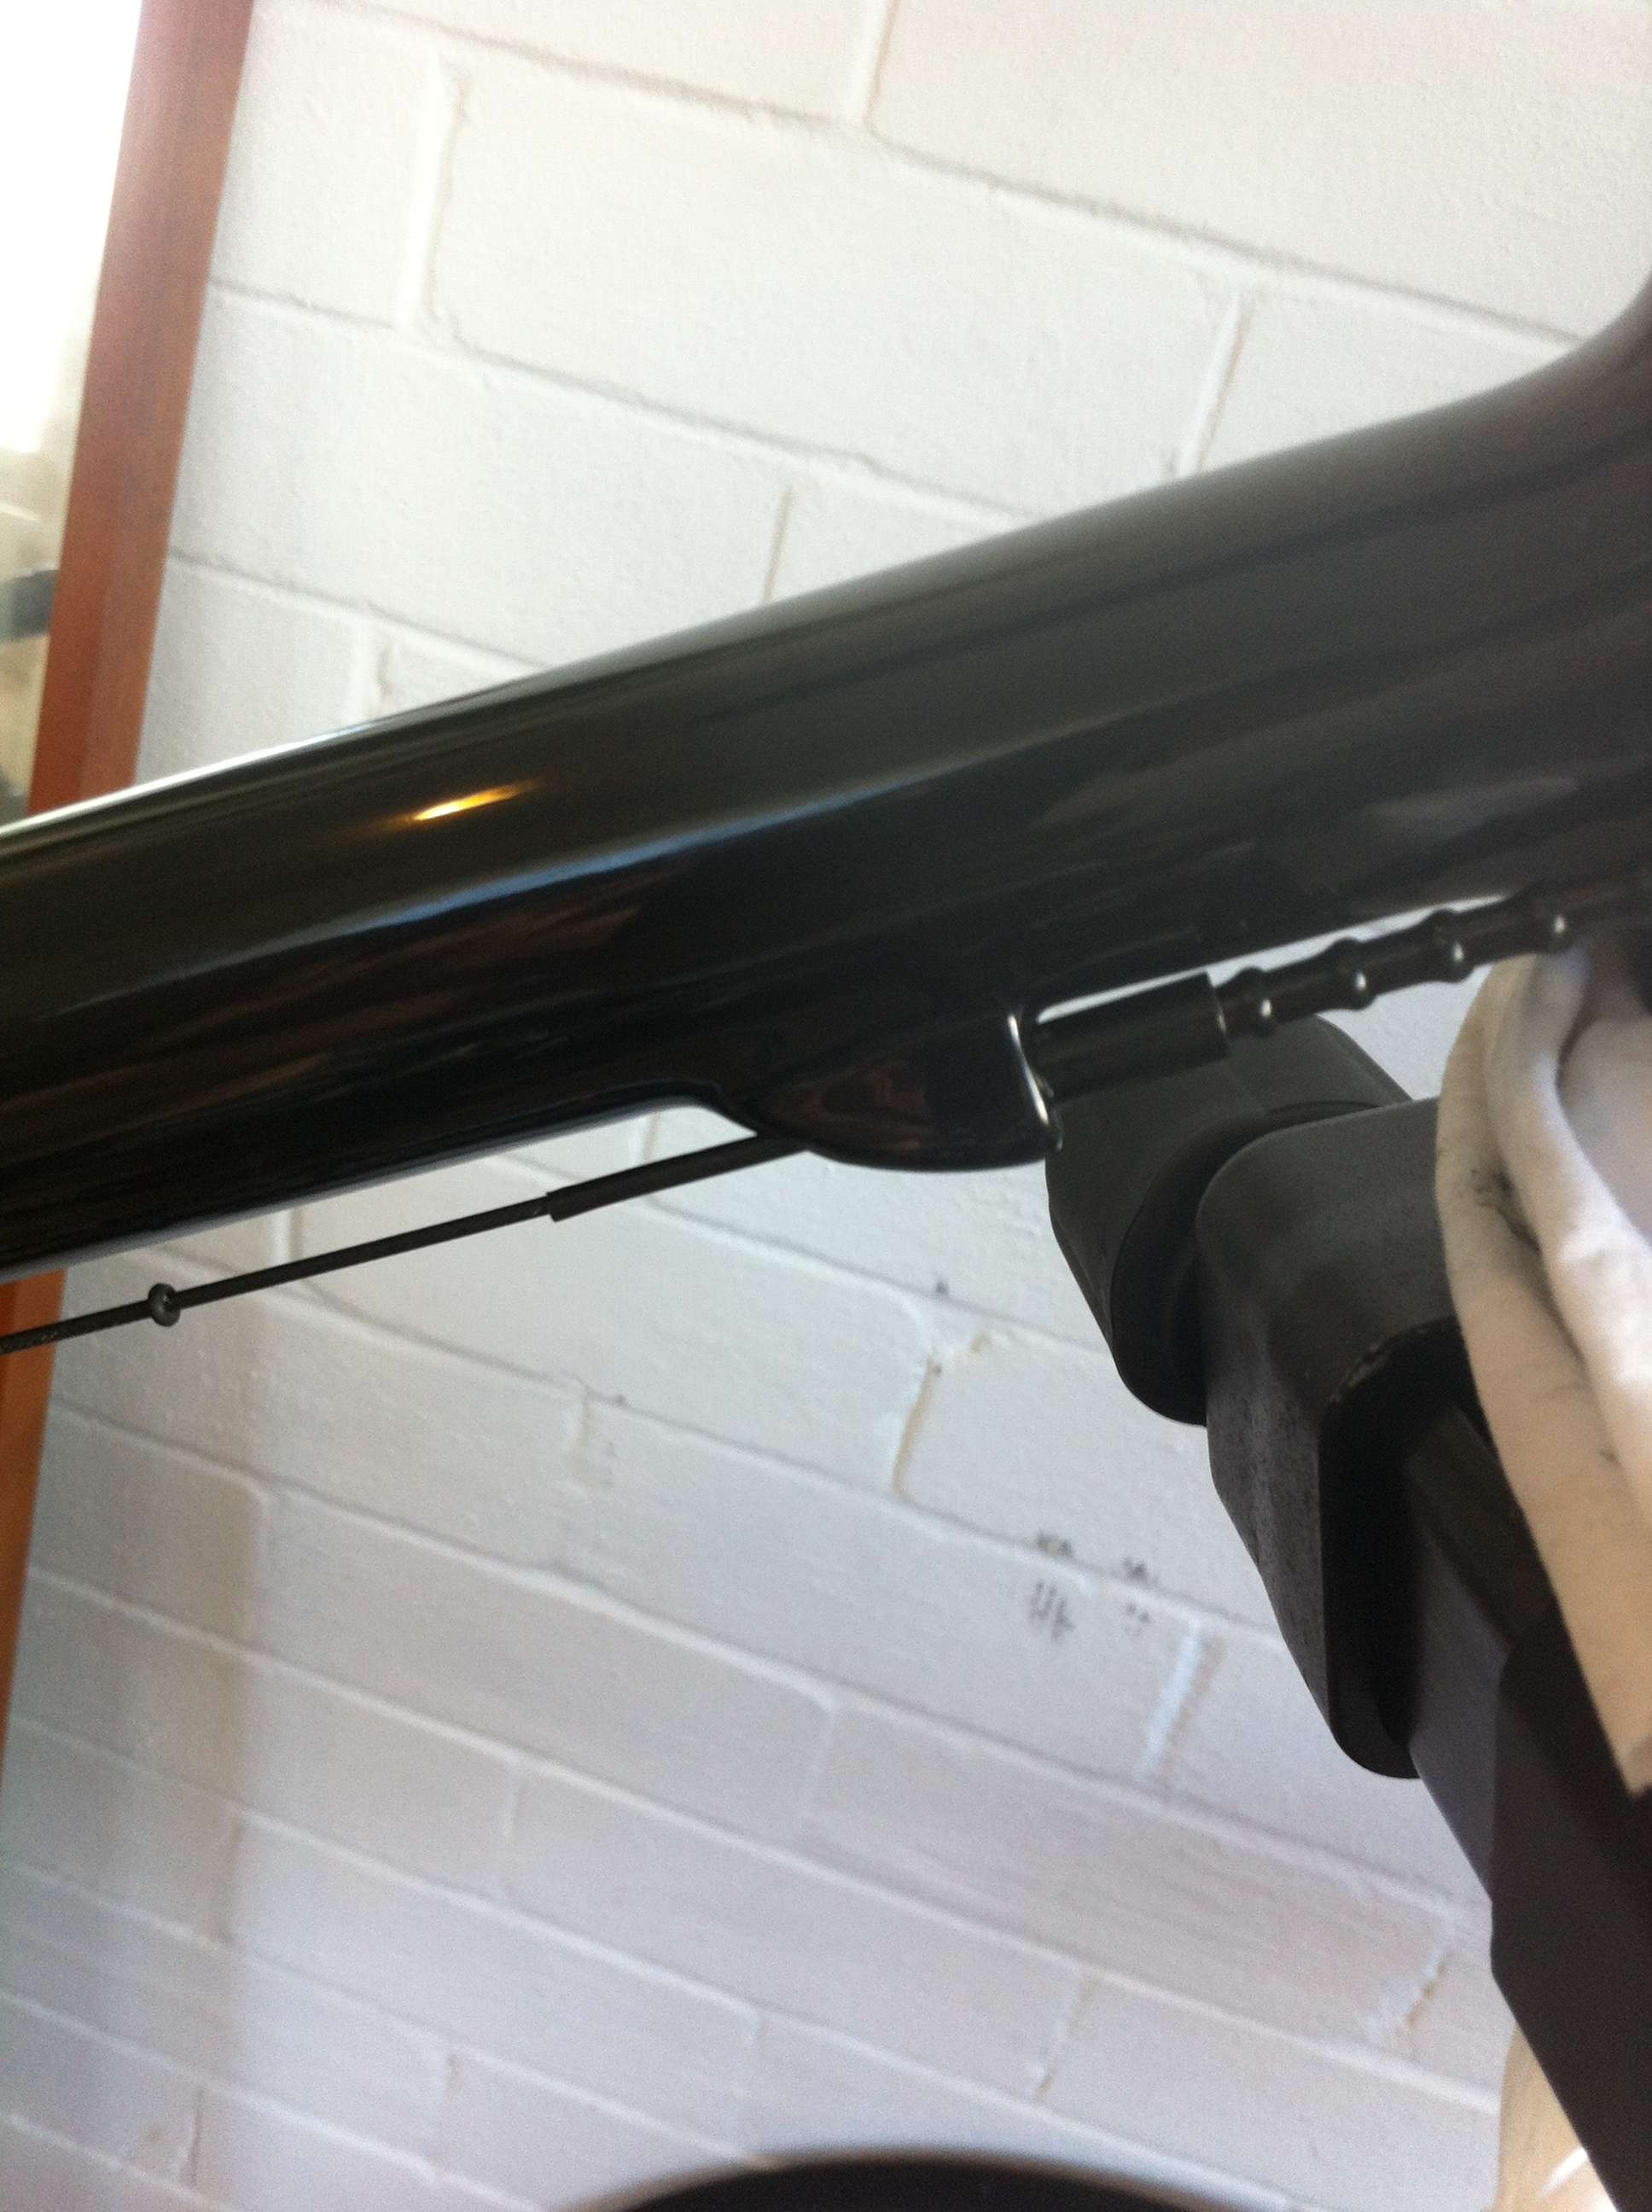
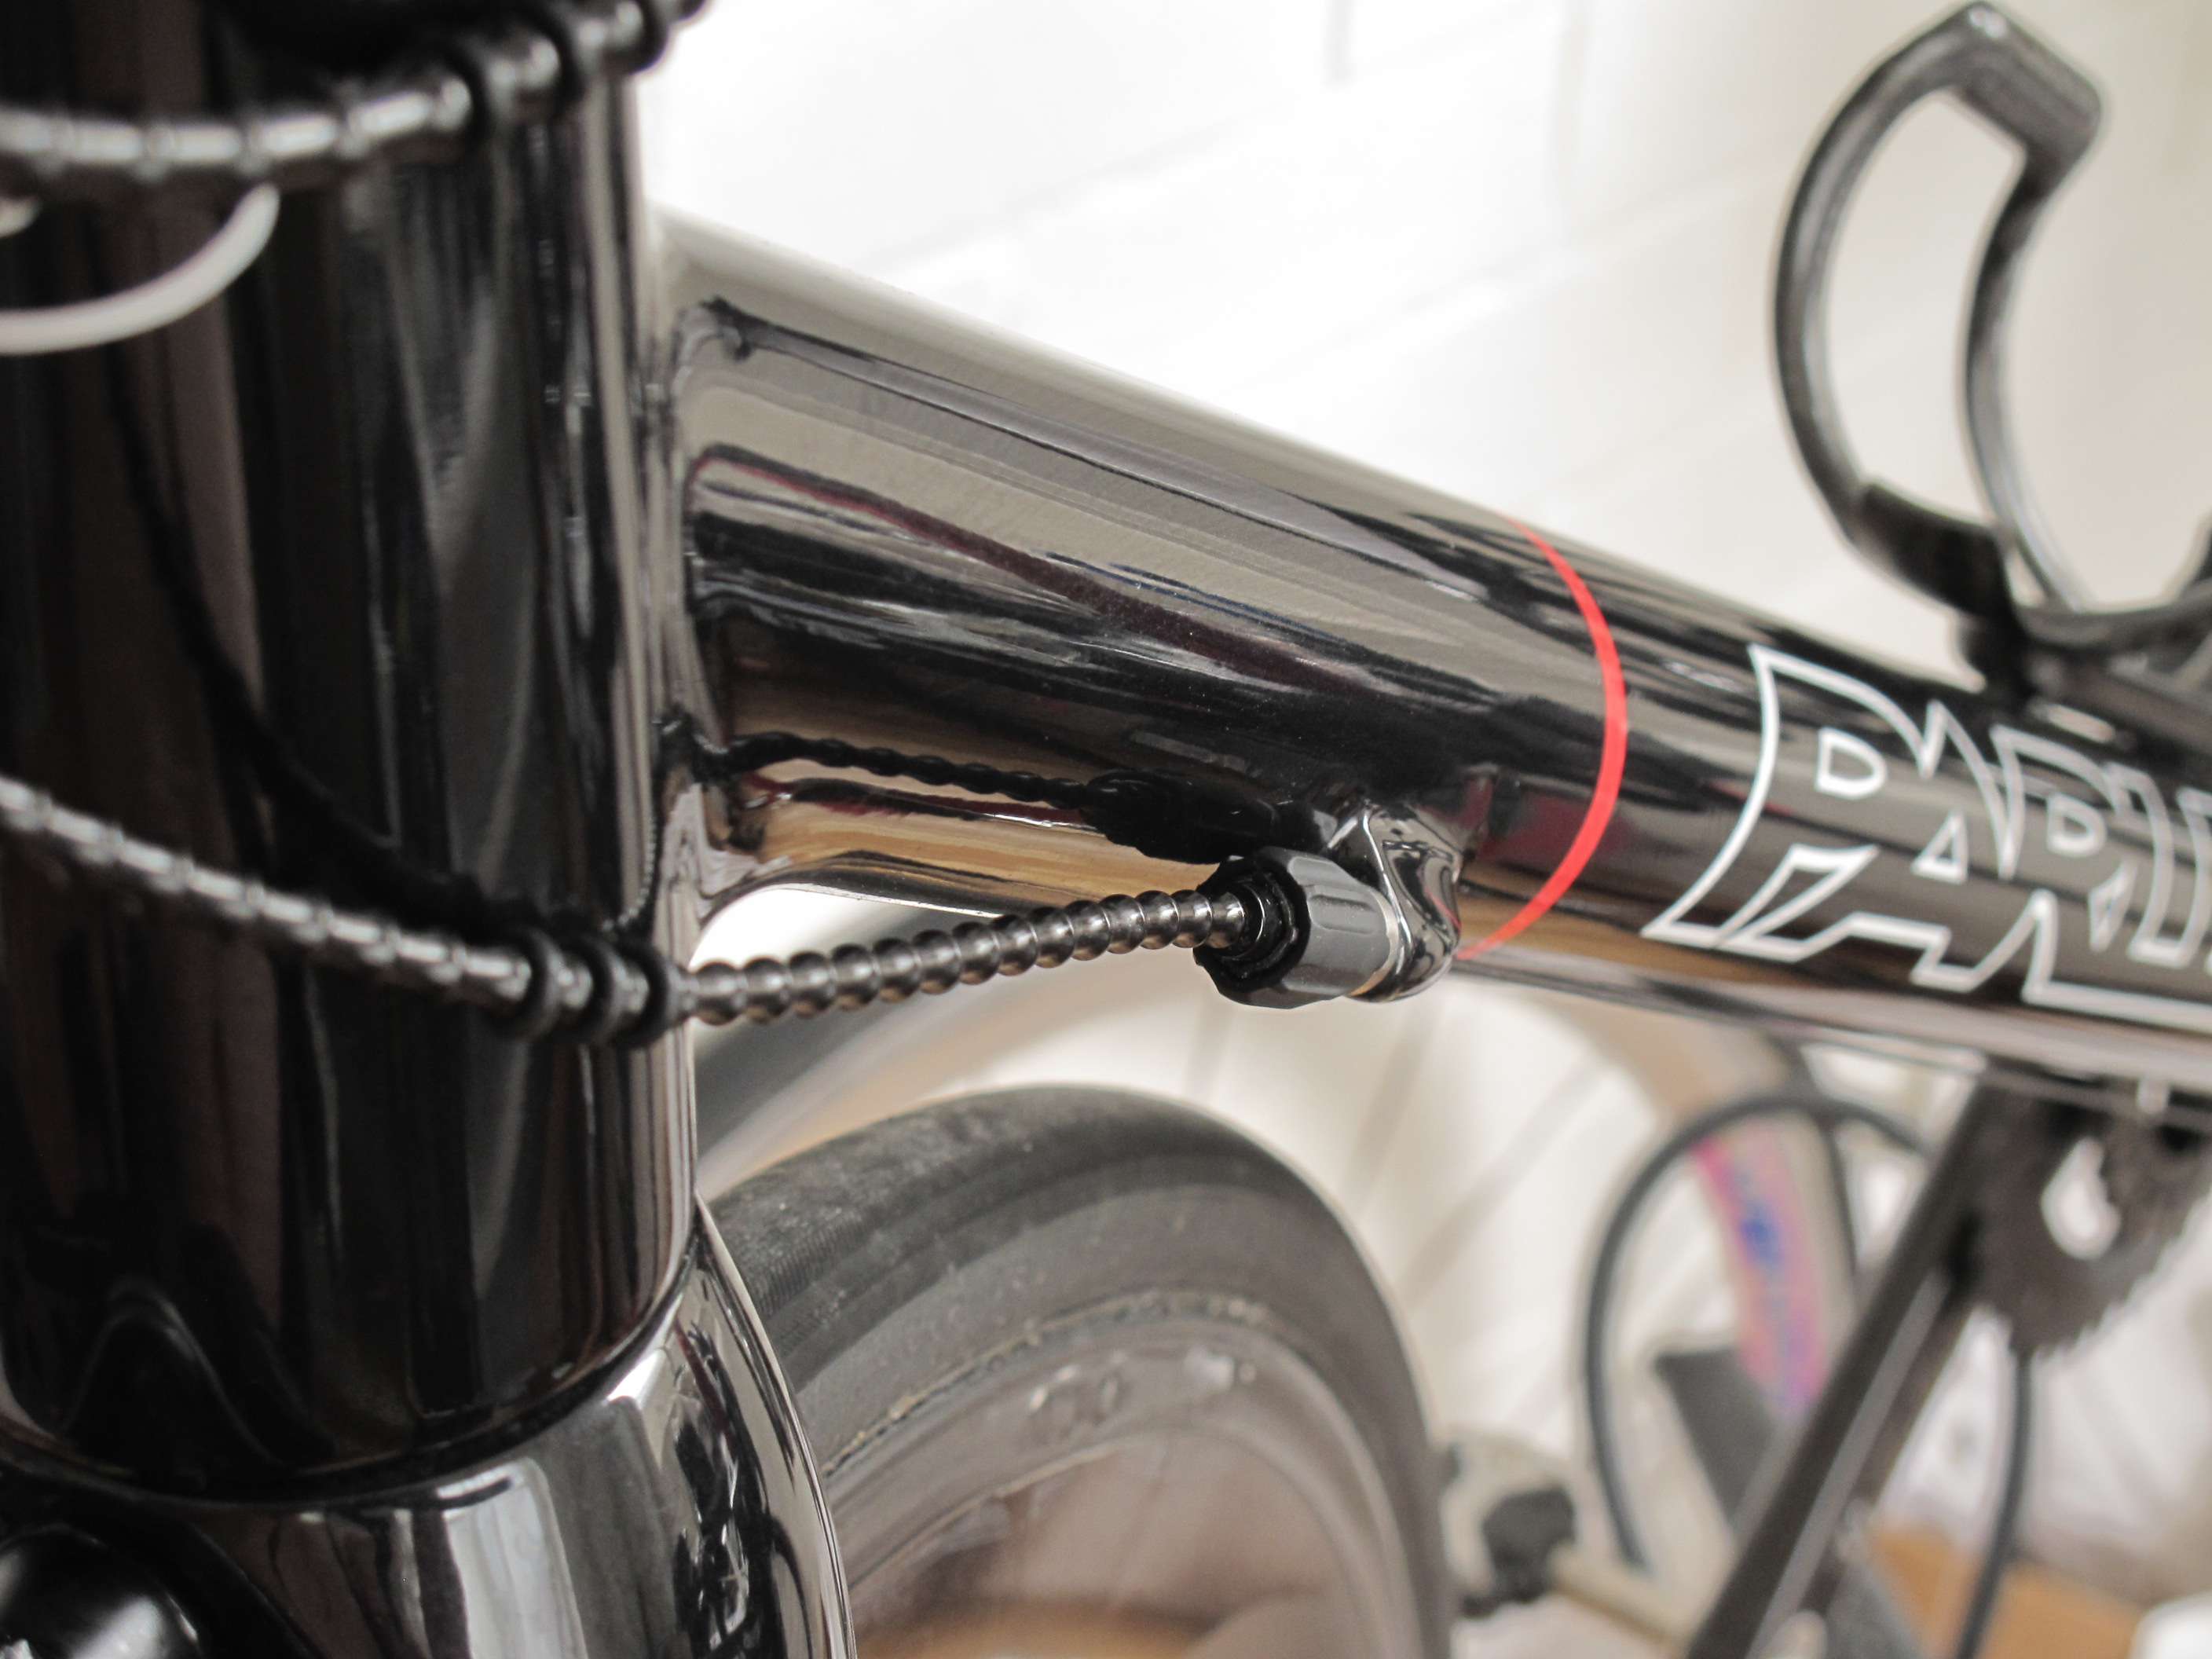
now is the time to add #06 o-rings to your housings and #02 o-rings to your free cable under the top tube to avoid cable rub and having to use less elegant solutions
for the rear brake cable and the rear mech cable you need to feed the liner in so that the flared end is at the mech/brake end, the opposite way to the front housings...
also you'll need to use the longer ferrules the kit comes with... you could cut them down a bit in my opinion and the cheap graphics come off with a little acetone very easy..
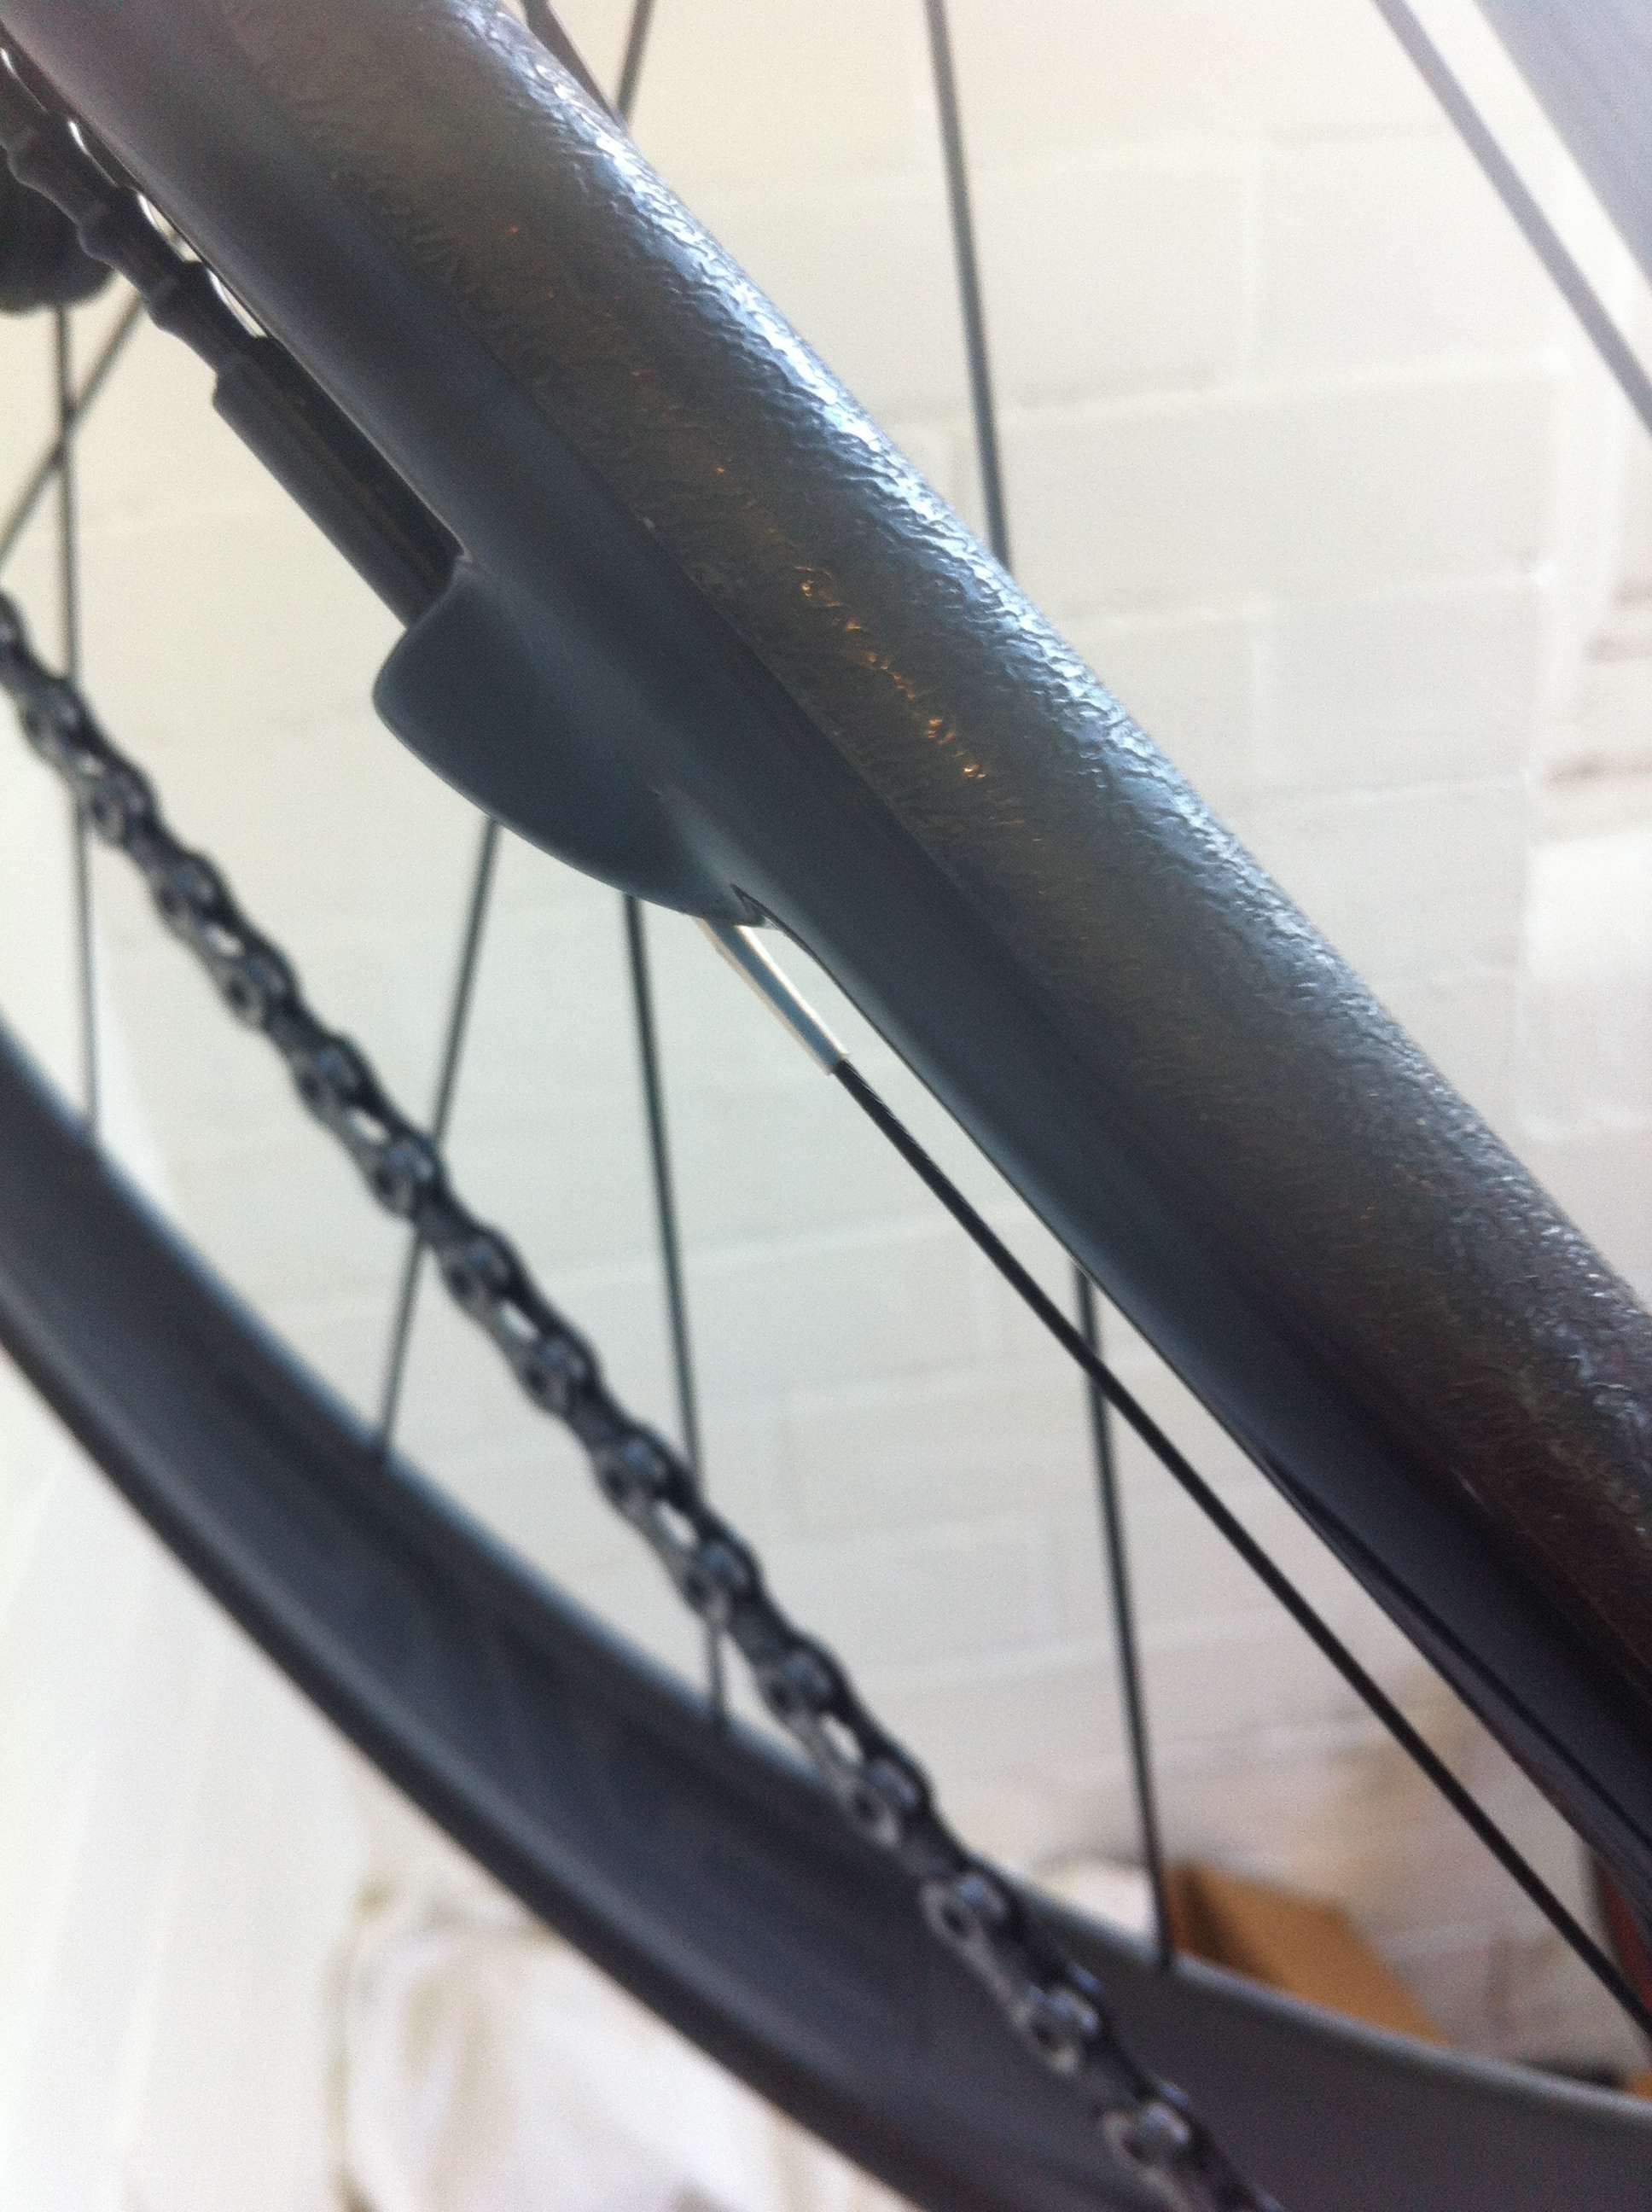
the clip in housing ferrules go into the brake and the mech respectively
a note about the rear mech section... i read somewhere a long time ago that the magic length for a rear mech housing is 292mm which is basically how the campag std cable comes out of the box... for reasons unknown it totally works and i never mess with the old law, you could make it shorter but i wouldn't bother, no point in having a lightweight bike that shifts like a dog.
also a word of warning about the std ilink cables, they stretch... you'll need to pre stretch the shifter cables or you'll loose gears...
with the rear mech start in the 11 and shift as far as you can with out turing the cranks... stretch em real good then re adjust the cable pinch bolts...
i'm going to upgrade to DLC cables as soon as fairwheel get them all back into stock, i think they are a much better cable..
KCNC DLC Derailleur Cable [Kc DLC Der Cable] : Fairwheel Bikes, Cycling Boutique


