Save nearly 100g-Fractionally re-enforced addict ISP job
Posted: Mon Feb 18, 2008 6:47 am


Other photos available on request to others considering this step.
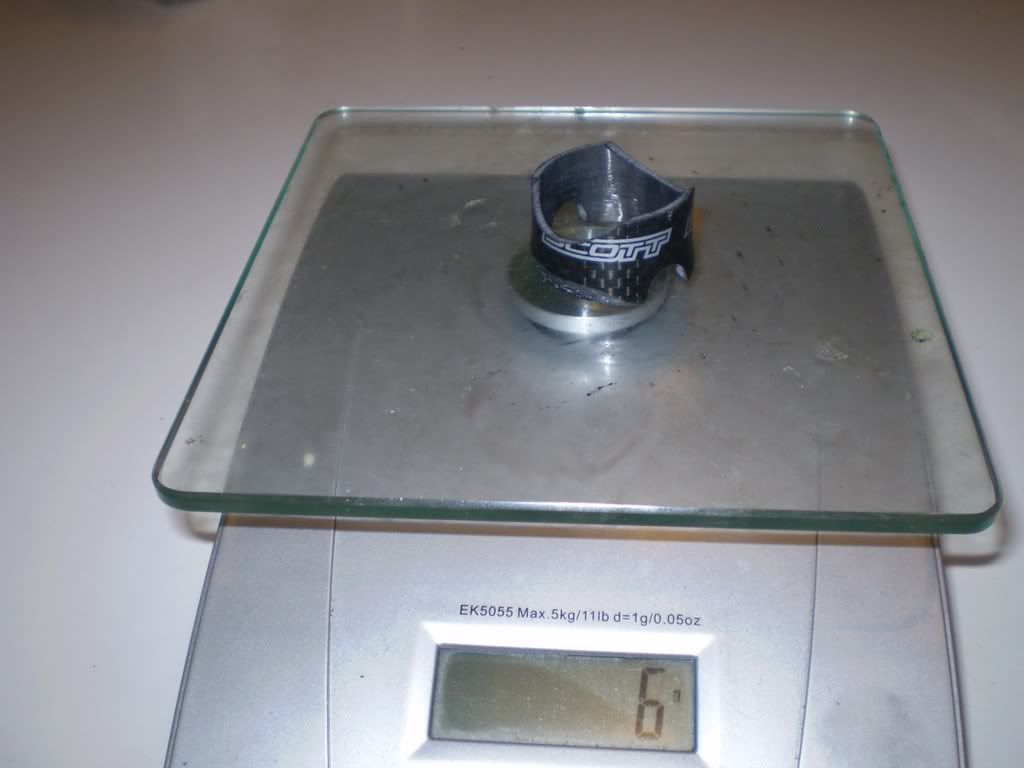
All up, it saves just under 100g over the standard set up if you are running a deep carbon railed saddle (the clamping mechanism on the deep carbon option is a little heavier than the standard one....shifting the mass of the standard isp pillar to approx 127 ish g.
This solution is about 30something grams and it could probably be done in the high 20's.
It took me quite a few hours, but the end result looks very good indeed "in the flesh".
I'm working on a better carbon cradle to move the saddle back with more support, and will then build 3 versions (with fractionally different stack heights).
With the new brakes that are on their way (KCNCs) this bike will weigh a real 5.6x kg- 5.5x kg.....I won't stop this month until I hit 5.5x
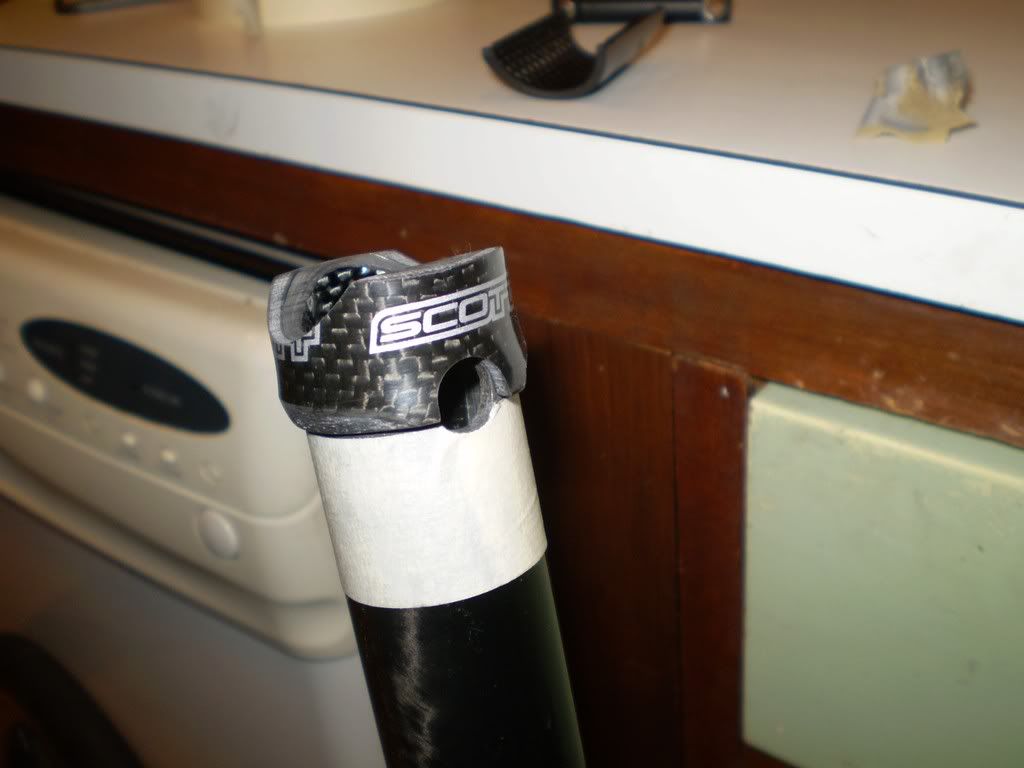
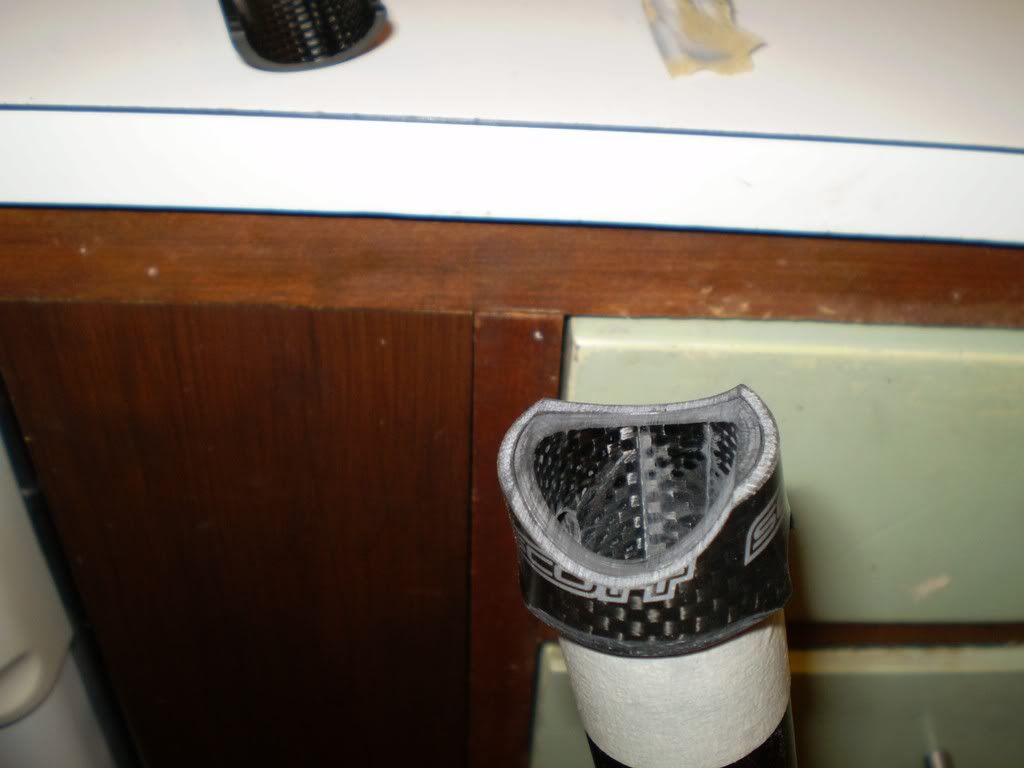
1.Careful measuring then the cut done using the supplied tool from SCOTT, followed by a careful cut / u-cut done with a file (curved back of a half-round with a similar profile to take it within 2mm of final height.
2. use the excess cut headtube....and with 1 wrap of sandpaper it comes to the same o.d. as the isp post (I have used the off-cut of the isp to make my cradles)...then sand to the line
3. I used a lazer-level to line up the hole for the bar, then made a hole guide for a 6mm hole using a 10mm headset spacer I had sanded out to fit the isp (you need to sand out a total of 1.5(ish) mm from the i.d. it takes about 2 mins to do that with 120 grade sand paper....get it smooth before you put it over).
Drill the 6mm hole....check it is perfectly in-line (lazer again) then enlarge to 10mm with the appropriate drill bit.
3. make your i.d. of a deeper headset spacer (i used the scott one to retain the brand labels though only the front one ends up being intact) so it snuggly fit the isp.
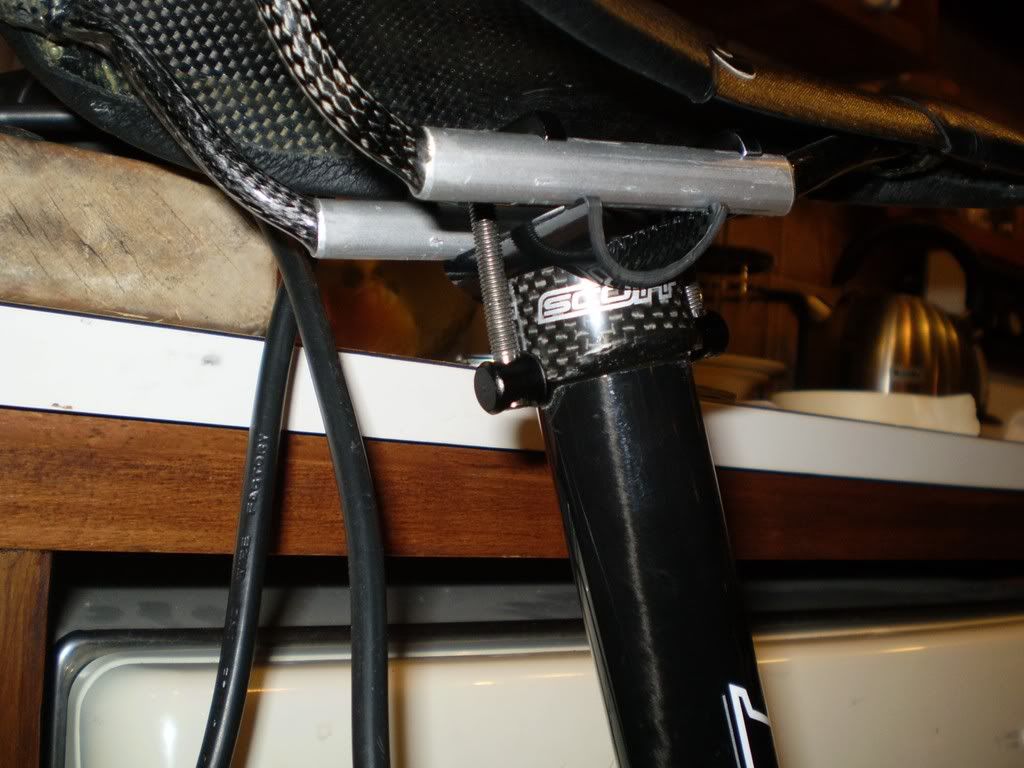
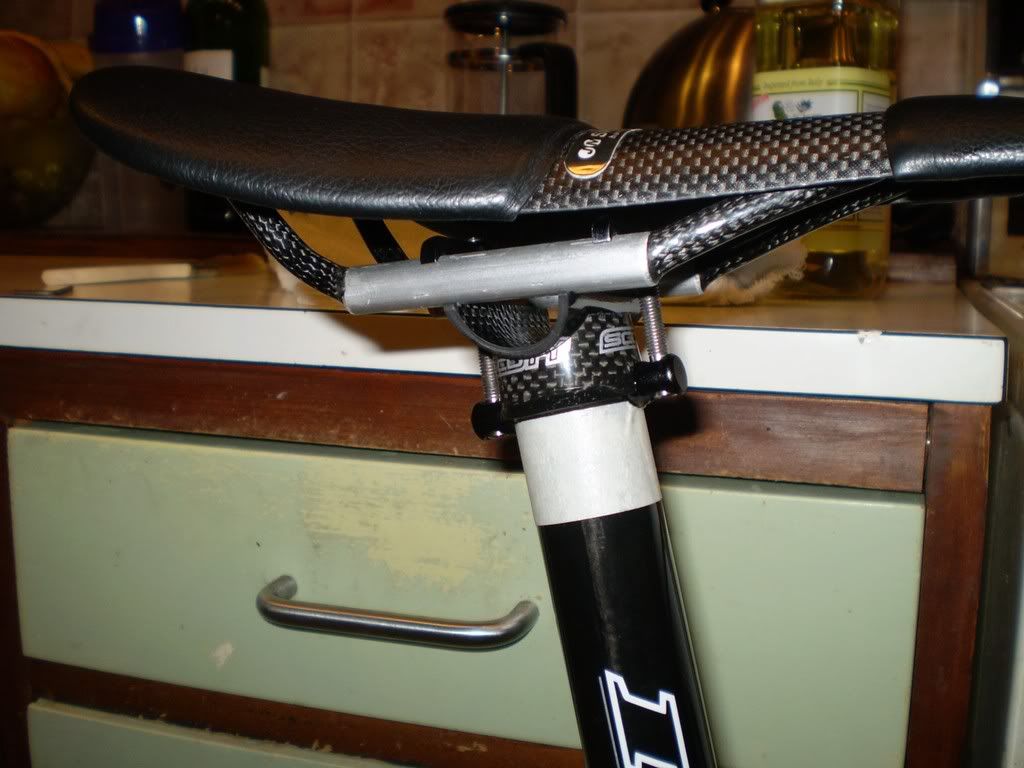
4. use a small round file to make the bar hole halfway through (see photo). Push down firmly then use the half-round file to cut the u at the top perfectly in-line with the isp. Double-check it is at 90 degrees to the isp both verticall and horzontally (this is where my lazer level was awesome....it's the 90 degree cross-hair type). see pic of the part on the scale.
5. Mask the isp just under the cap (I used painters masking tape)
Remove the gel coat from the isp with gentle sanding (wipe with solvent FIRST to remove any mould-release agent/wax before you do this!!).
6.Apply a thin layer of wax/oil/ mould release agent (I used Olive oil) to the under side of your cradle (I made mine from half of the isp cut-off). apply a thin coat of good quality 2 pack/epoxy to both surfaces of the cap and isp then assemble (the whole thing!!)(i used west systems epoxy)...Steven at fibre-lyte recommends scotchweld dp-40. Use your finger to wipe away excess then allow to dry/cure until "gel-like". Remove the masking tape at the gel stage.
2 hours later, disassemble and remove the cradle (while you still can!....quite a bit of epoxy will penetrate and get right up there).
Allow to harden over night.
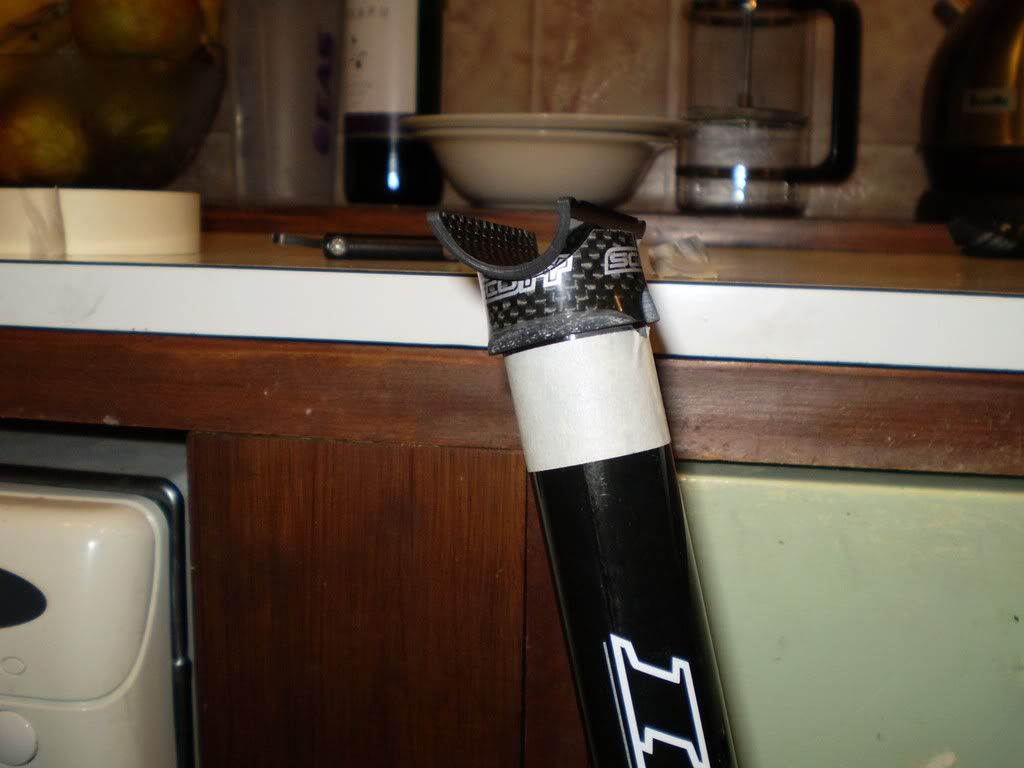
7. lightly sand the final u-cut at the top then reassemble the bar into place and carefully bead same epoxy round the base of the cap to blend it to the isp and around both the i.d and o.d. where the bar goes though.
DONE!!
8.Leave it 2 days to fully cure then check everything is cool...assemble using assembly paste (for carbon)....it comes in the frame box from SCOTT...YAY! SCOTT! ... between the u-cut and cradle.....GO RIDE!!!!
This is a bit of a mission....but the end result is clean, classy, strong and light.
-The Remery (edited 5 times...ew...I'm crap!)
