custom wheels: 866g AC Magnesium clinchers, Fred Johnson etc

Back by popular demand, the general all-things Road forum!

Moderator: robbosmans

ubergoober
Posts: 59
Joined: Sun Apr 12, 2015 8:11 pm
Location: Victoria BC

by ubergoober

Here is a thread for my own wheels I have built up and ridden in the past few years.

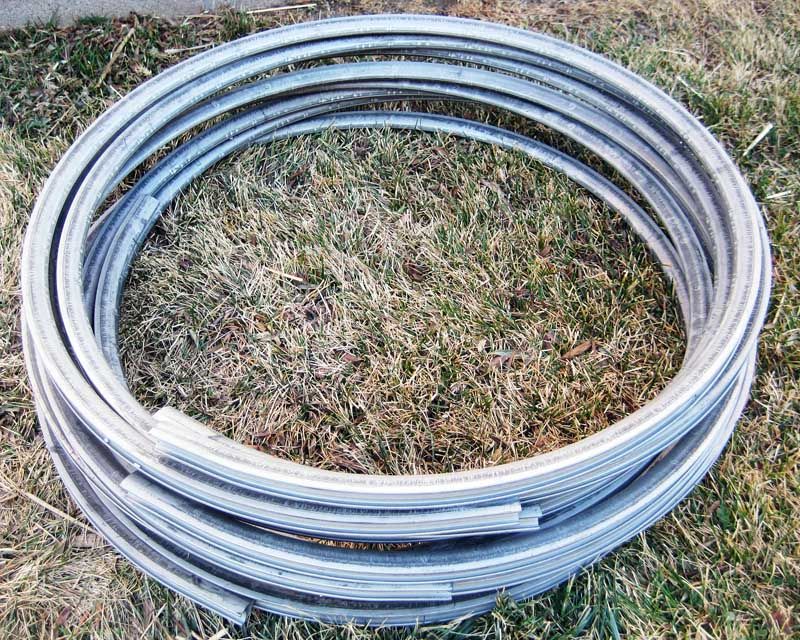
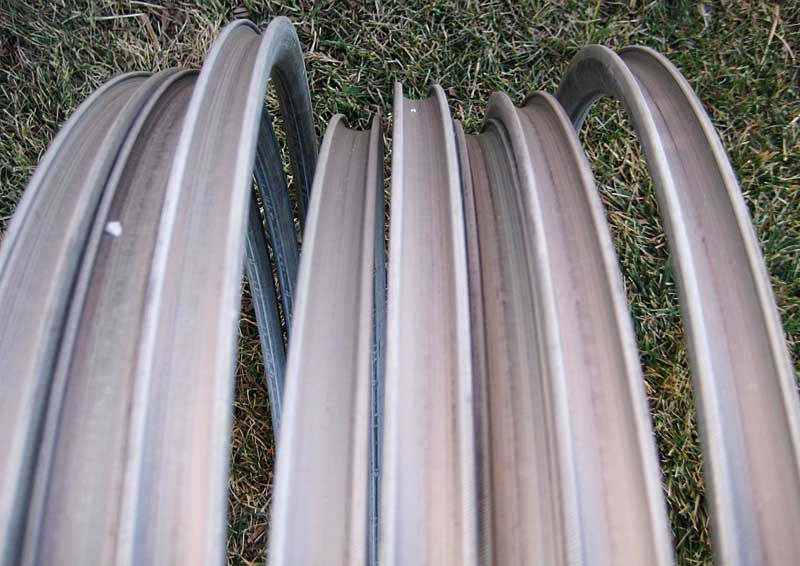
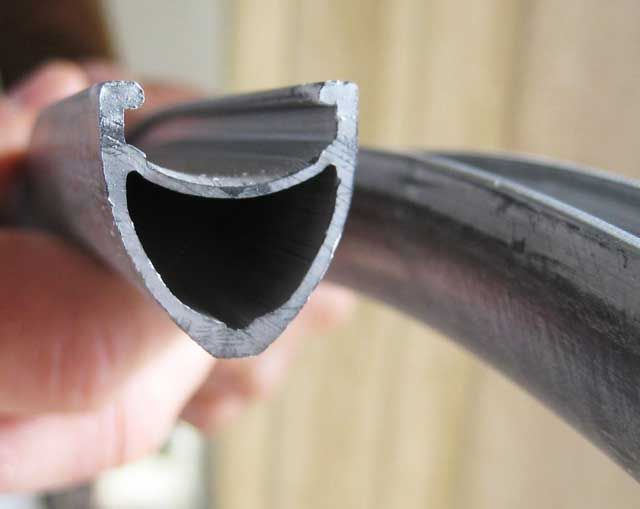
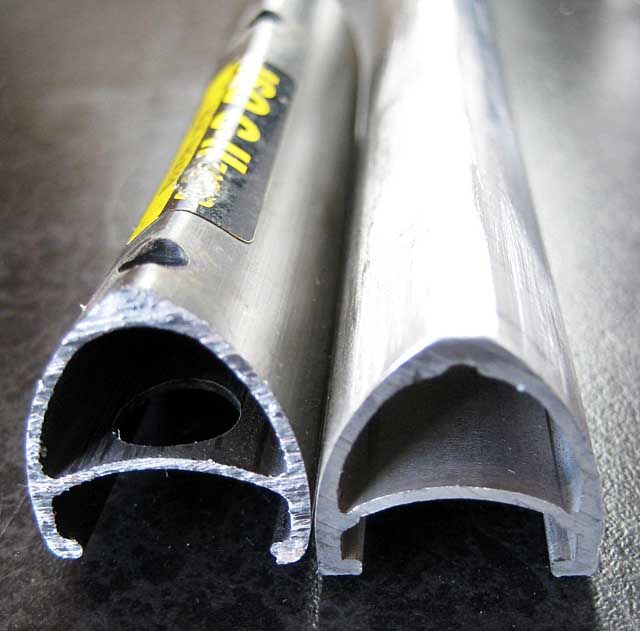
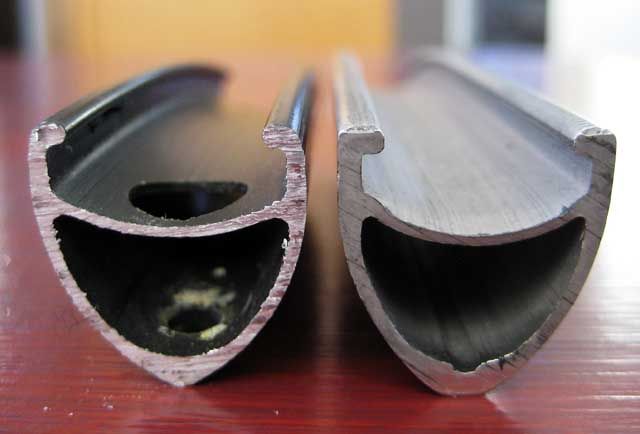
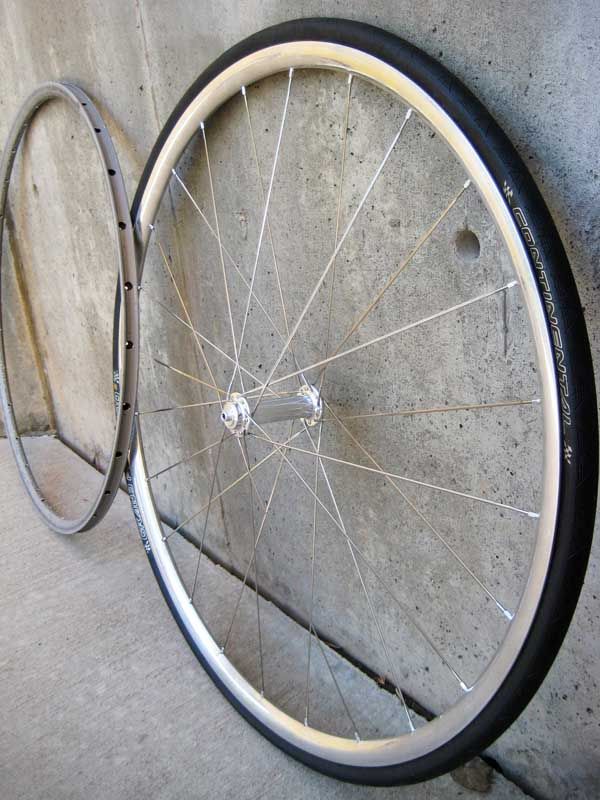
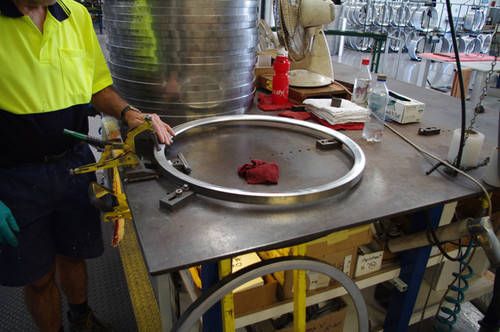
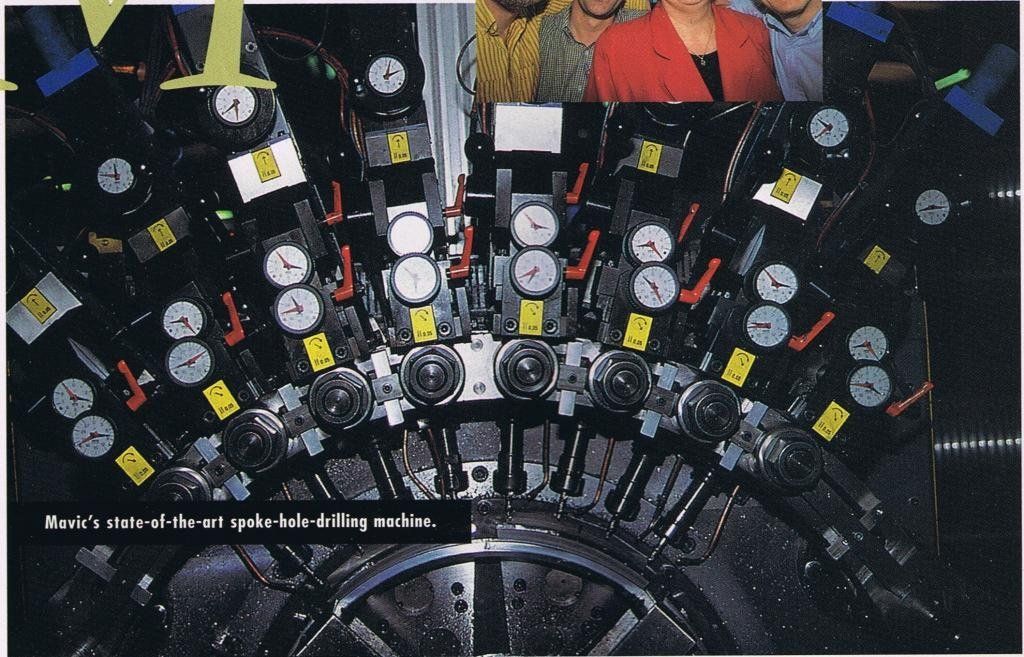
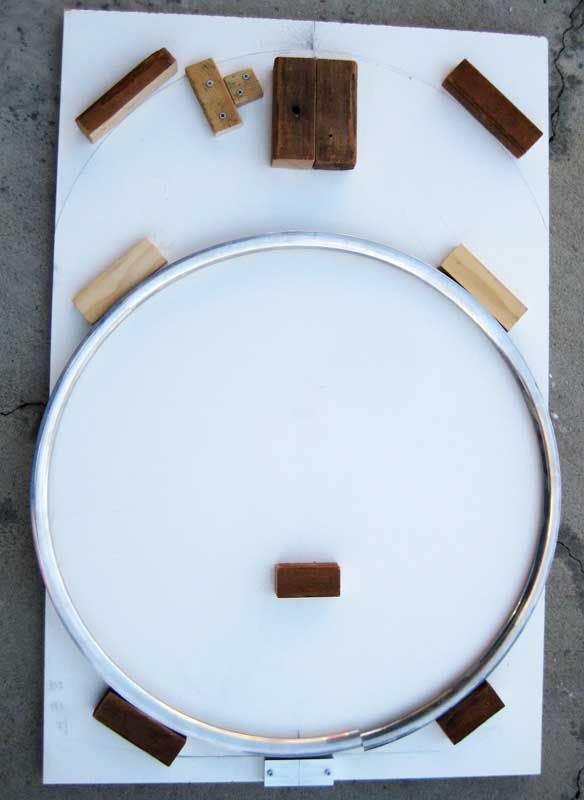
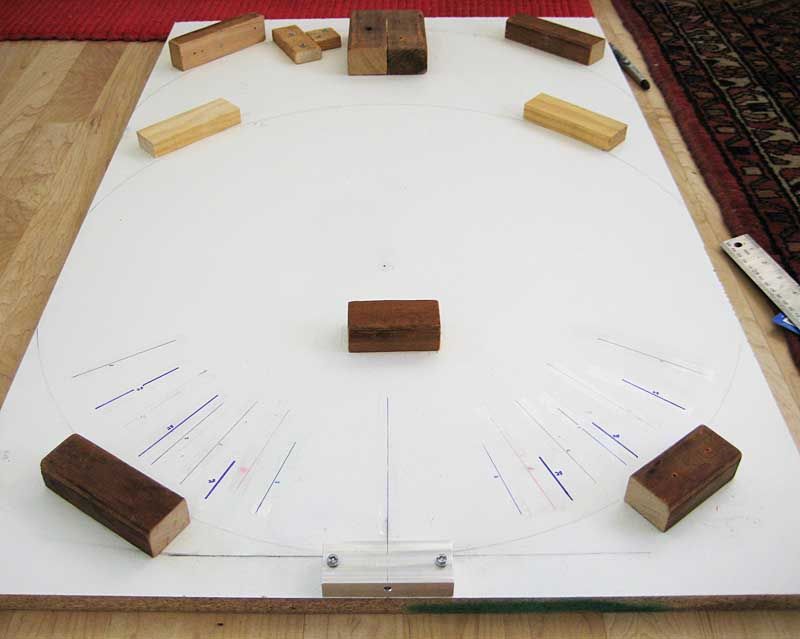
Starting off, the WW forum has to be one of the only places you will see the rare Fred Johnson magnesium rims. They are (were) on Don Becker's incredible Ruegamer and I believe he has tuned some wheels into the 7XXg range. I happened upon a small stash of unfinished blanks that I am building up for myself. I have just these few and they aren't for sale.

Image
Image

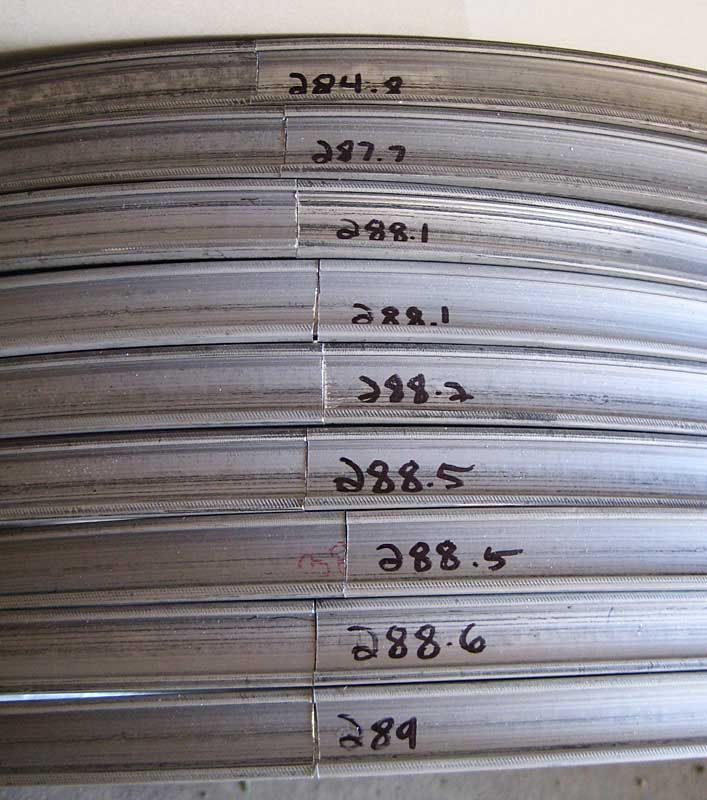
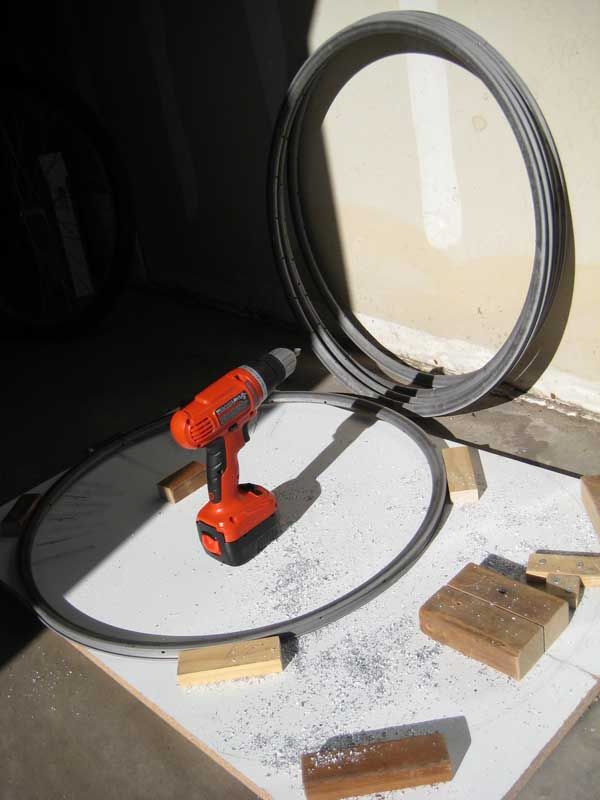
and the weight before drilling:
Image

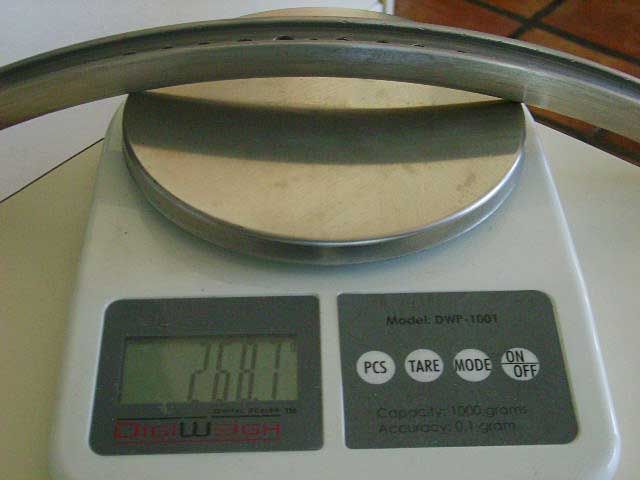
268g for a mildly tuned rim:
Image

by Weenie


Visit starbike.com Online Retailer for HighEnd cycling components
Great Prices ✓    Broad Selection ✓    Worldwide Delivery ✓

www.starbike.com


User avatar
ergott
Posts: 2870
Joined: Tue Apr 18, 2006 3:03 am
Location: Islip, NY
Contact:

by ergott

Cool I think? The don't look joined.

ubergoober
Posts: 59
Joined: Sun Apr 12, 2015 8:11 pm
Location: Victoria BC

by ubergoober

Yep.. on to the tedious part. Where do you cut them so a tire fits just right? The hole spacing took some head scratching before I thought of a jig to do 20/24/28h etc. And the joints need a lot of filing before they fit right and get sleeves and epoxy.

You hold this up to the light and say 'nope, grab the file again'.
Image

User avatar
ergott
Posts: 2870
Joined: Tue Apr 18, 2006 3:03 am
Location: Islip, NY
Contact:

by ergott

You need to measure the rim diameter at the bead seat. You should be as close to 622mm as possible.

http://www.sheldonbrown.com/tire-sizing.html

What if you took some emery paper and folded it and put it in between the joint. Then you are sanding both sides together and they will meet nicely.

ubergoober
Posts: 59
Joined: Sun Apr 12, 2015 8:11 pm
Location: Victoria BC

by ubergoober

After overthinking some complicated jigs here's what I came up with:
Image

The hard part was calibrating that length for the perfect tire fit. It worked great once I figured that out.

User avatar
ergott
Posts: 2870
Joined: Tue Apr 18, 2006 3:03 am
Location: Islip, NY
Contact:

by ergott

Are you measuring from the top of the hook or at the bead seat? It's better to measure tire fit at the bead seat.

Image

ubergoober
Posts: 59
Joined: Sun Apr 12, 2015 8:11 pm
Location: Victoria BC

by ubergoober

A little more about the FJ mag rims. The history I have heard was that the existing rims were prototypes for a rim company that never happened in the 1990's. He got cold feet from liability issues AFAIK. The name that was to be used was 'Cheetah Paws'.. and I would love to see a logo or sticker if it was ever produced.

If any of this is incorrect I would love to hear more.

When I first saw the cross section it reminded me of the Matrix ISO.
Image
So the next chance I had to compare these to one confirmed the similarity, although with thicker walls due to using a less dense material. Could FJ have modeled his design after these?

Image
Image

ubergoober
Posts: 59
Joined: Sun Apr 12, 2015 8:11 pm
Location: Victoria BC

by ubergoober

ergott wrote:Are you measuring from the top of the hook or at the bead seat? It's better to measure tire fit at the bead seat.

Image


Both, and neither. :D
Here with the successful fit I wanted.. no tire lever to install a Conti folding tire:
Image

User avatar
ergott
Posts: 2870
Joined: Tue Apr 18, 2006 3:03 am
Location: Islip, NY
Contact:

by ergott

ubergoober wrote:Image


Are you offset drilling the spoke holes? How are you dealing with that groove in the spoke bed?

Comparing those side to side I see that the left rim has a taller sidewall. On the right, the tire bead should be above that bump so it's at the bottom of the vertical wall. If not the tire isn't seated in the right place.

Image

User avatar
HermesSport
in the industry
Posts: 92
Joined: Wed May 09, 2012 12:39 am
Location: San Diego, CA
Contact:

by HermesSport

What are they like in the stand?
Hermes Sport, San Diego CA
Handbuilt Competition Wheel Systems
http://www.hermes-sport.com

User avatar
ergott
Posts: 2870
Joined: Tue Apr 18, 2006 3:03 am
Location: Islip, NY
Contact:

by ergott

PS - Alchemy front hub? Nice!

ubergoober
Posts: 59
Joined: Sun Apr 12, 2015 8:11 pm
Location: Victoria BC

by ubergoober

Drilling these: yes I have offset all of them so far. And again I had to back off on overthinking these steps. Just for fun here are some Velocity and Mavic rim drilling machines.
Image
Image

My drilling jig is the same as the cutting jig but turned the other way. This technology has 2 settings. :lol:
It uses that metal block as a drilling guide.
Image
Image
Image

And the spacing. Apologies if this high tech blows your mind!
Image

ubergoober
Posts: 59
Joined: Sun Apr 12, 2015 8:11 pm
Location: Victoria BC

by ubergoober

HermesSport wrote:What are they like in the stand?


The sleeved joints are getting better with practice.

But a pro wheel builder would scoff. But could probably name some production rims that are worse. :lol:

ubergoober
Posts: 59
Joined: Sun Apr 12, 2015 8:11 pm
Location: Victoria BC

by ubergoober

ergott wrote:PS - Alchemy front hub? Nice!


Yep.. big fan. Especially polished. :thumbup:

xena
Banned
Posts: 1149
Joined: Tue Apr 15, 2014 9:49 pm

by xena

Its not fair ,,,,,I need a set of these. Great thread and congrats on the rims. I'm so envious.
What variations in spokes hubs or are you building them all the same?
Xena a demi god among the digital demimonde that is WW community

http://i.imgur.com/hL5v3ai.jpg

https://www.flickr.com/photos/131970499@N02/

by Weenie


Visit starbike.com Online Retailer for HighEnd cycling components
Great Prices ✓    Broad Selection ✓    Worldwide Delivery ✓

www.starbike.com


Post Reply