

My old Allez headset bearings broke and chewed up the fork, so I took the opportunity to upgrade to a whole new bike. I live and ride in Houston. It's very flat. I'm a pretty strong aeroweenie, which is reflected in my build.
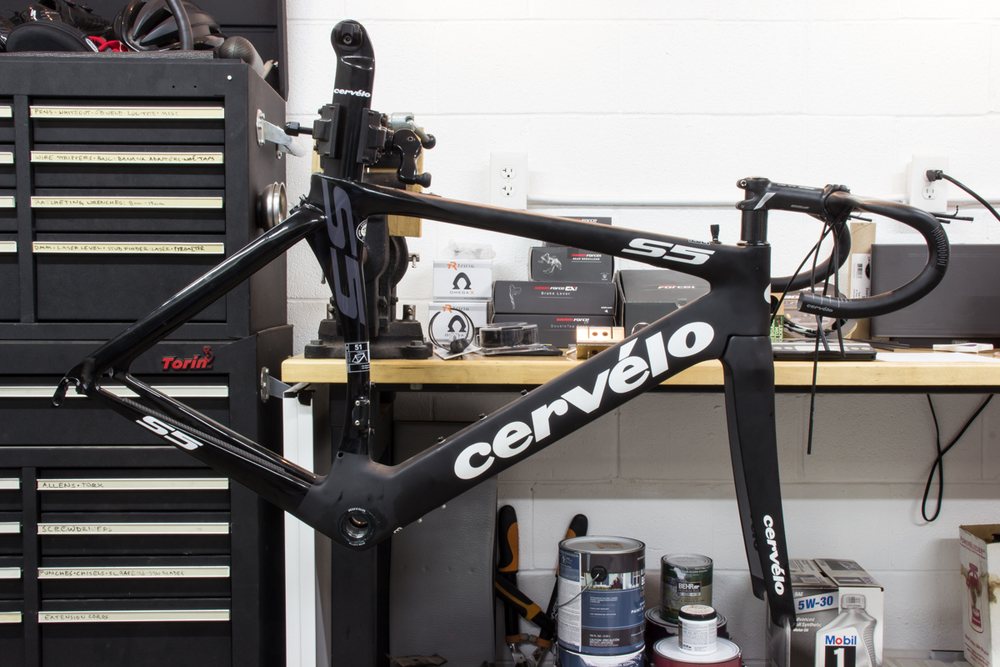
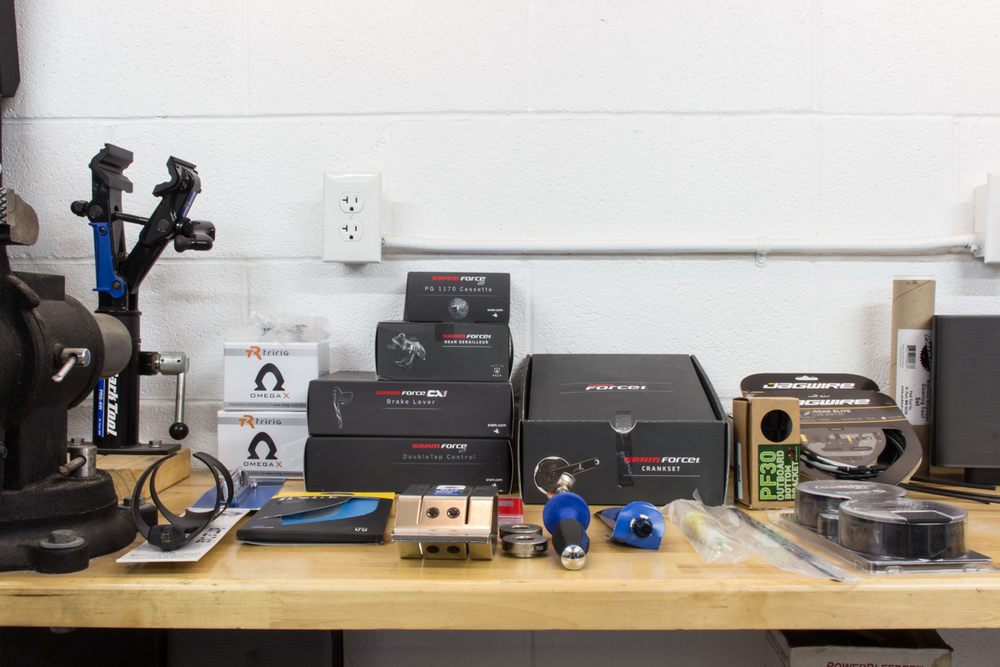
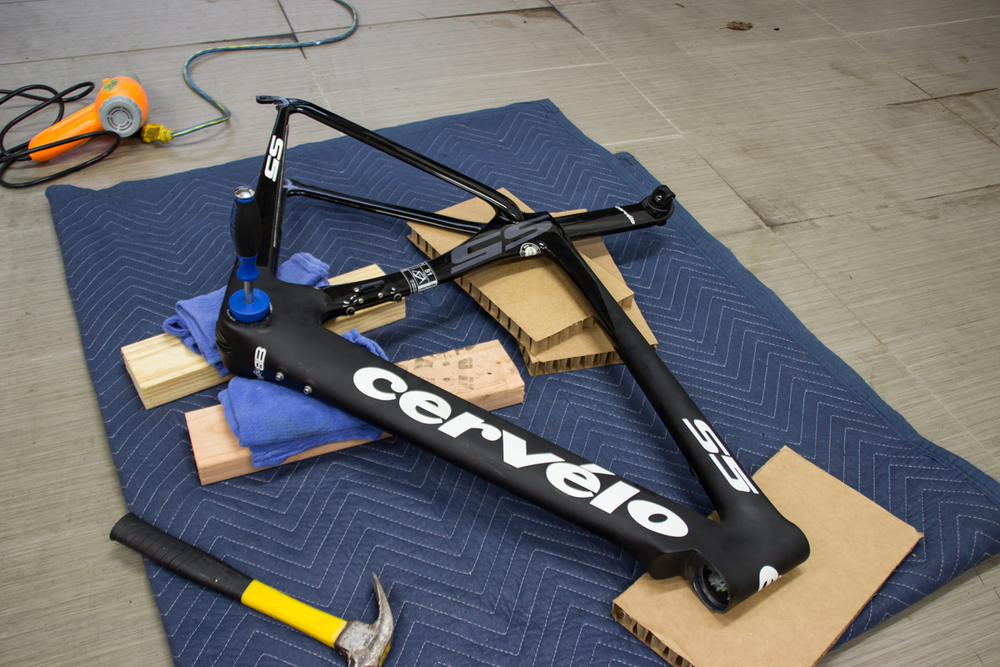
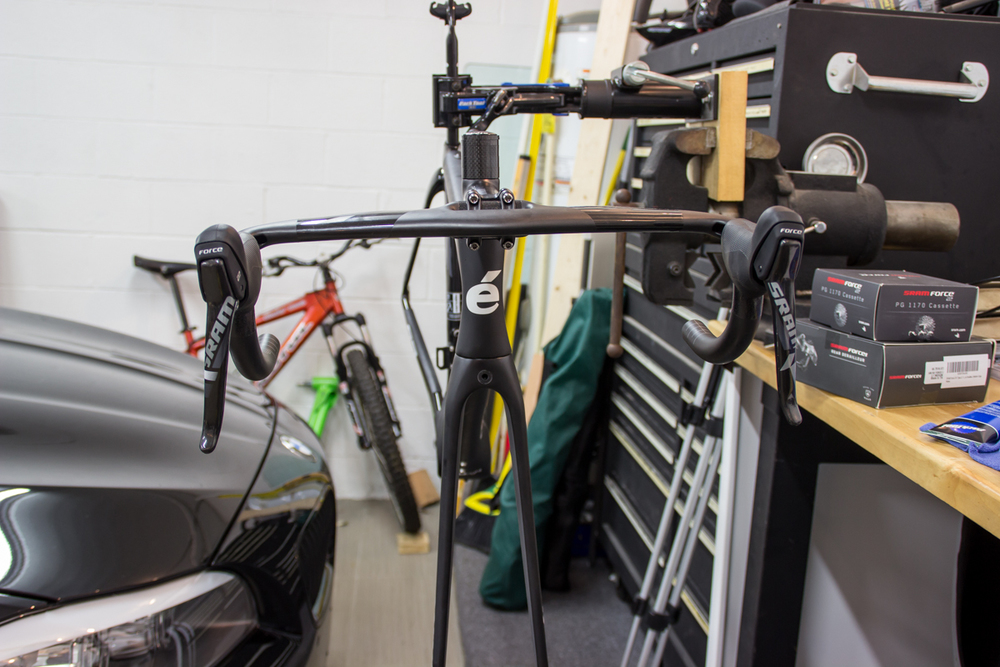
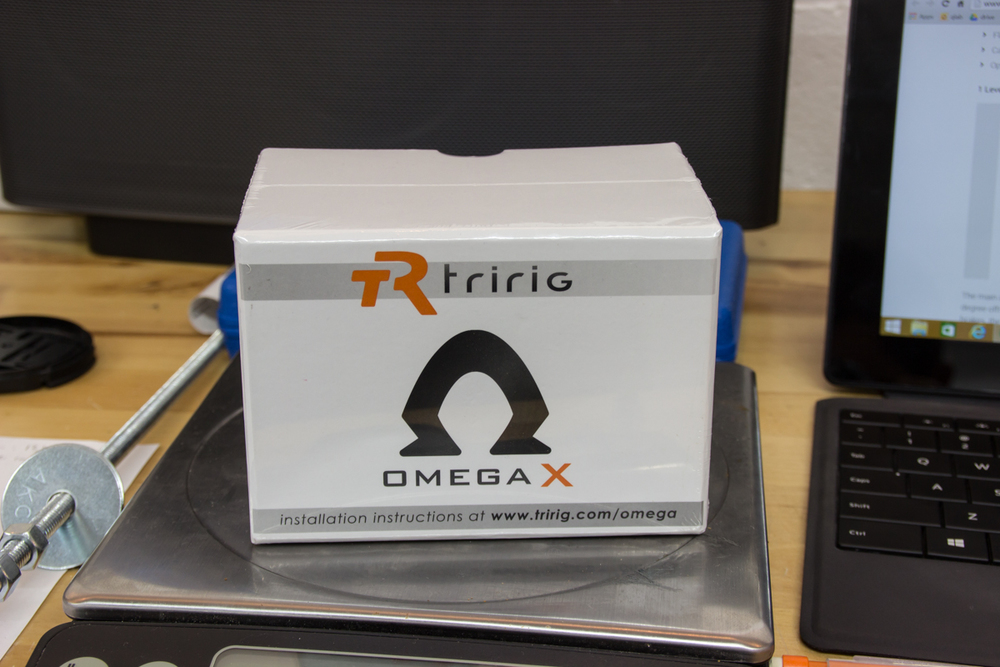
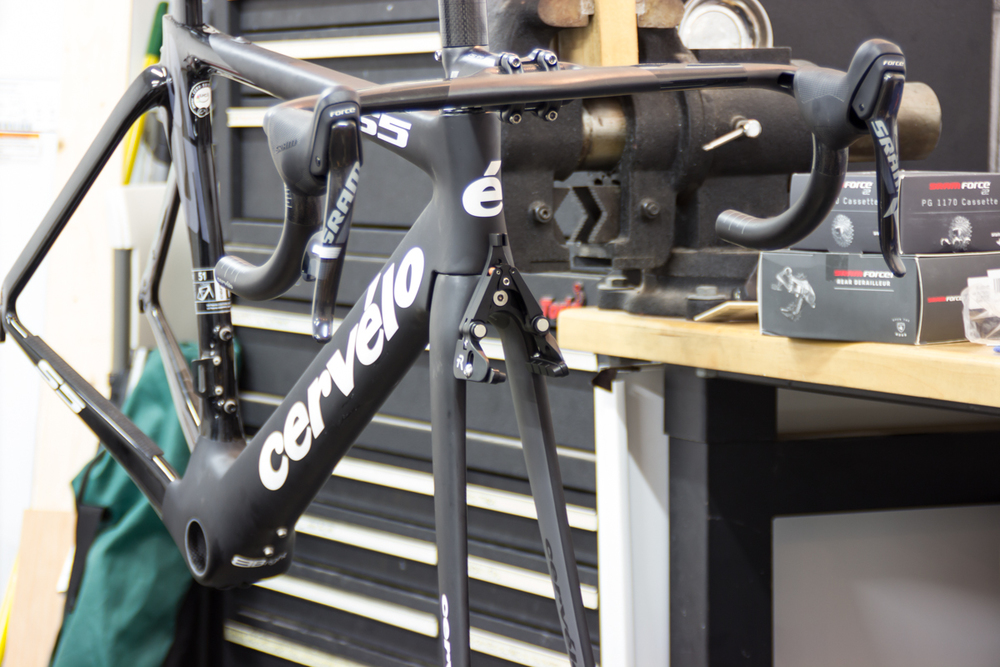
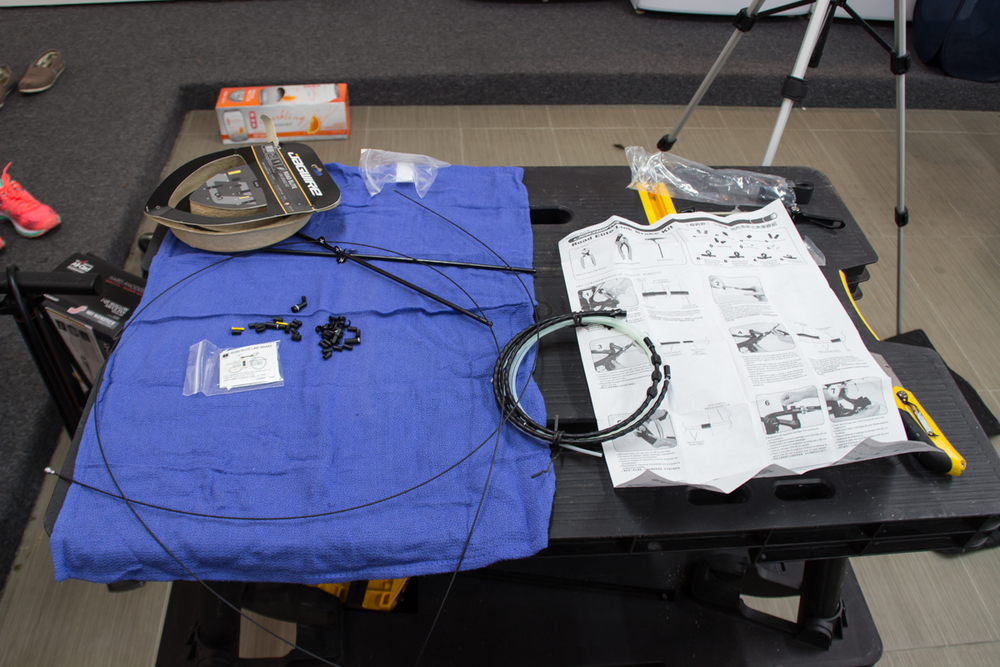
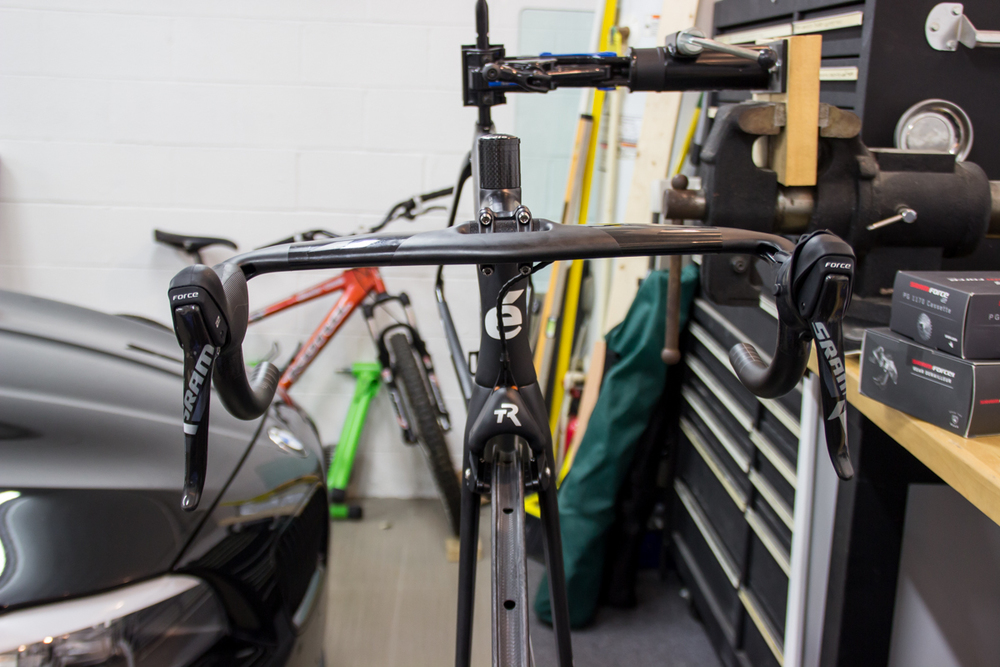
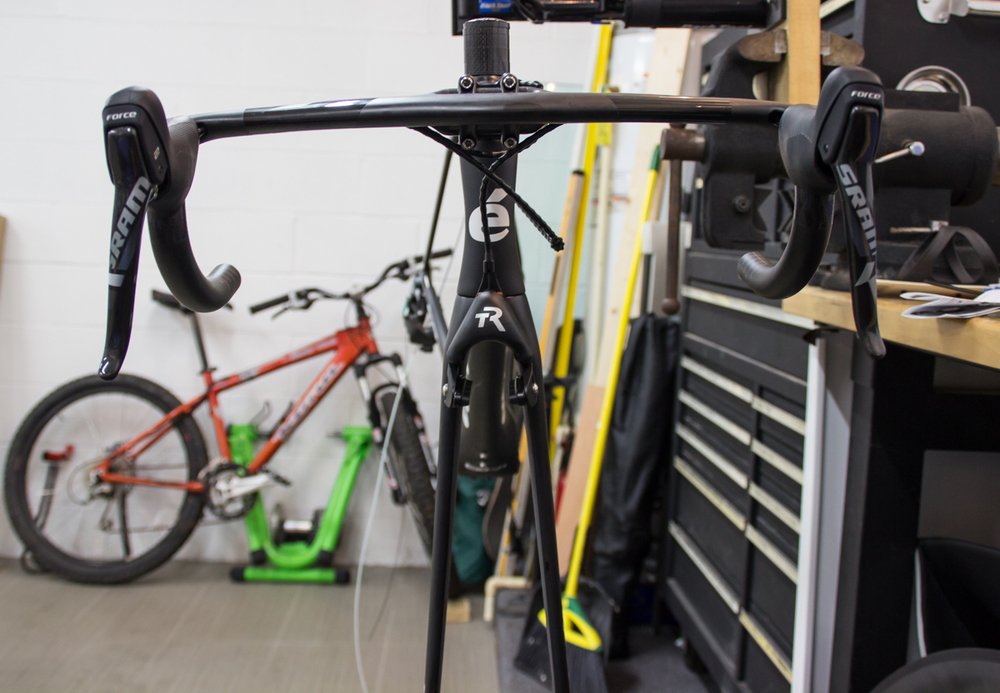
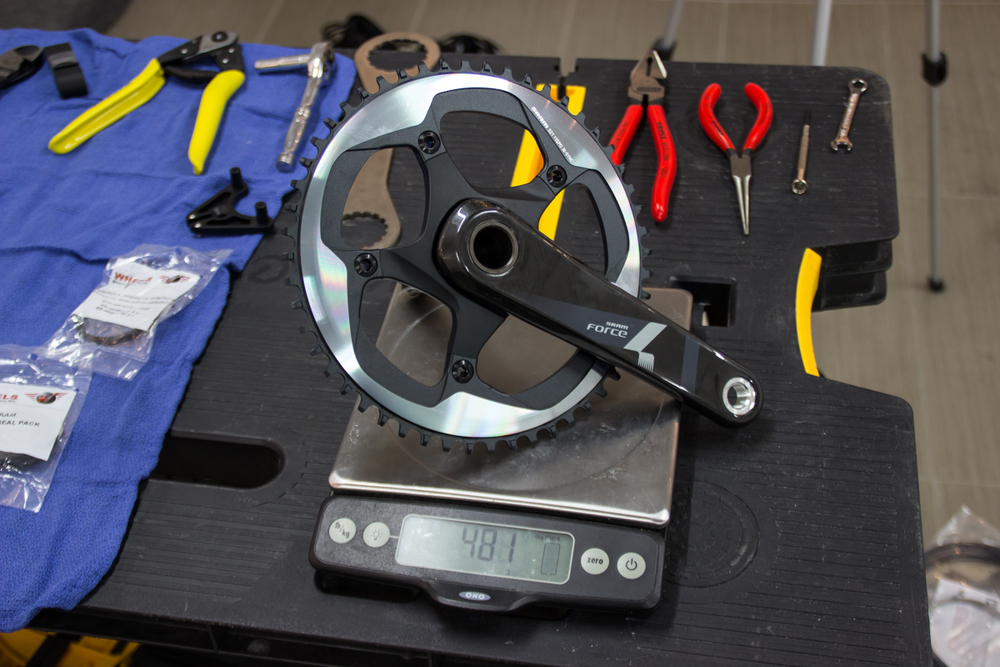
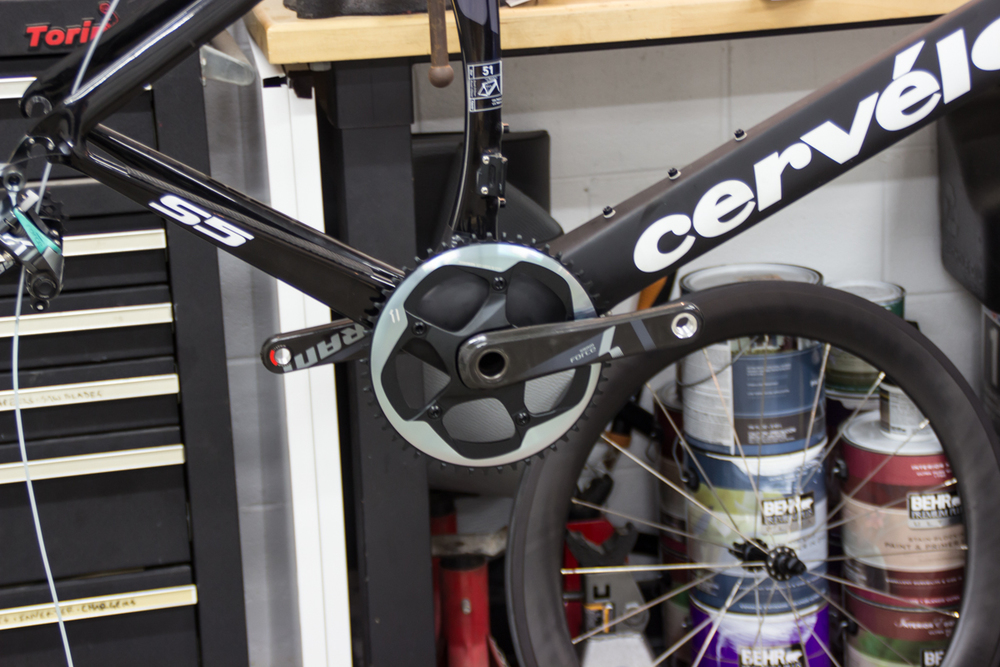
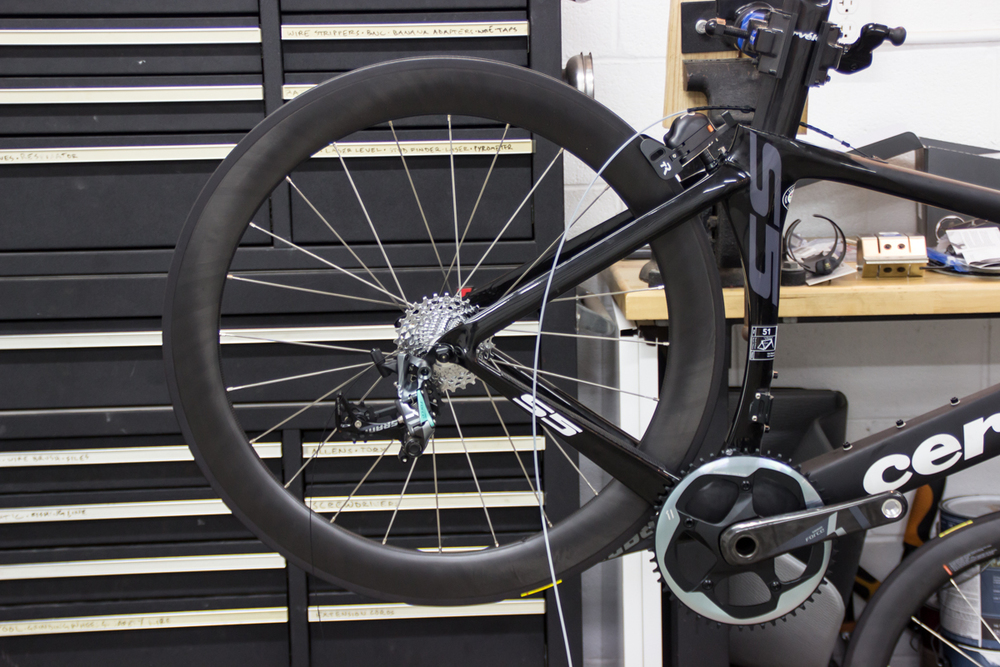
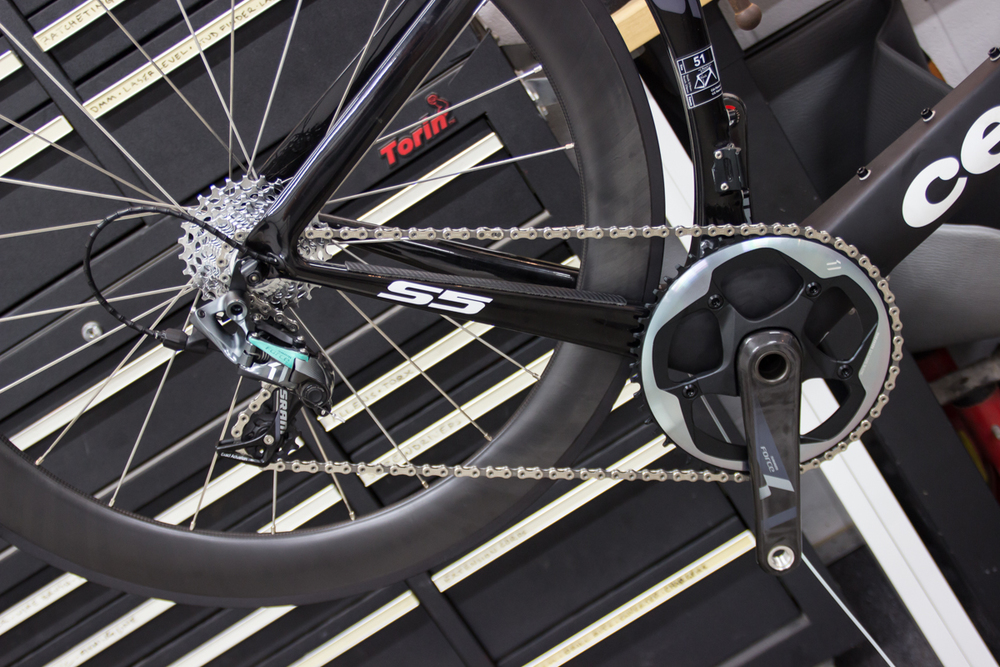
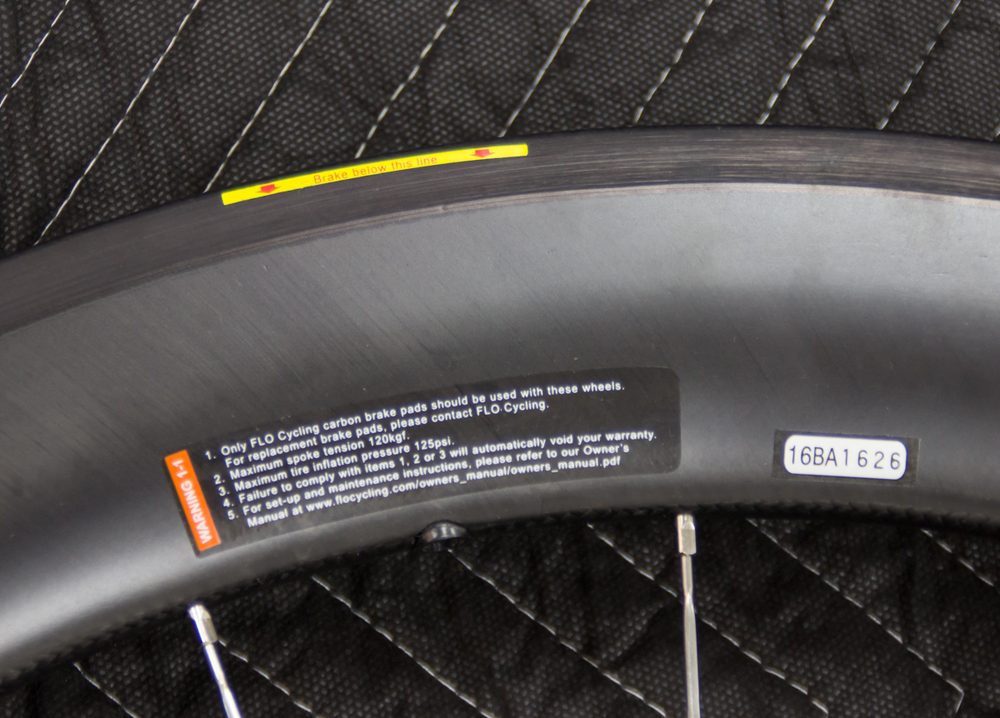
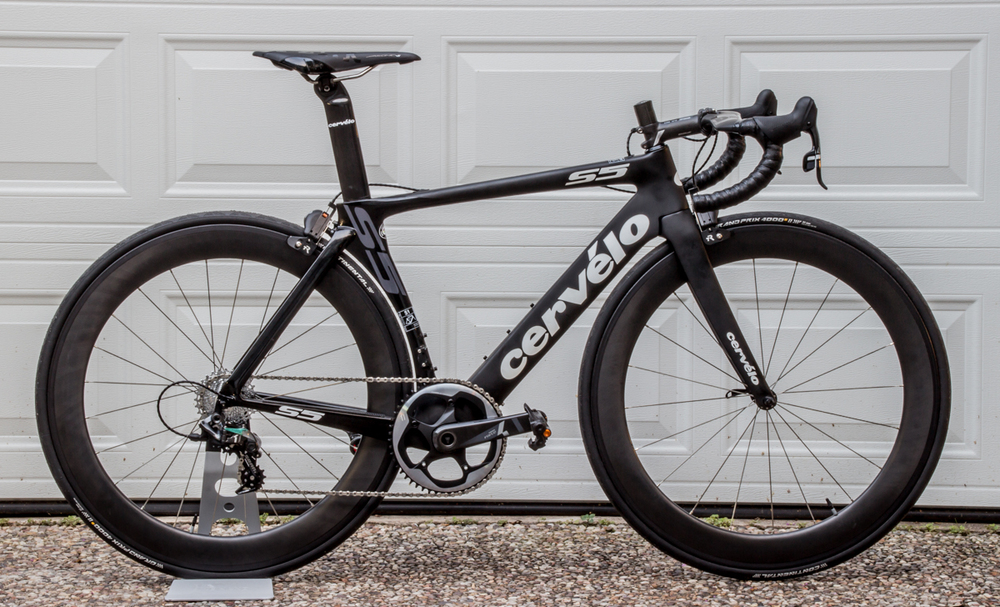
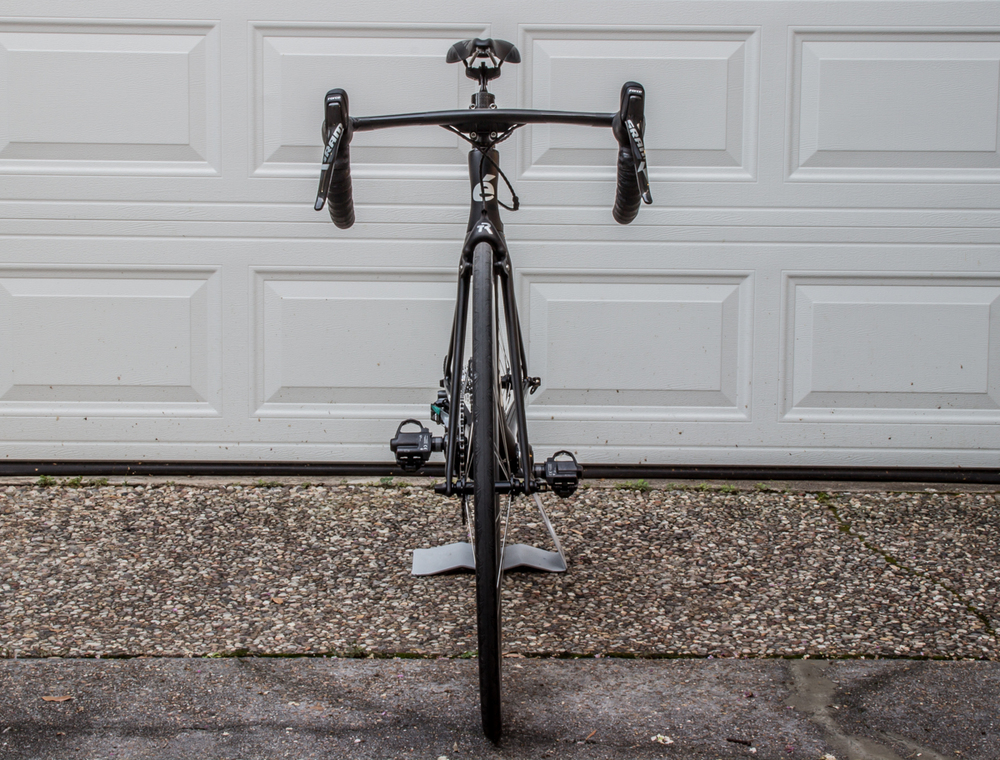
I'm not a mechanic or anything, but I enjoy working on bikes anyhow, so I did this build by myself in my garage. As the title states, I wanted to try SRAM's Force 1 groupset along with TriRig's Omega X aero brakes and Flo Cycling's new 60mm Carbon Clinchers on an S5 frame. I didn't give much consideration to weight, but here's the list of components and weights:
Component......Weight (grams)....Notes
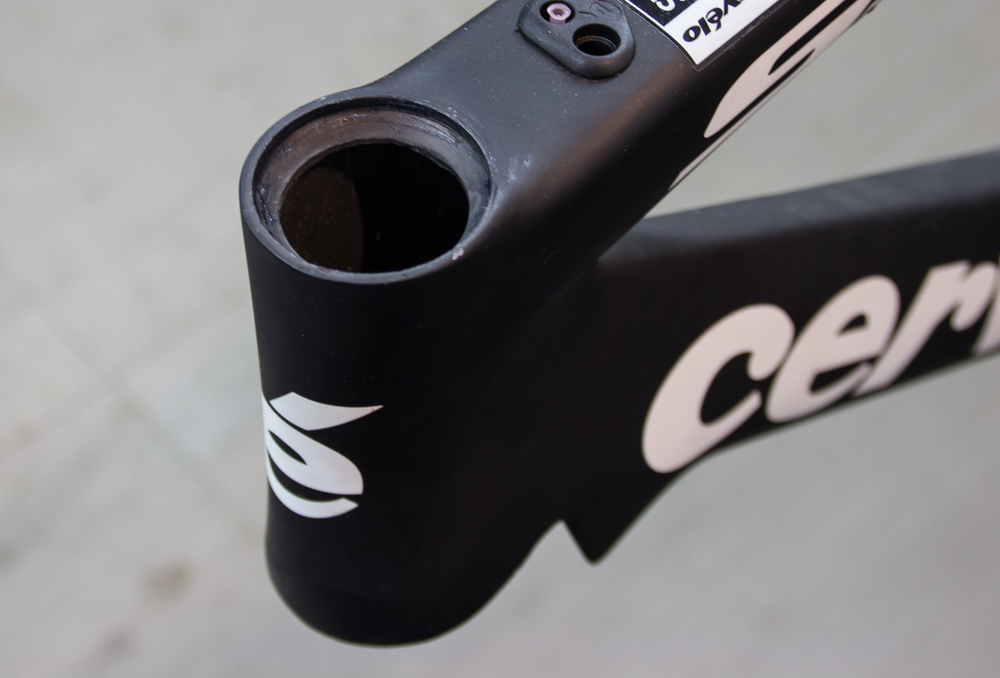
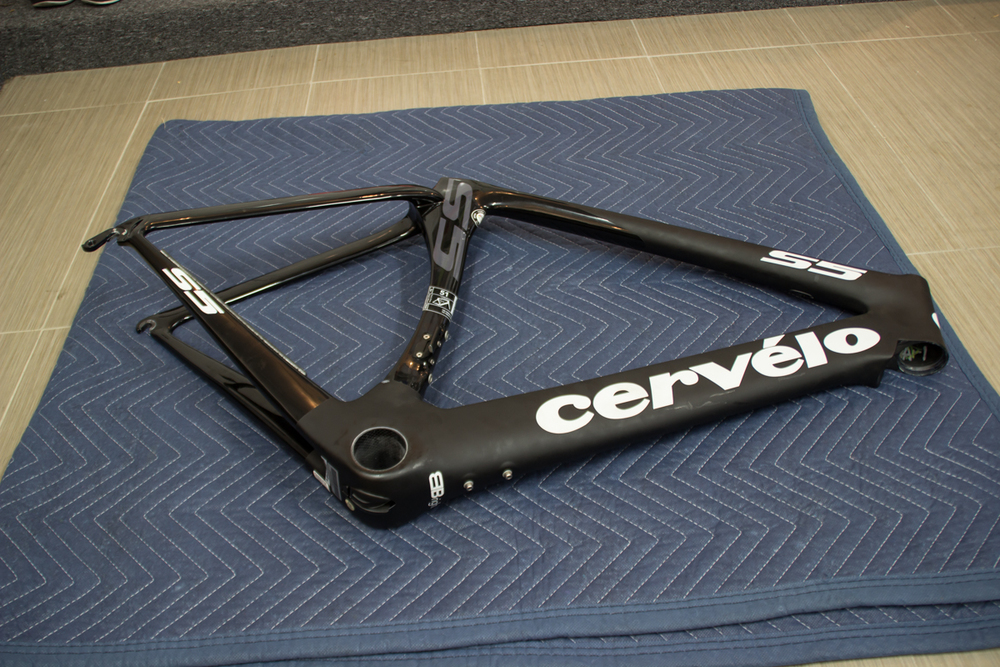
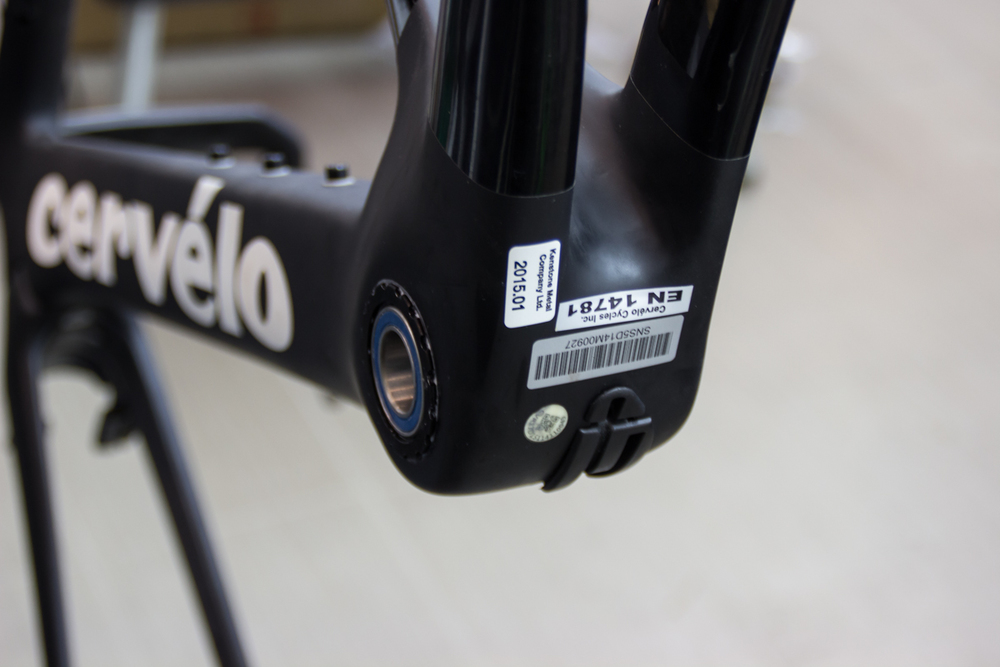
Frame.............982.................2015 Cervelo S5 size 51
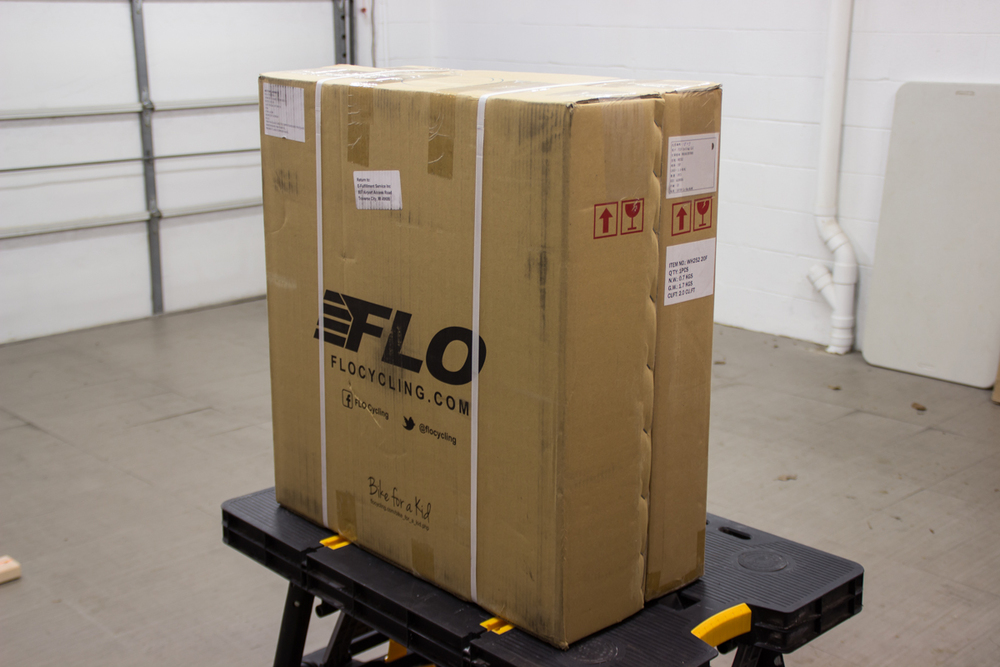
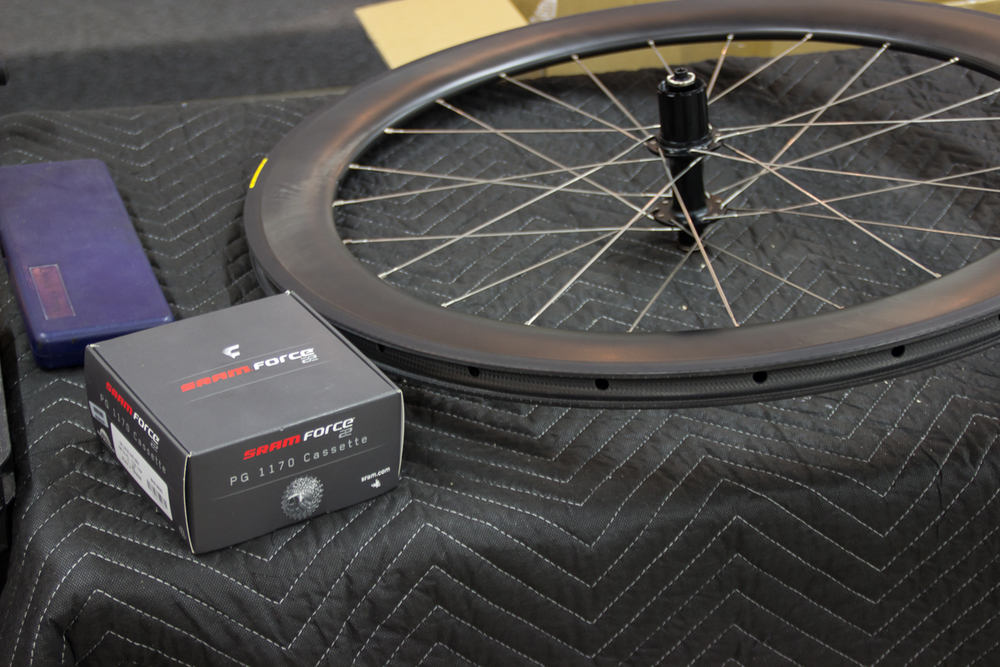
Rear Wheel.......838..................Flo 60 Carbon Clincher w/ 11-spd hub
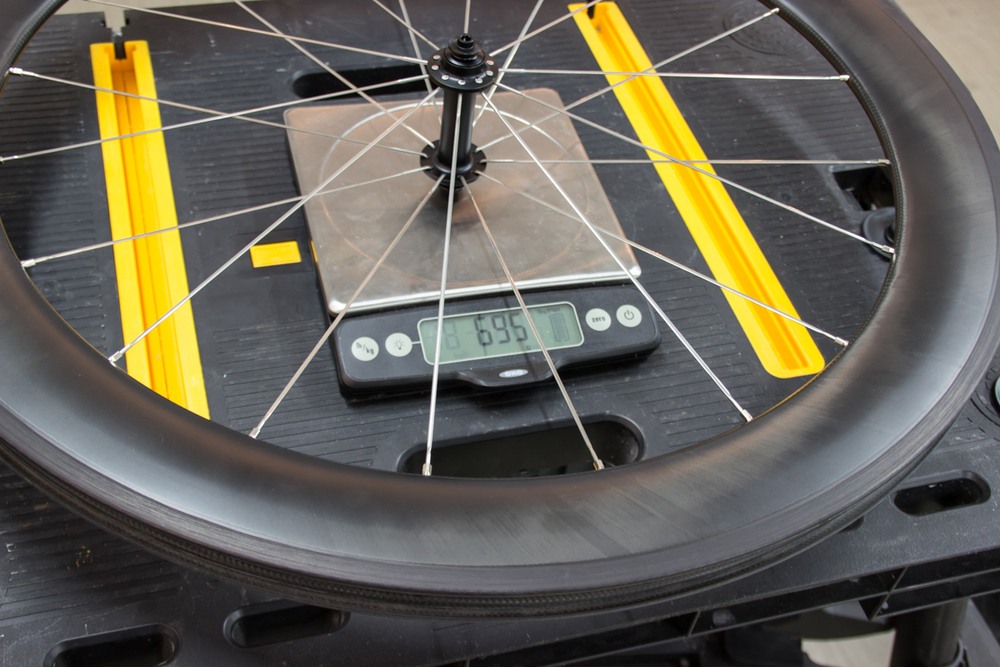
Front Wheel......695..................Flo 60 Carbon Clincher
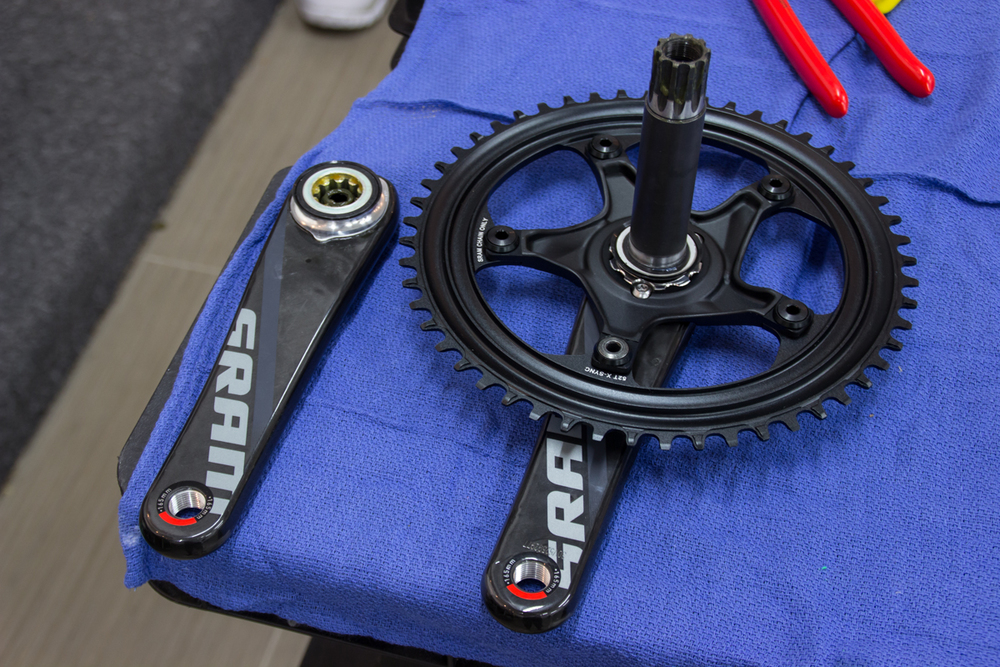
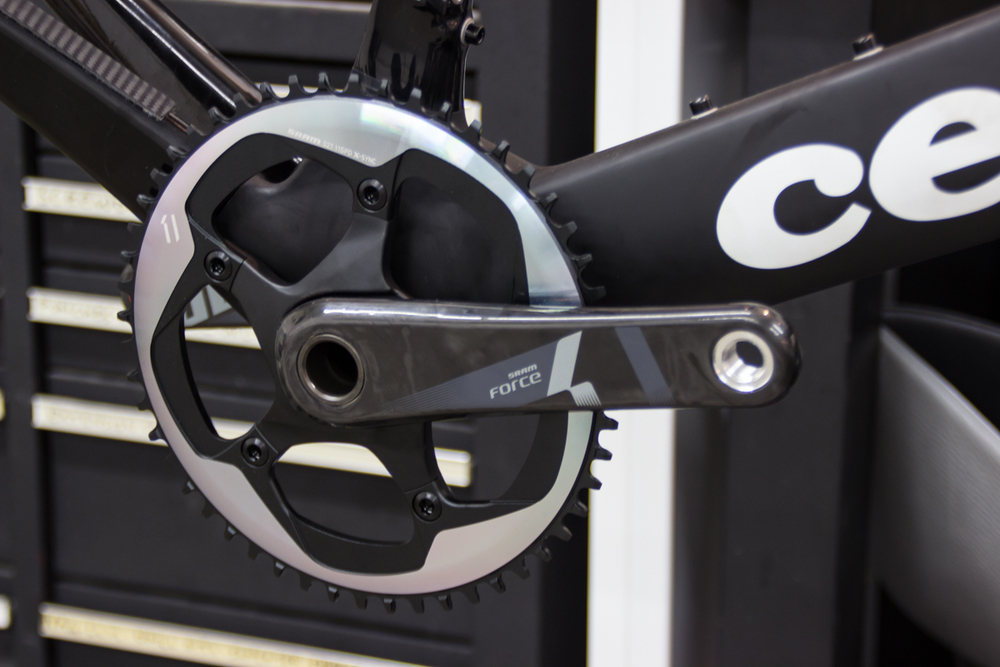
Crankset..........644..................SRAM Force1, 52T chainring, 165mm cranks
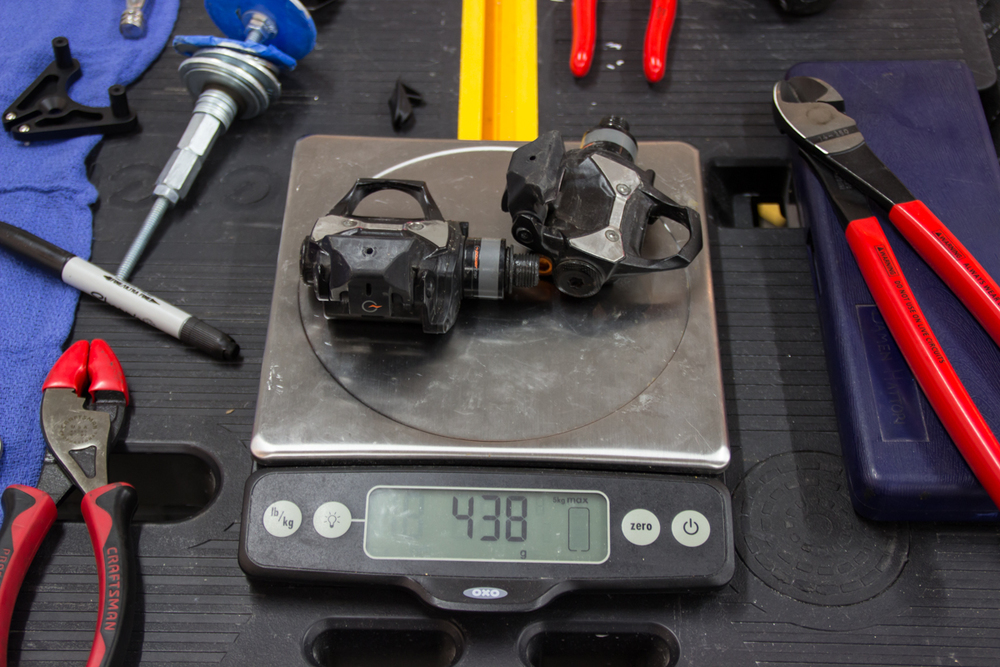
Pedals.............438..................PowerTap P1 w/ AAA batteries
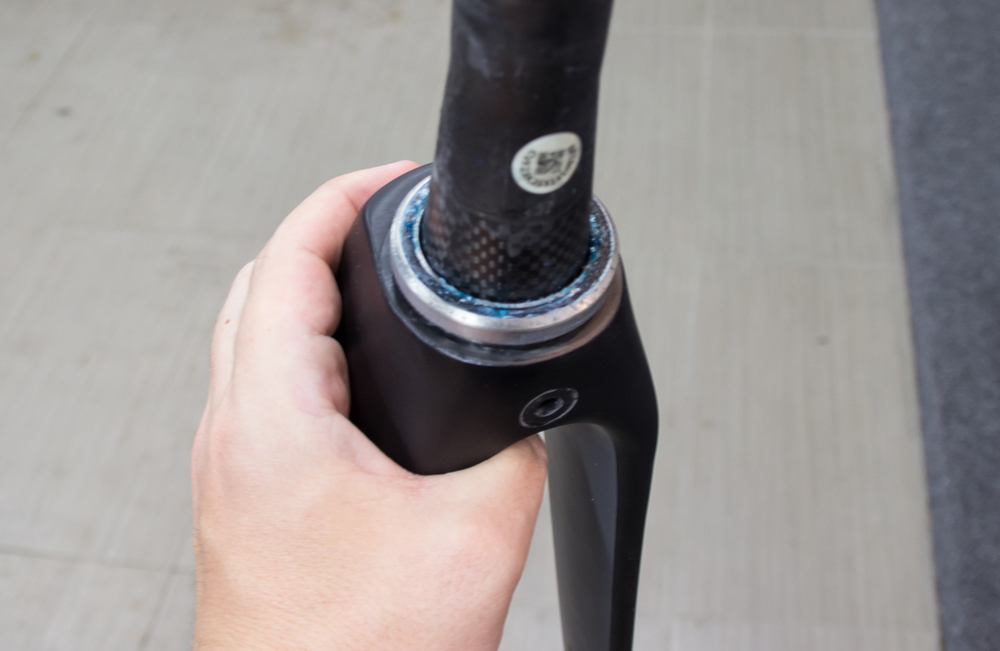
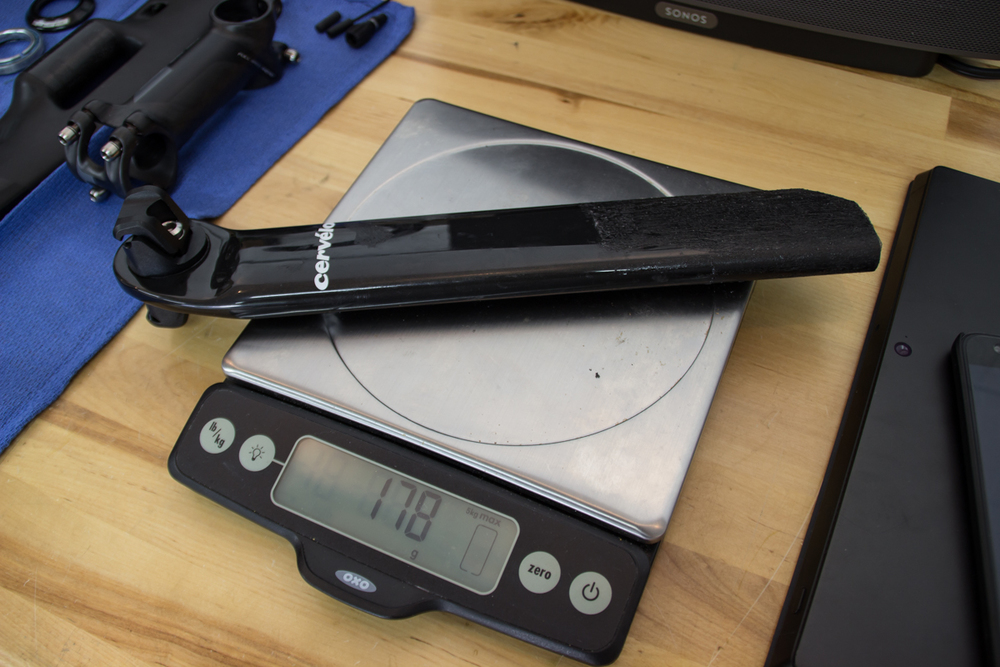
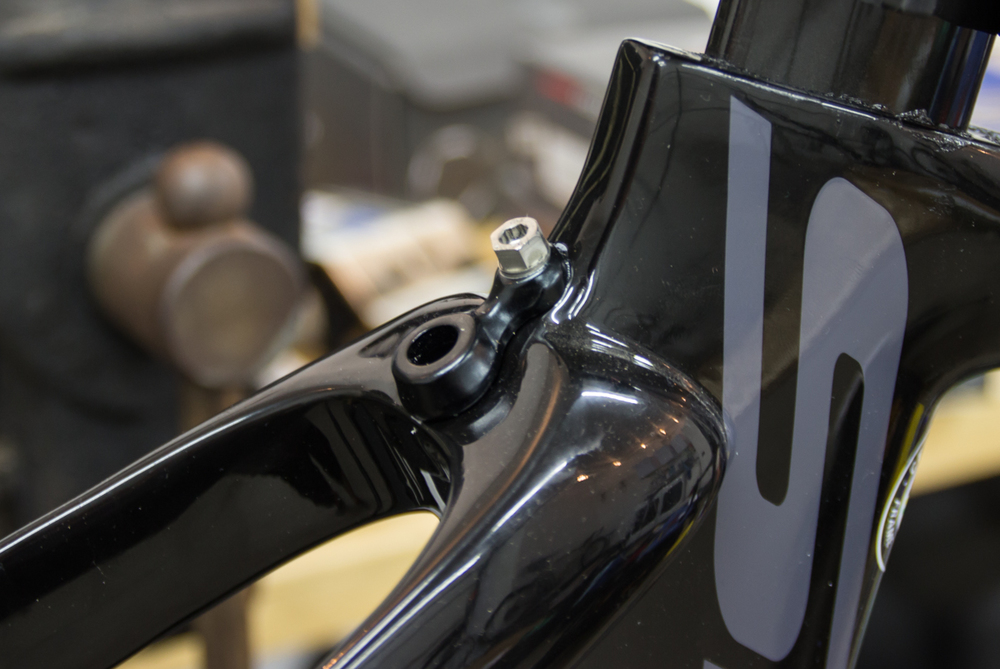
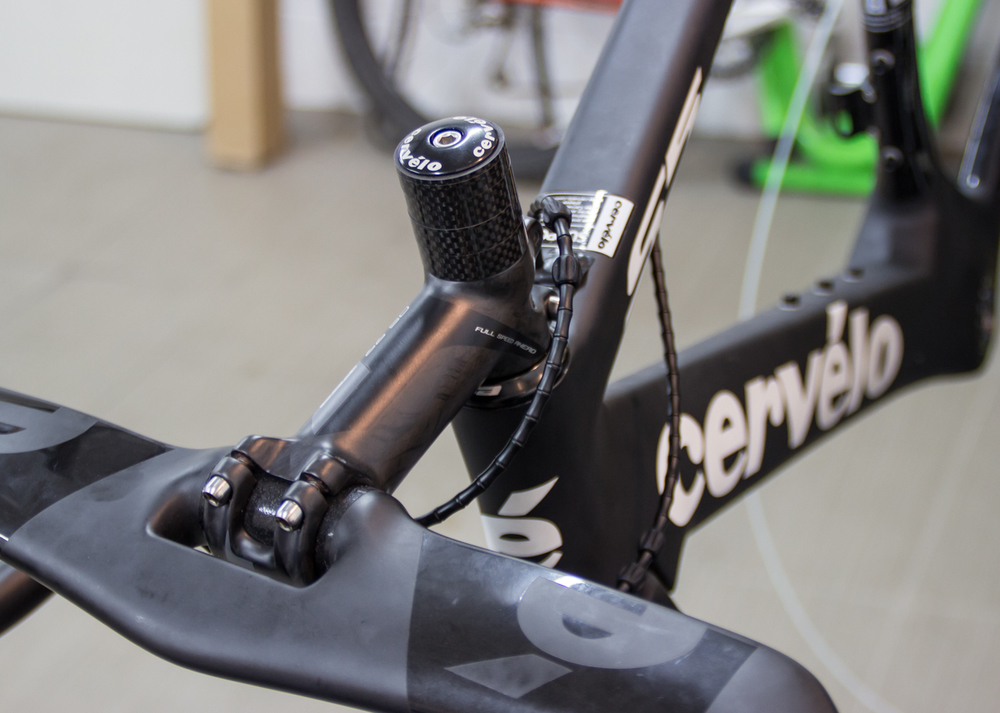
Fork...............367..................Cervelo S5, uncut, with insert and star nut
Chain..............277..................SRAM PC-1170
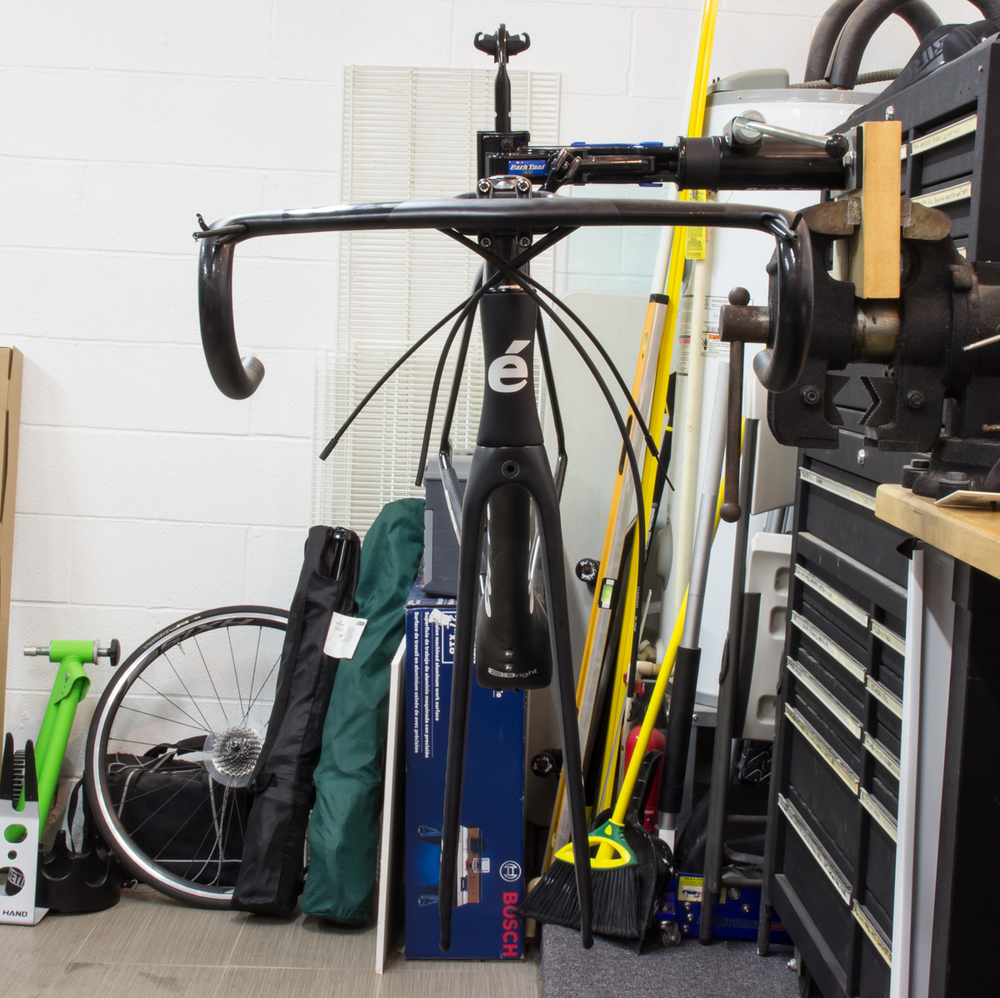
Handlebar.........264.................Cervelo 40cm aerobars
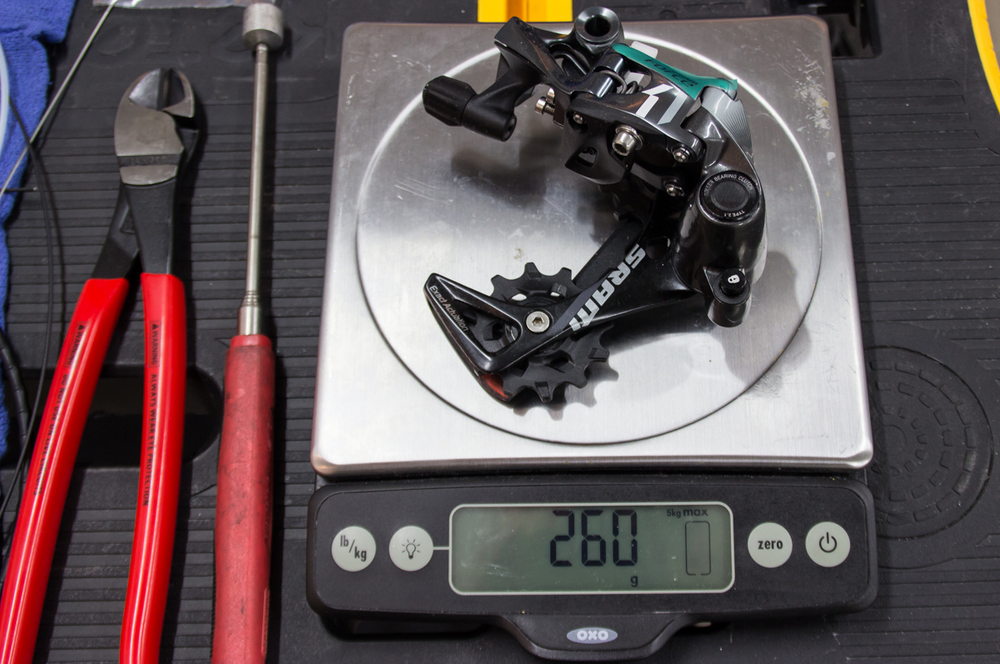
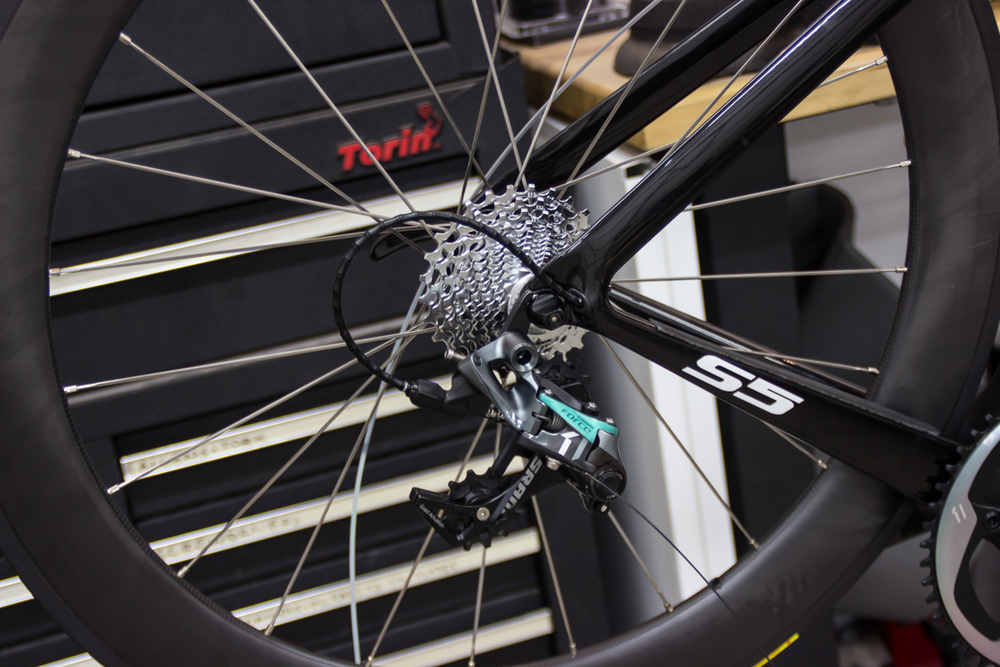
Rear Derailleur...259................SRAM Force 1 Medium Cage
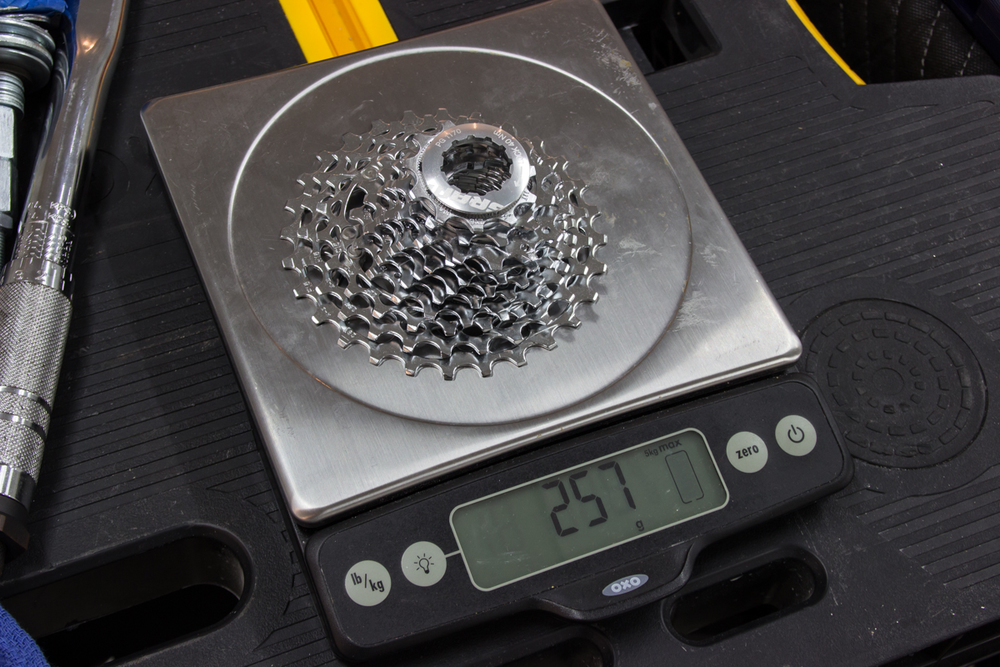
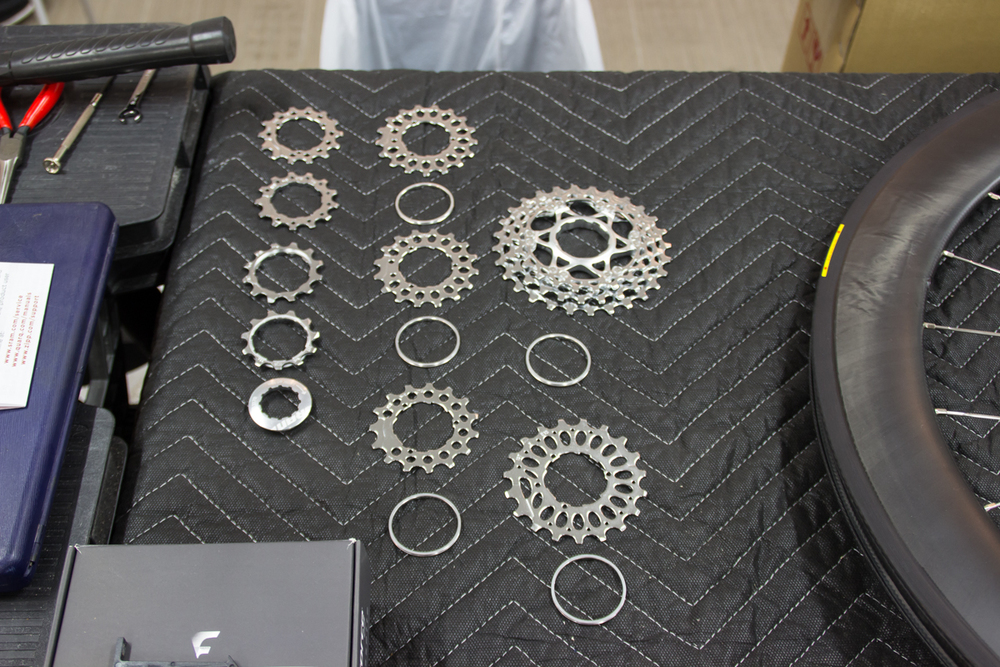
Rear Cassette....257.................SRAM PG-1170, 11-spd, 11-28T
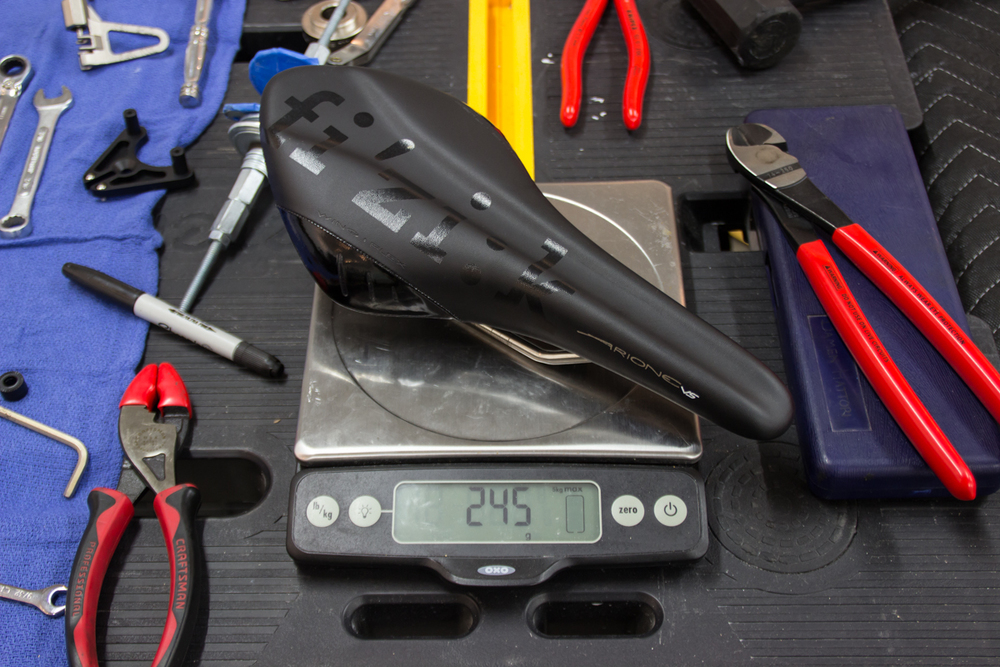
Seat...............245.................Fizik Arione Versus K:ium
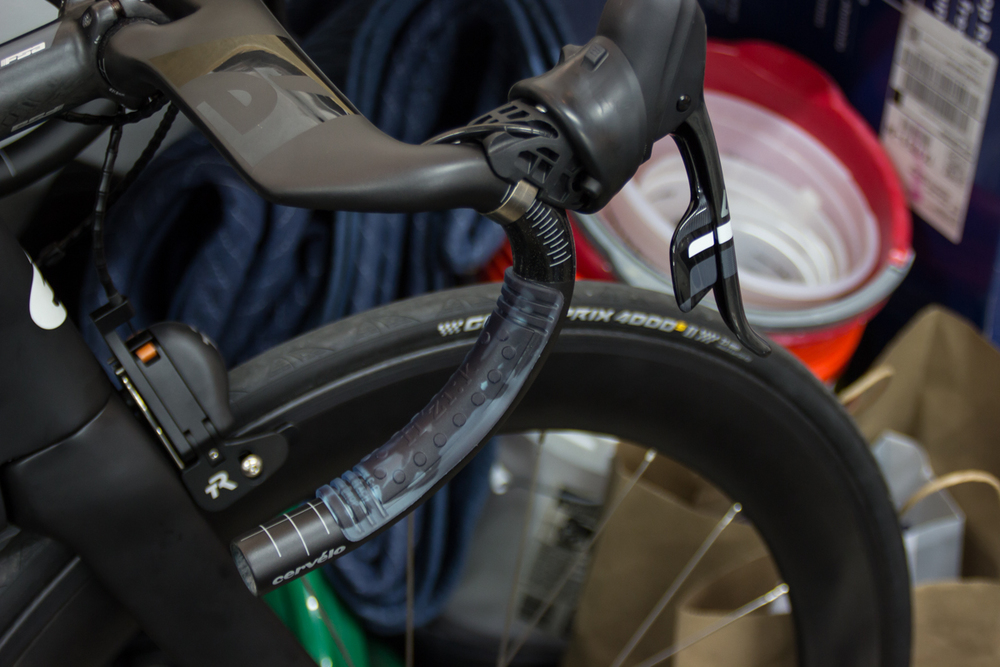
Tires...............211.................Continental GP4000SII 23mm (211g for 1 tire; used front and rear)
Seatpost...........196.................Cervel S5 cut to 317mm with seat clamp and wedge
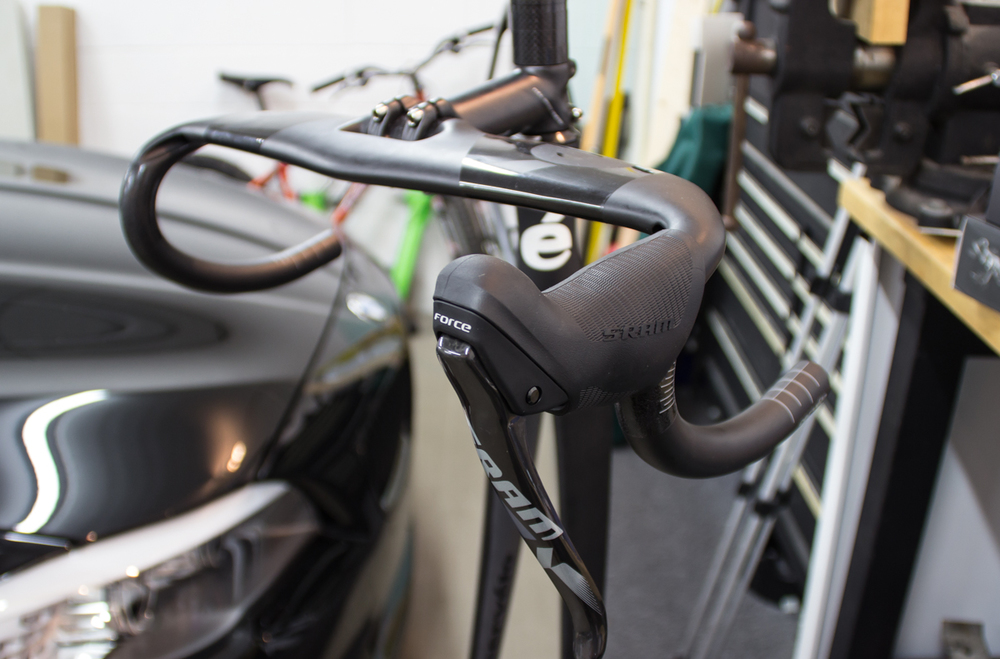
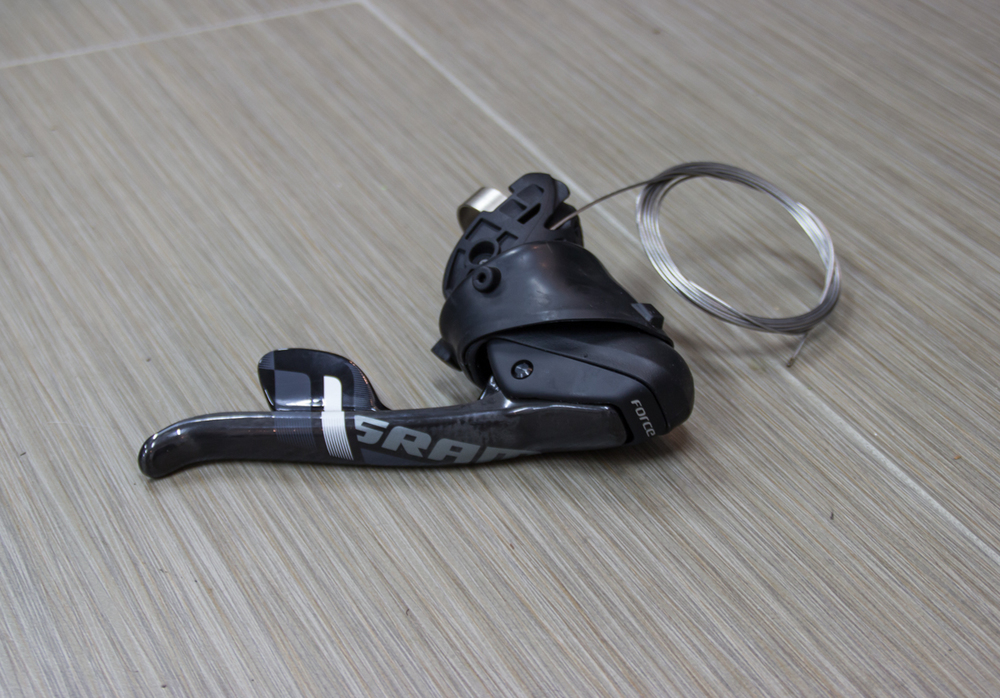
Right Brifter......159.................SRAM Force 22 DoubleTap Control
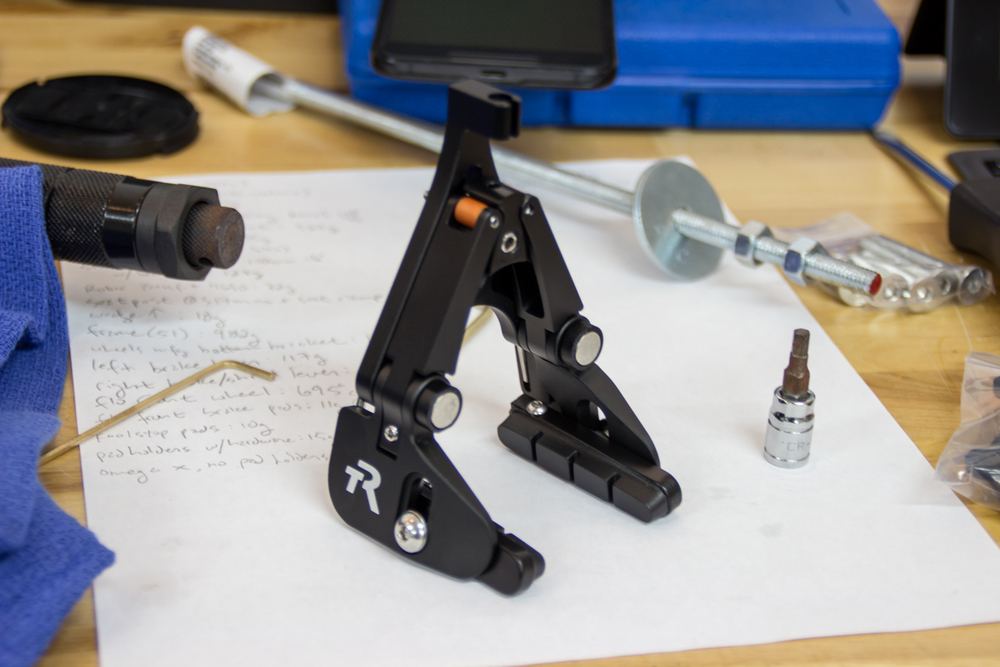
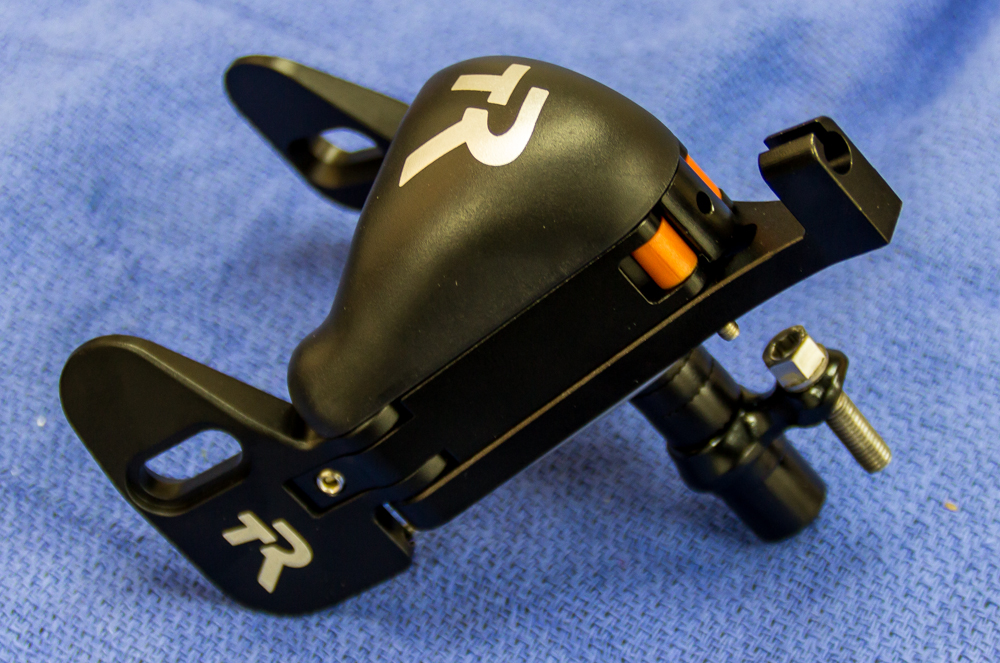
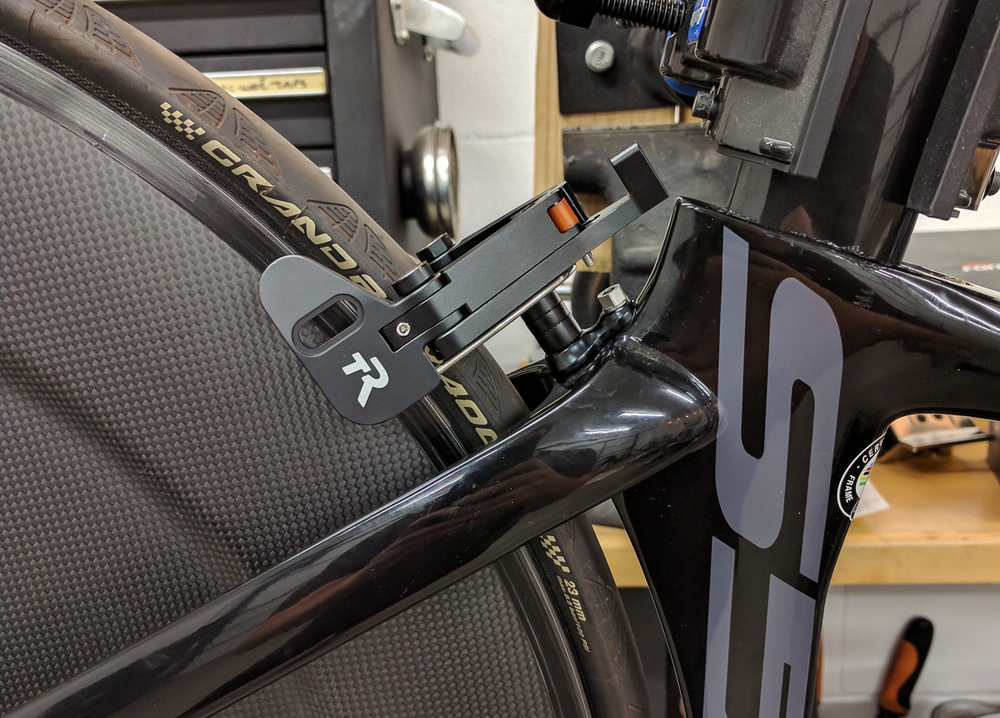
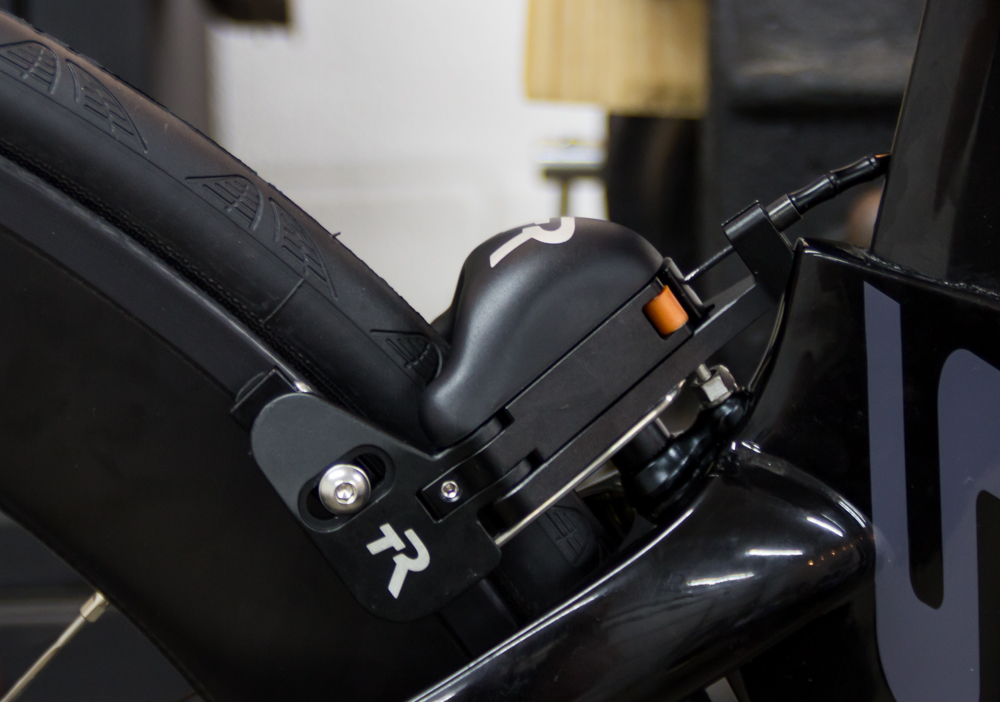
Rear brake........150.................TriRig Omega X, Flo pads, Cervelo bracket, spacers for fitment
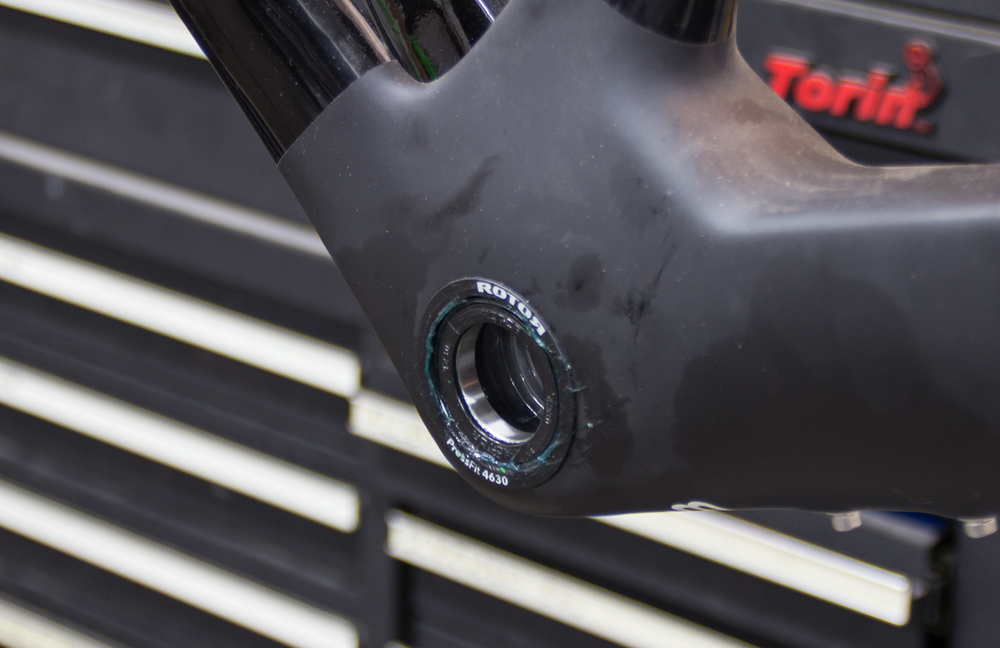
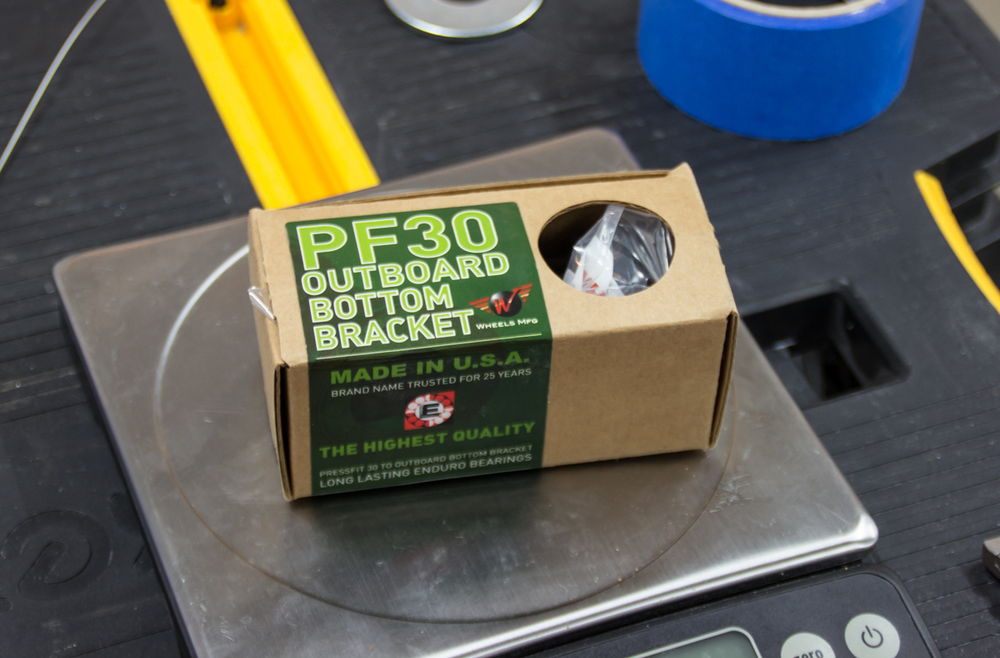
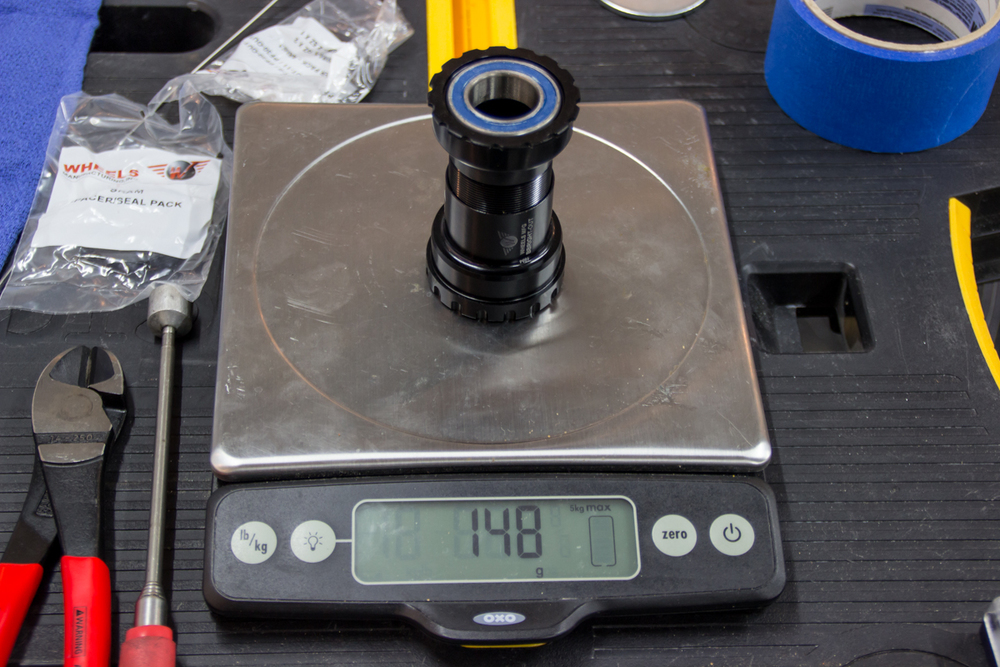
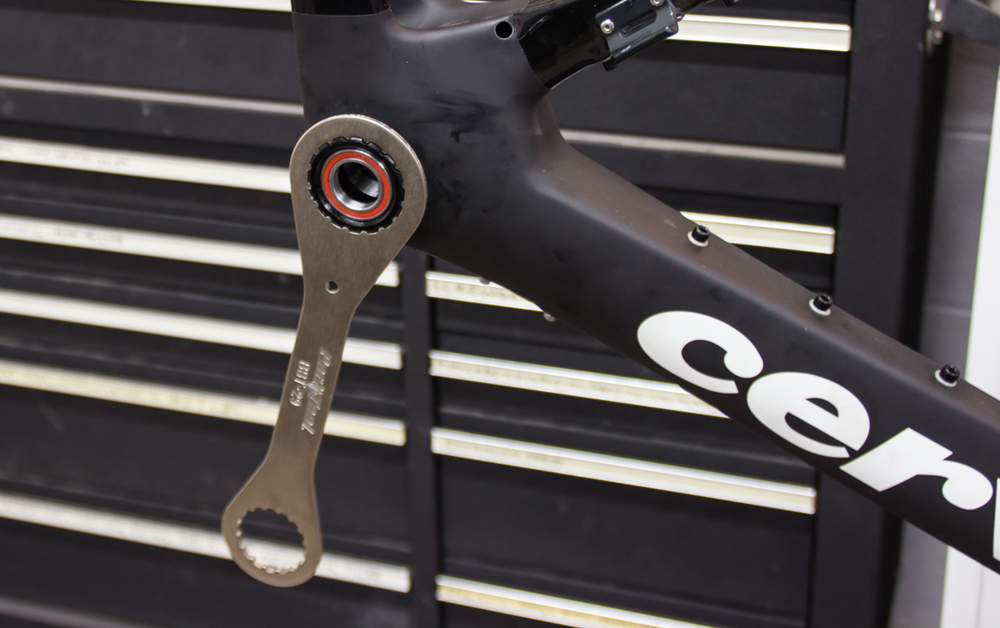
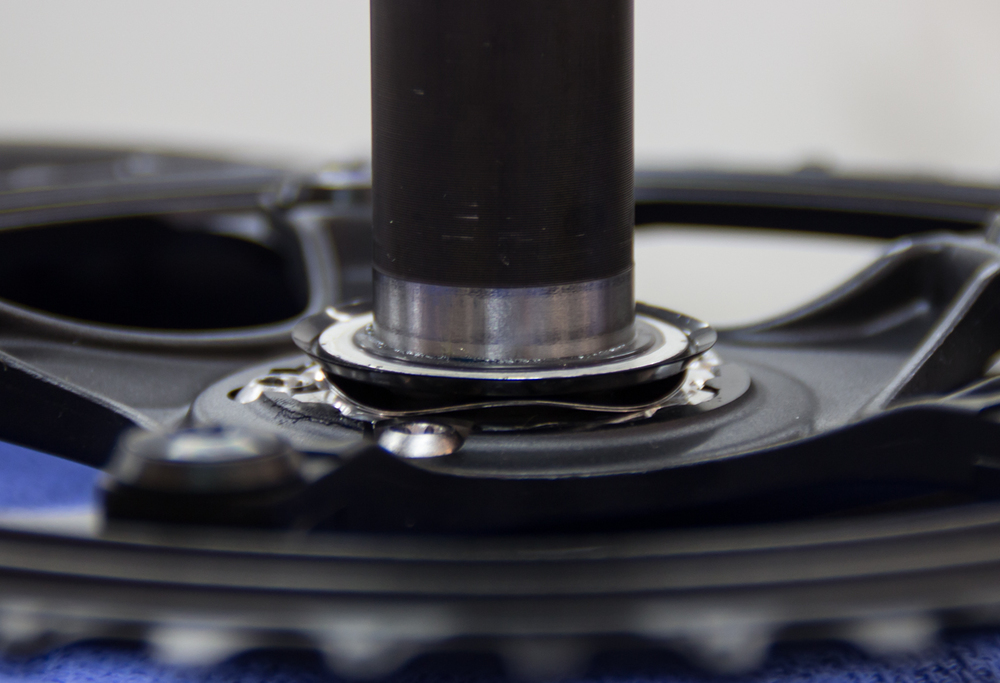
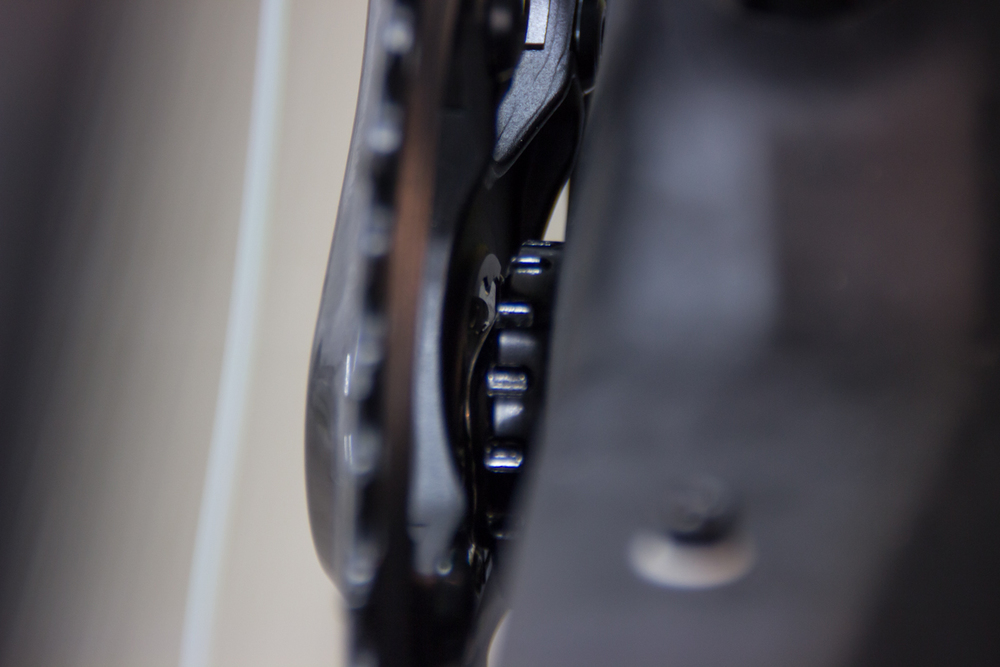
Bottom Bracket...149................ Wheels Mfg. BBright-Out-for-SRAM, threaded alloy cups, angular bearings
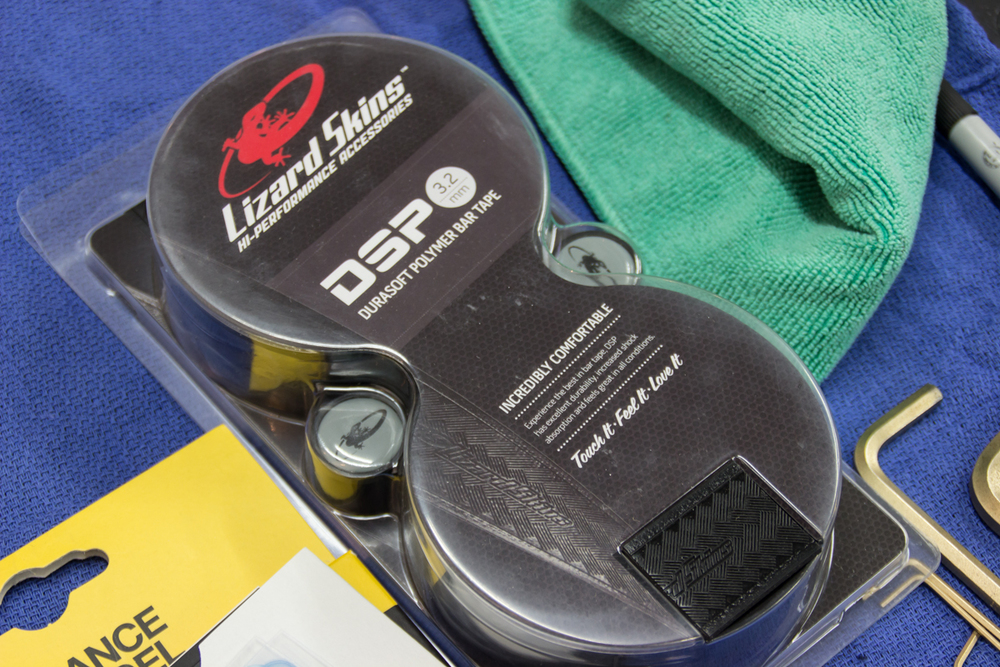
Bar finishing......136.................Lizardskin DSP 3.2, Fizik gel, Fyxation bar ends. Weight includes both sides.
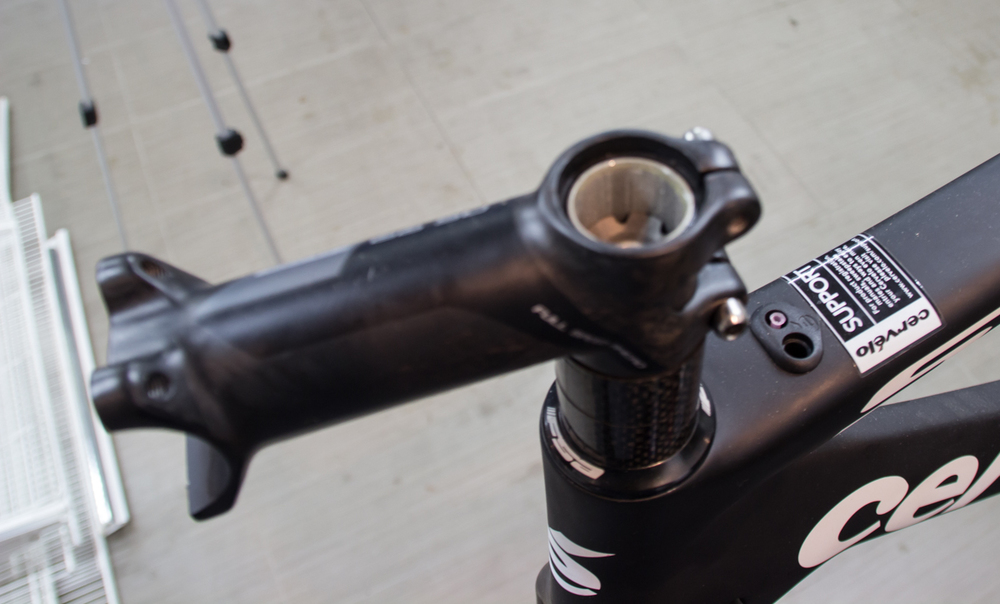
Stem...............127..................FSA OS-99 Csi 100mm -6 deg, with bolts and faceplate
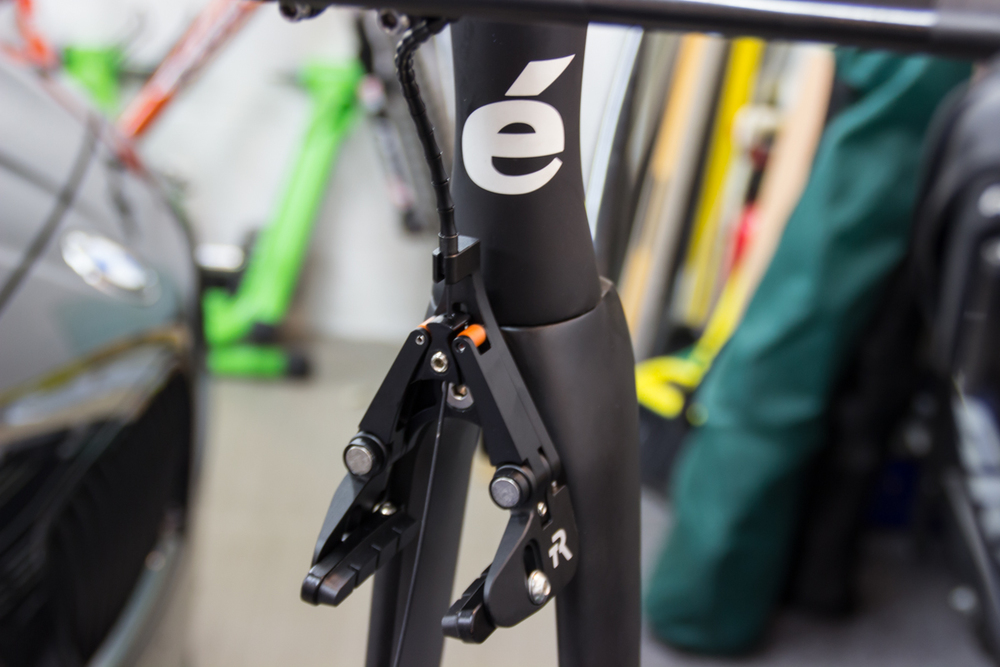
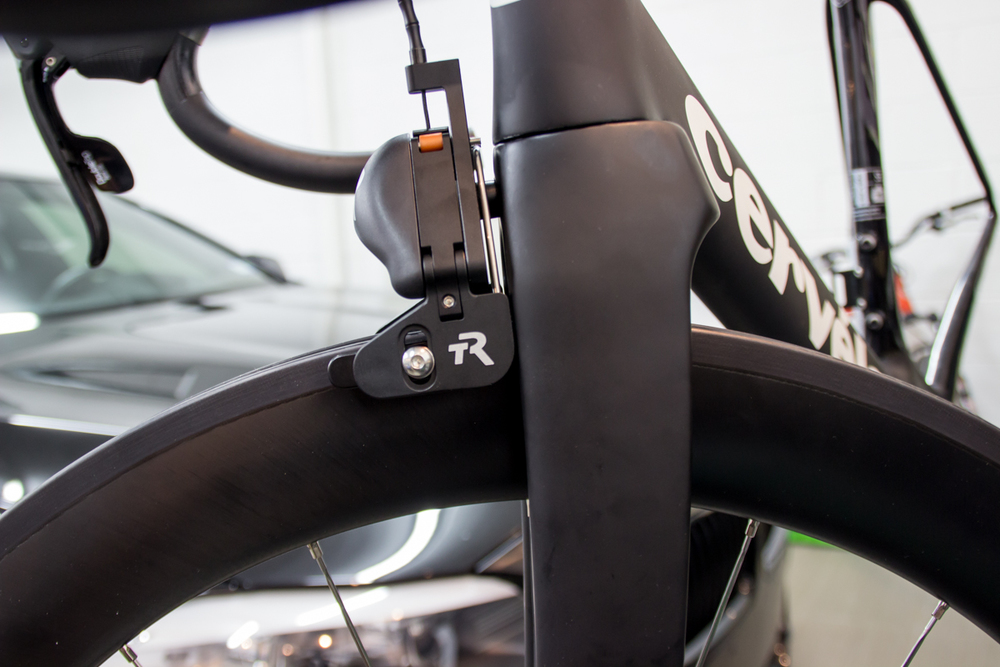
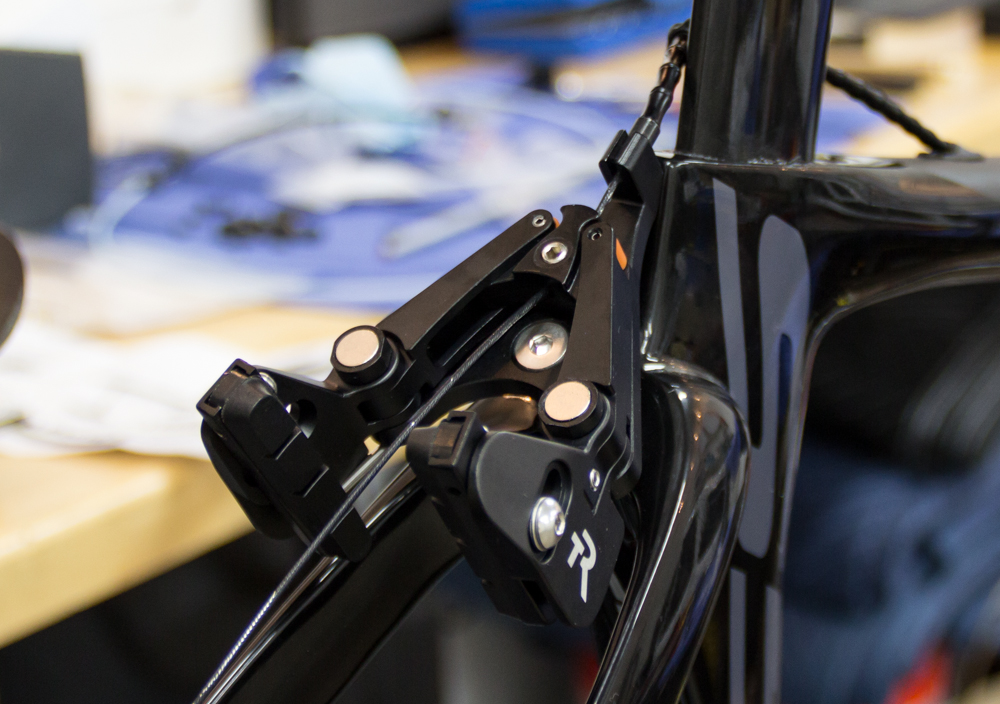
Front Brake .......121..................TriRig Omega X, Flo brake pads
Left Brake Lever..117..................SRAM CX1, brake only
Tubes...............71...................Vittoria Latex 51mm stem (71g for 1 tube; used front and rear
Wheel Skewer......53...................Flo Cycling
Bottle Cage........28..................Arundel Dave-O
Misc................556................Cabling, Garmin mount, bolts, whatever else I forgot
TOTAL..............7,340...............
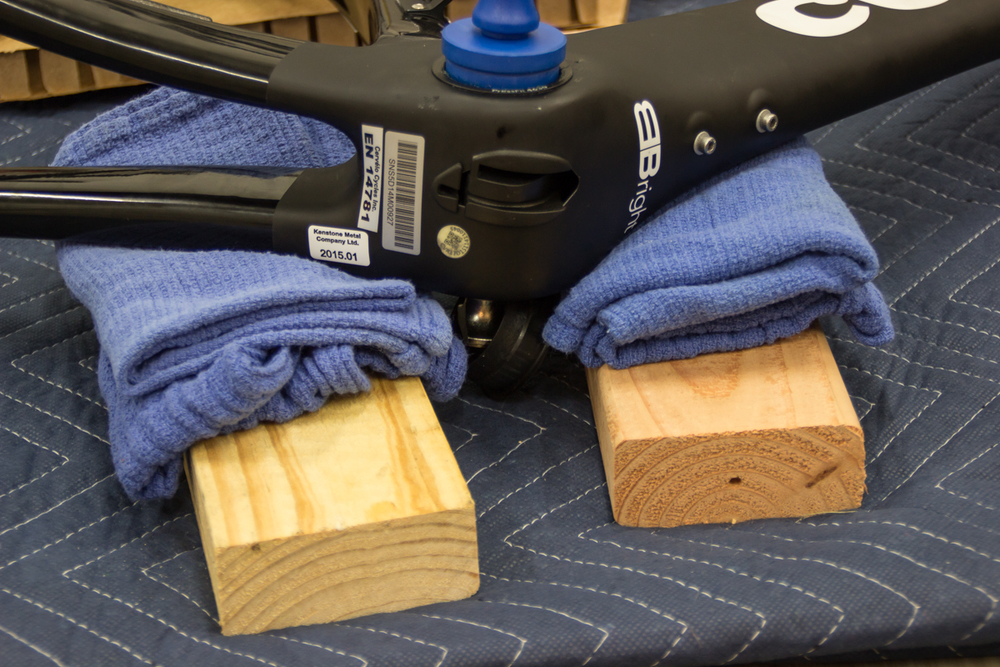
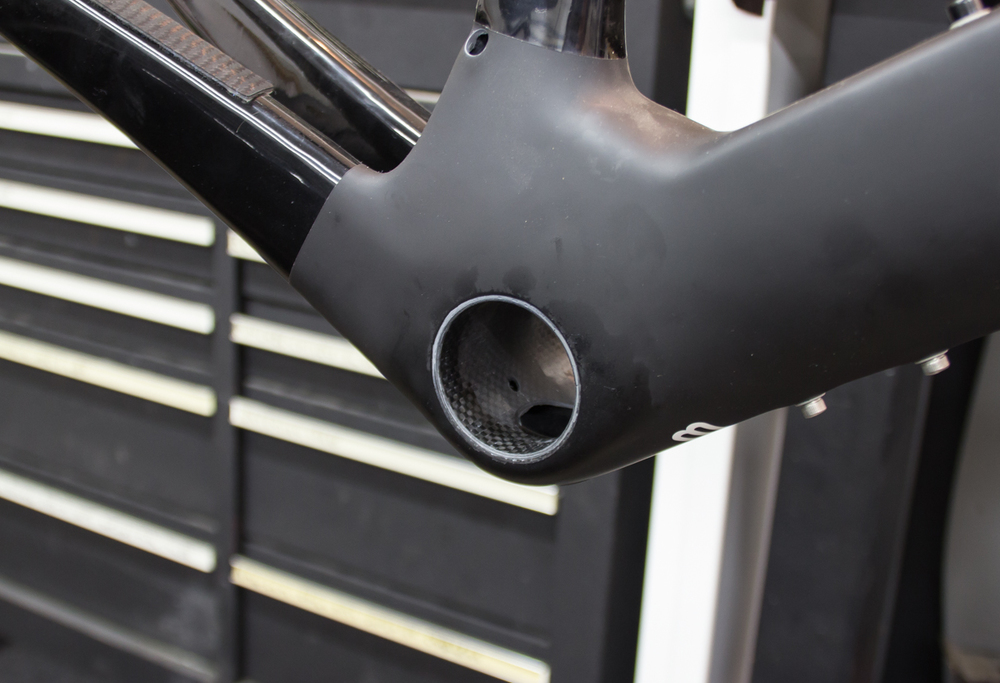
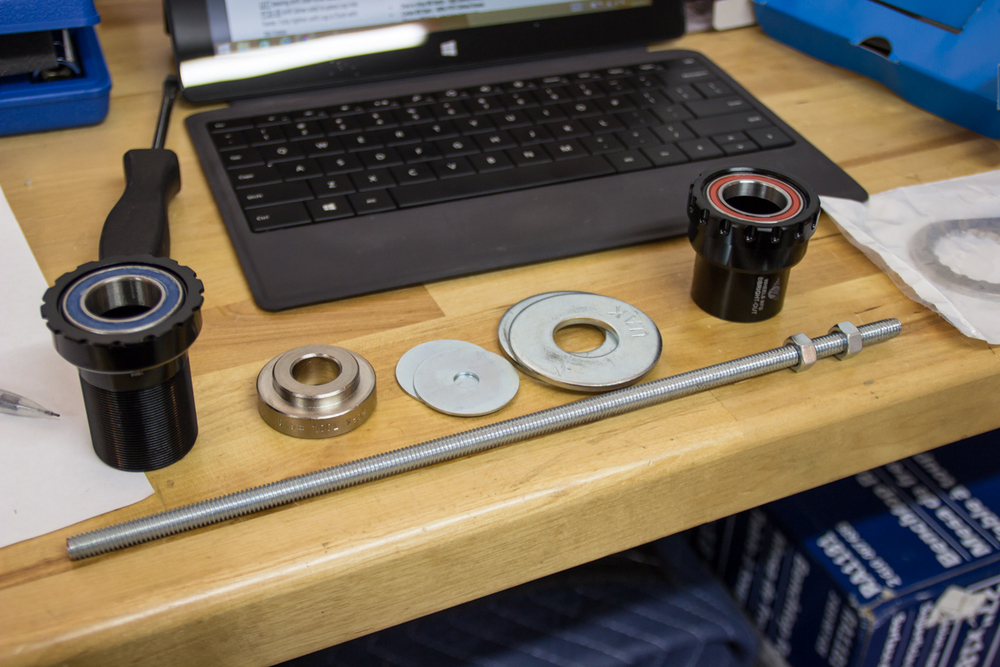
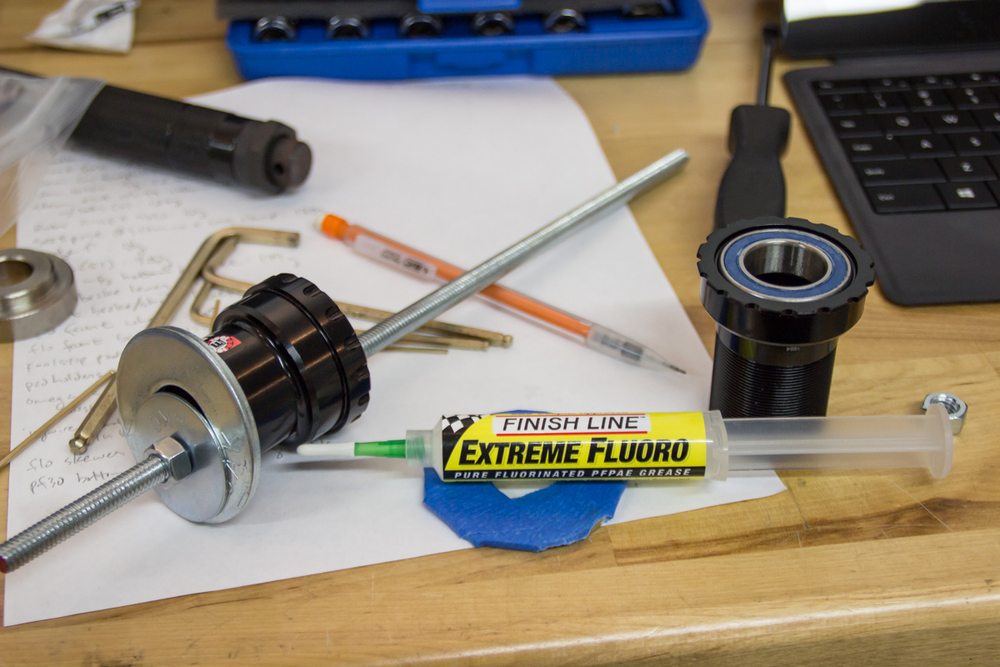
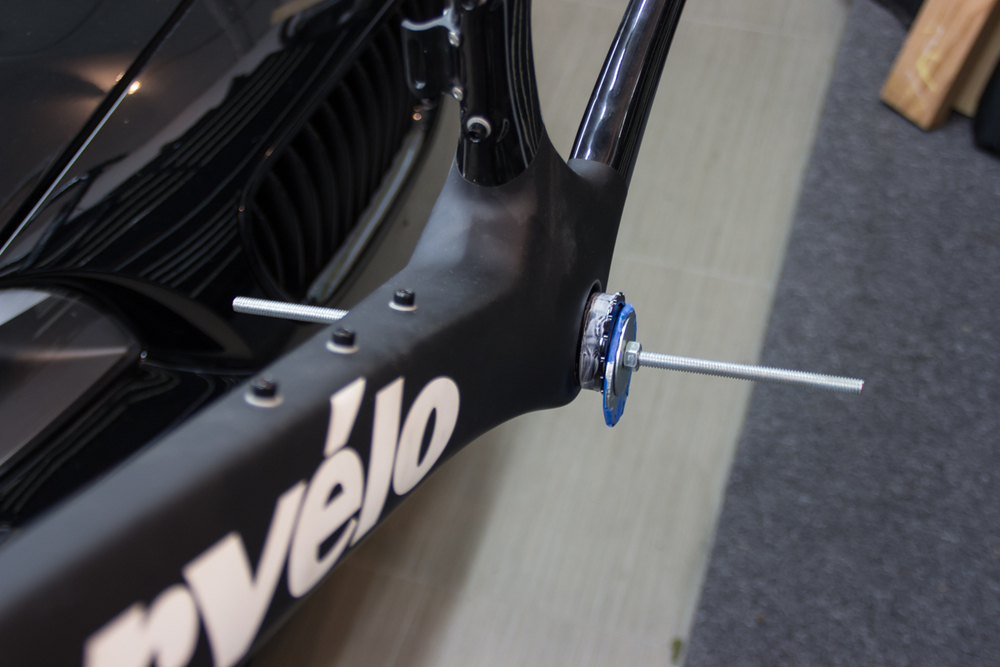
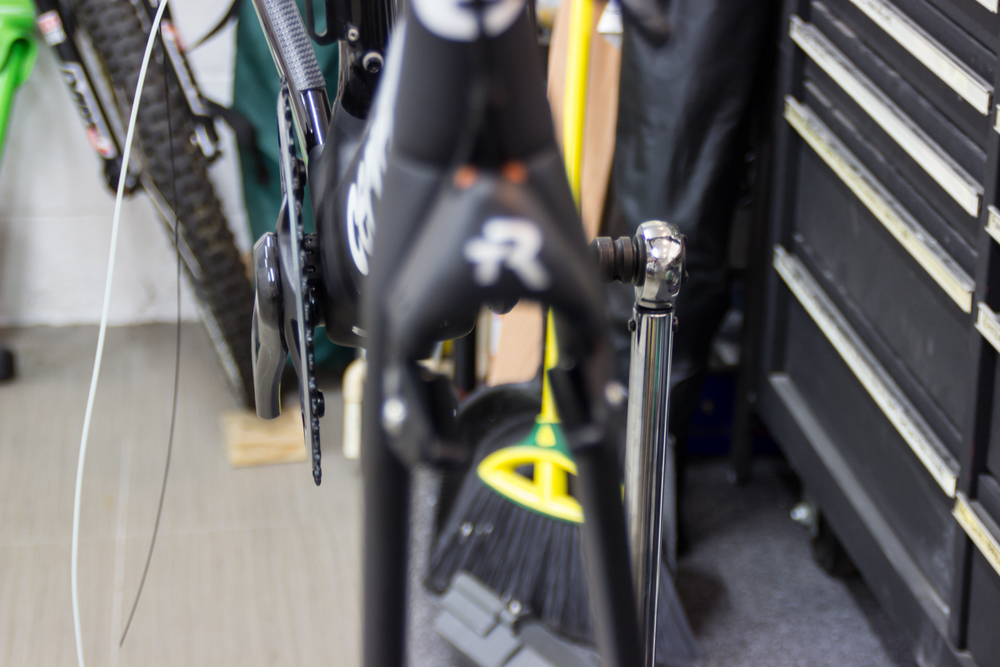
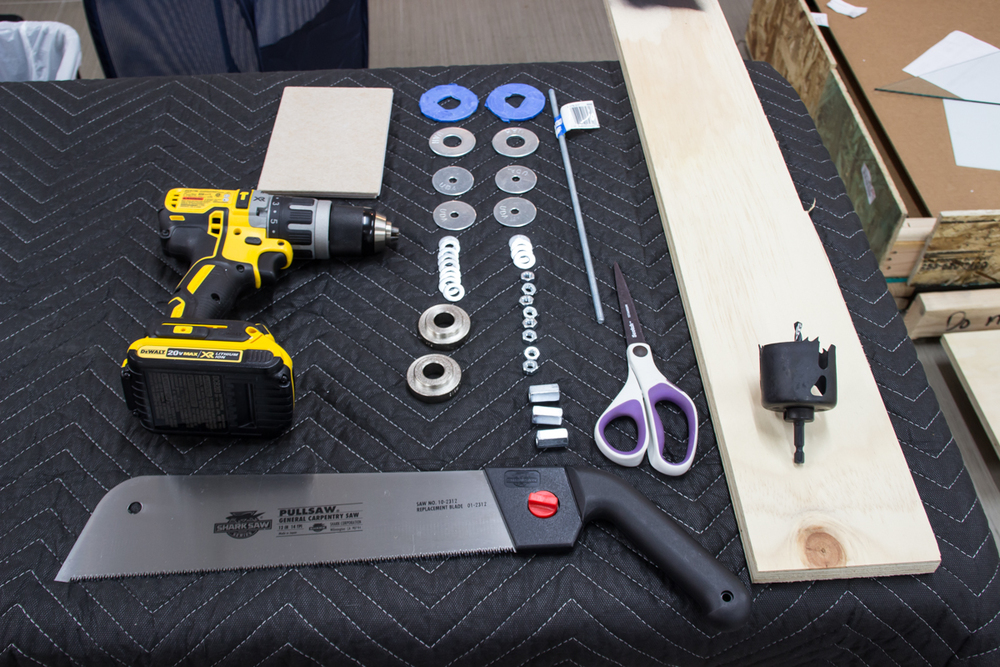
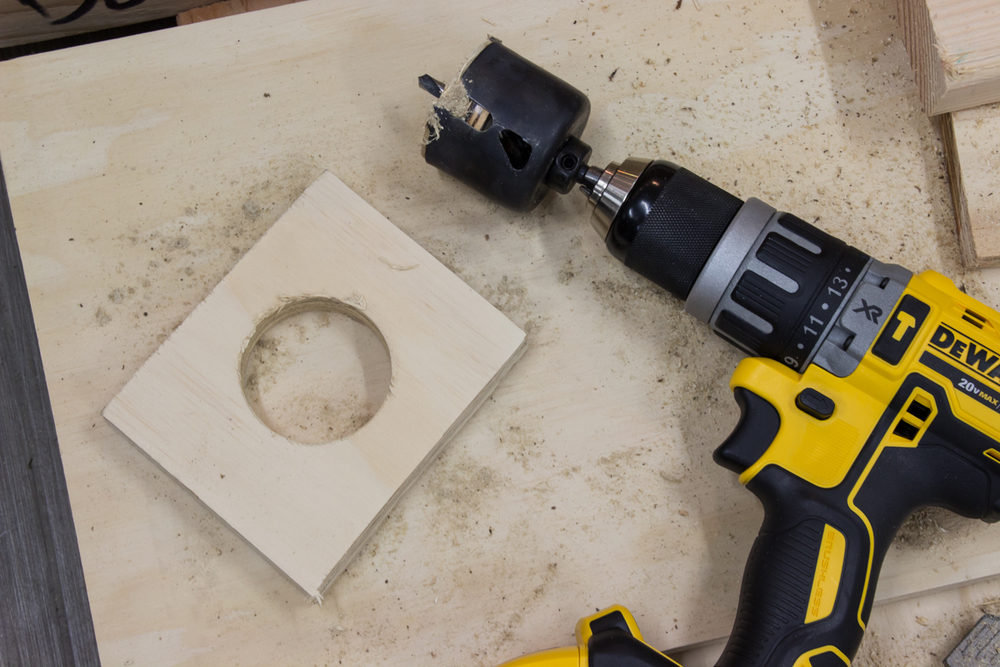
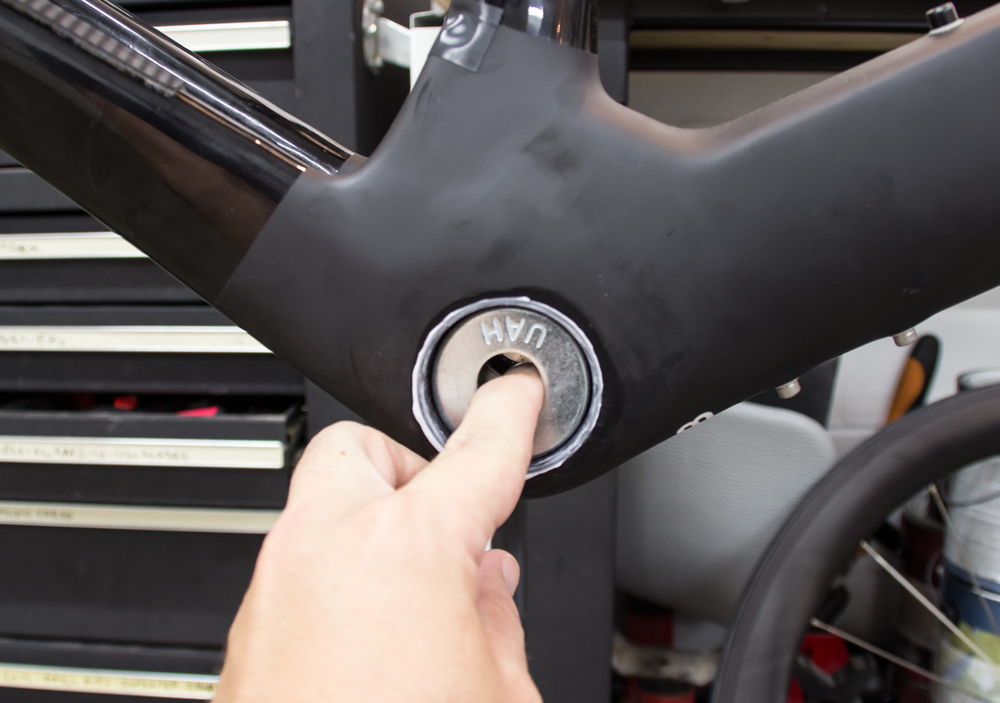
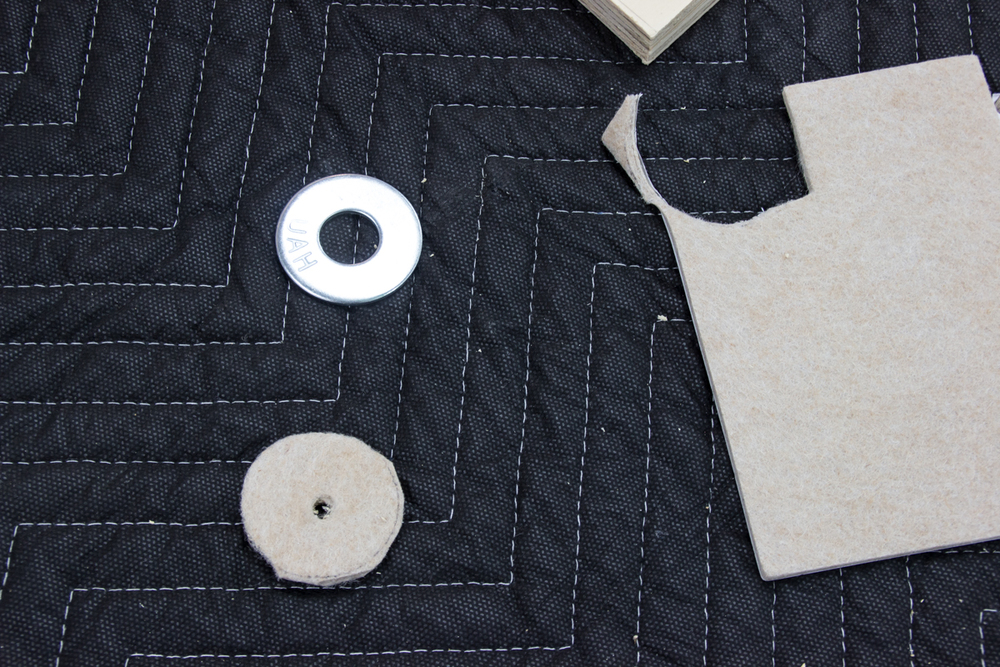
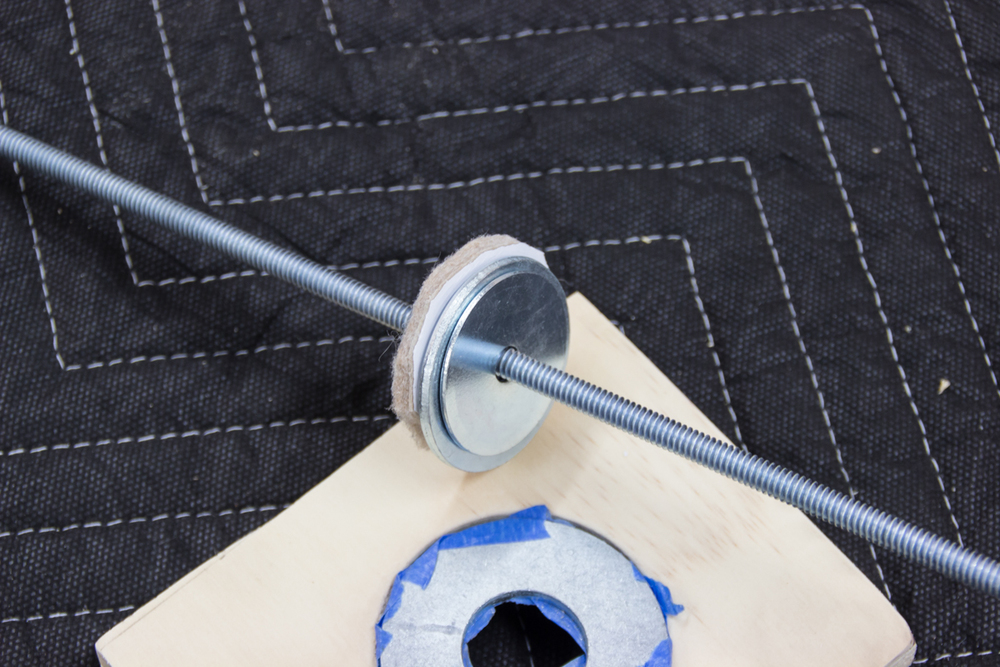
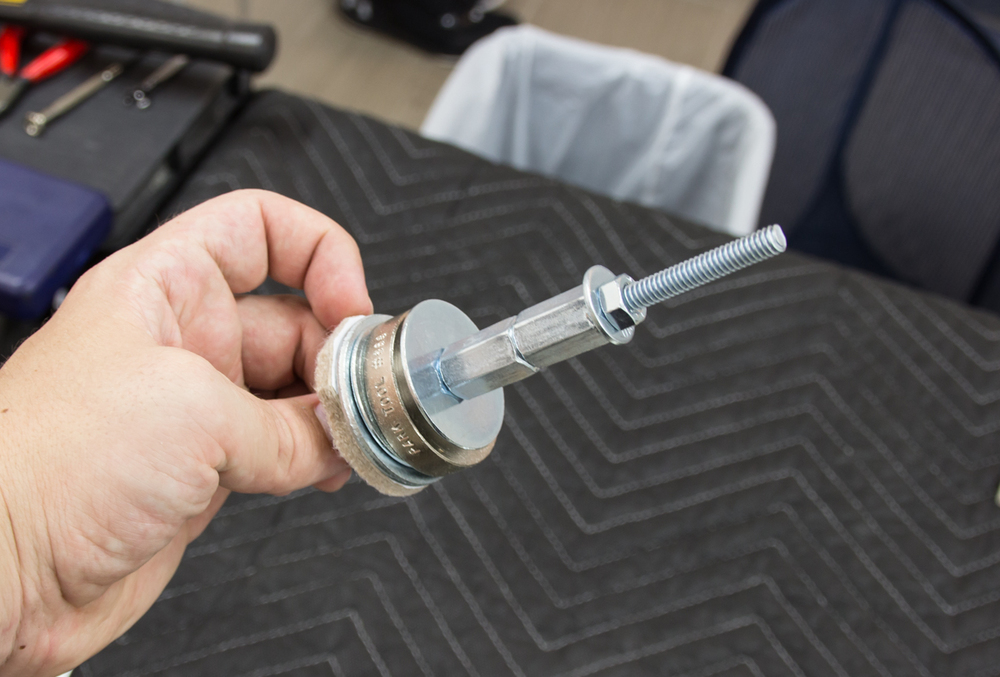
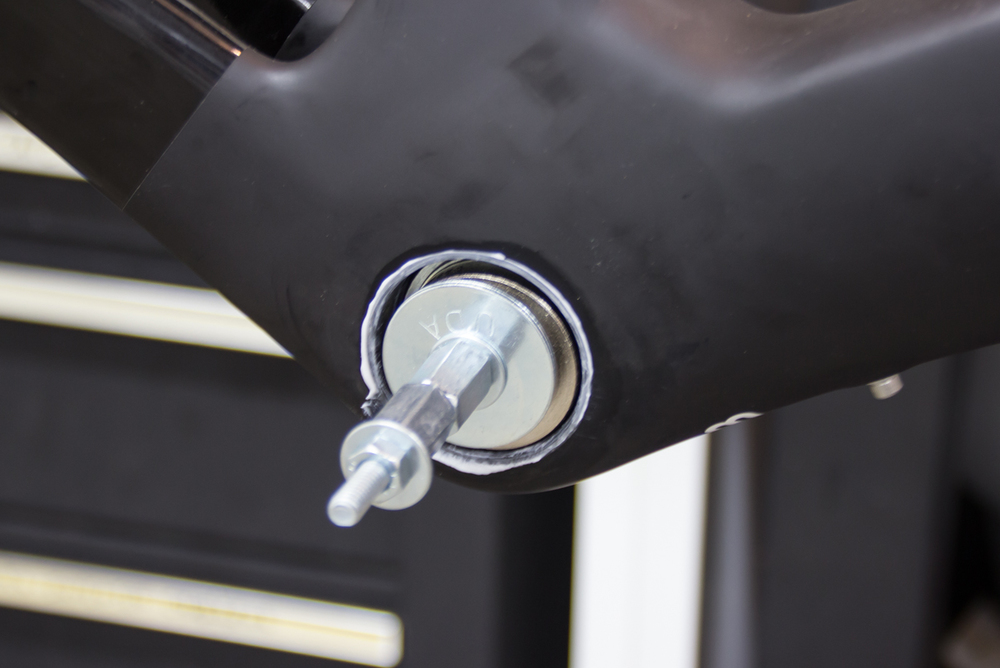
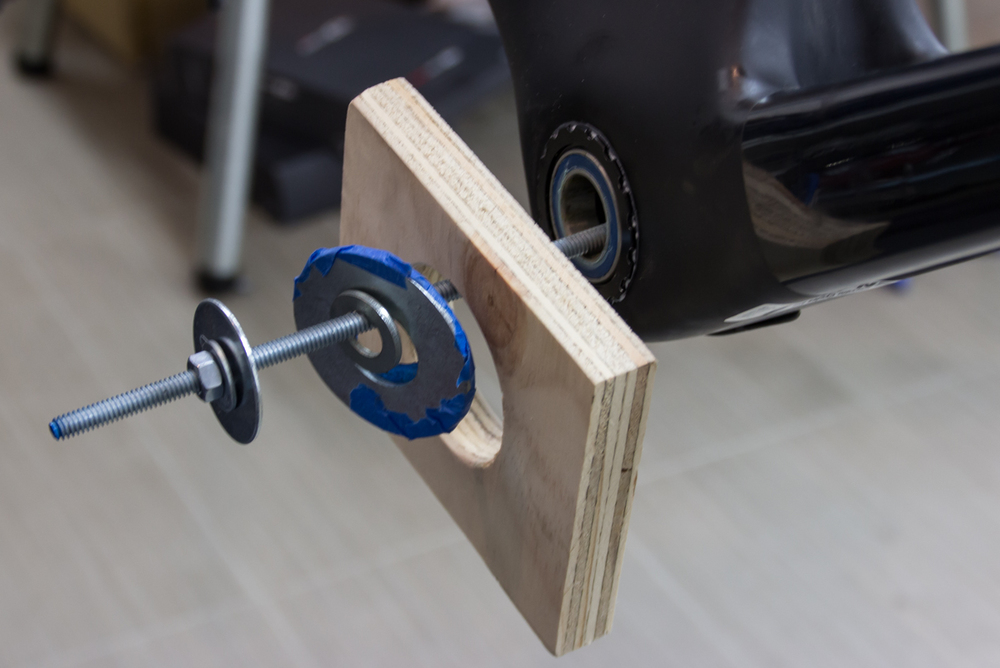
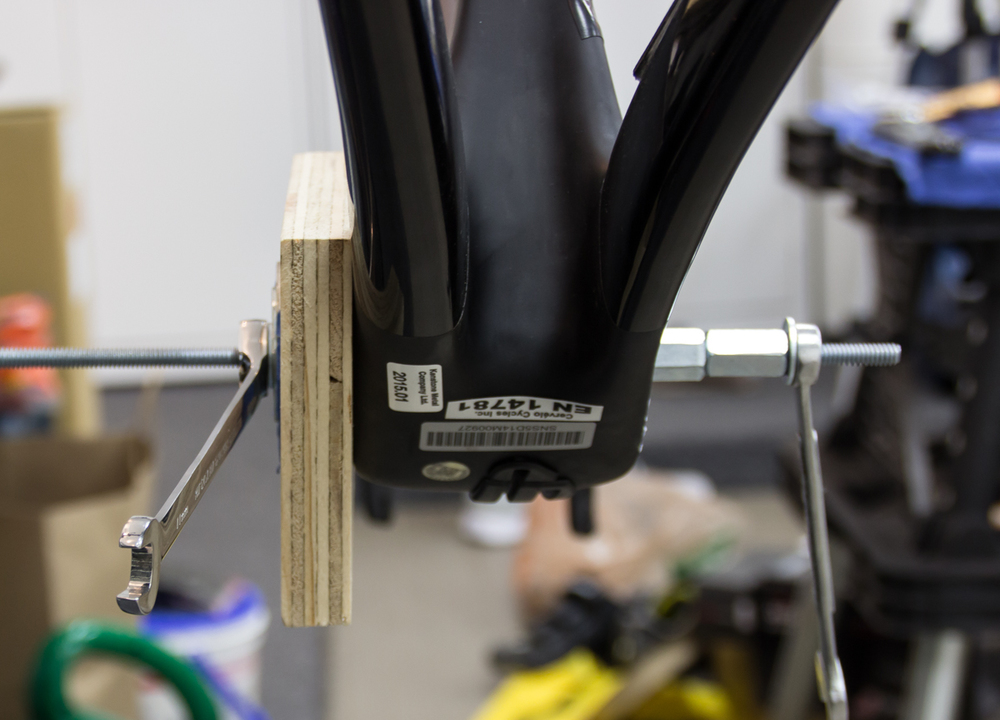
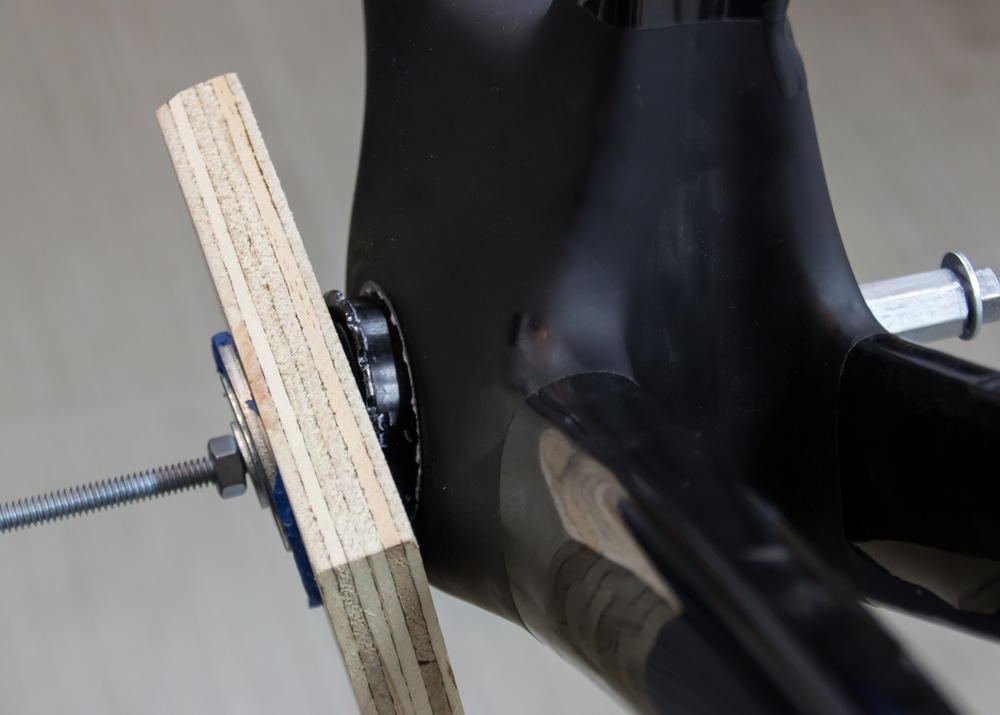
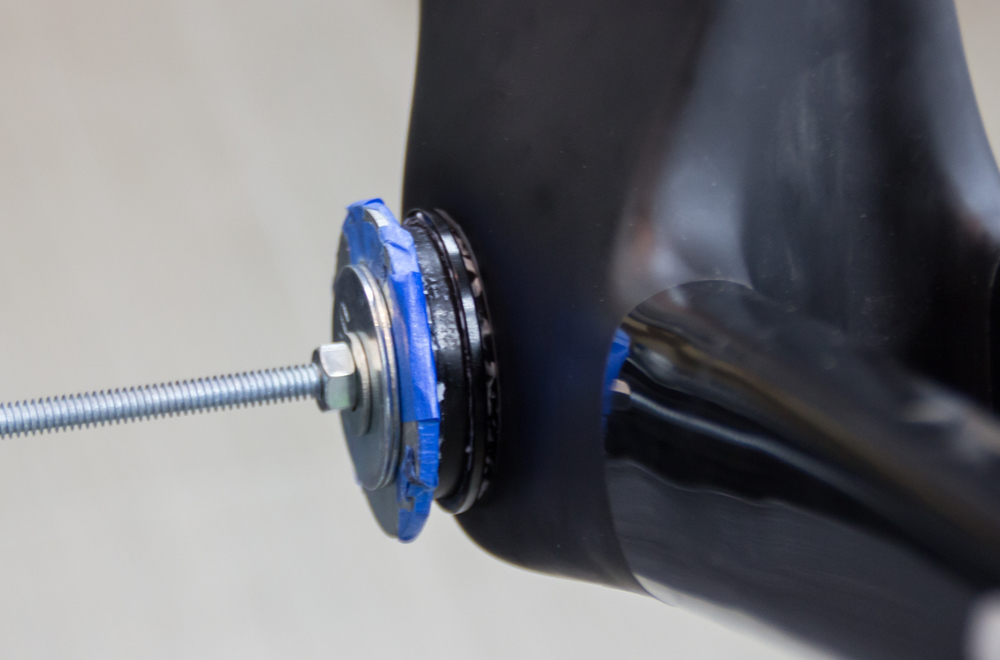
I had a pretty ugly battle with the bottom bracket, switching from Rotor's 30mm spindle to a Wheels Mfg. BBright/SRAM GXP. It took some awful hammering to get the original one out, then I had to install/uninstall/re-install-with-spacer the Wheels Mfg. BB to get the fitment/wave washer situation just right. I ended up making my own press-out tool to uninstall the Wheels Mfg. BB because I refused to hammer any more on my nice, new, unridden stuff. You'll see those photos halfway through.
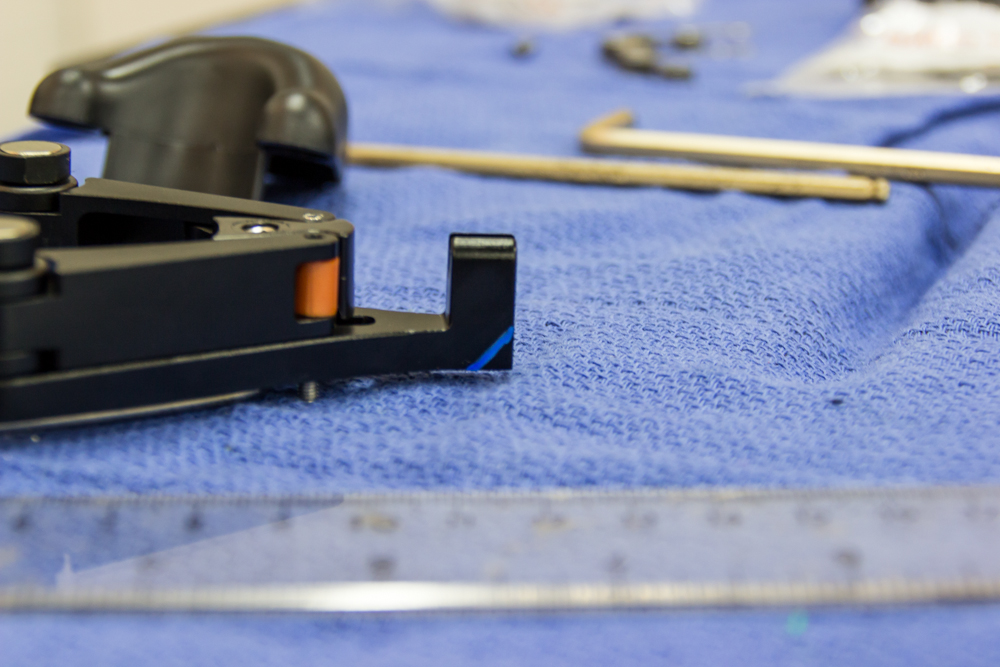
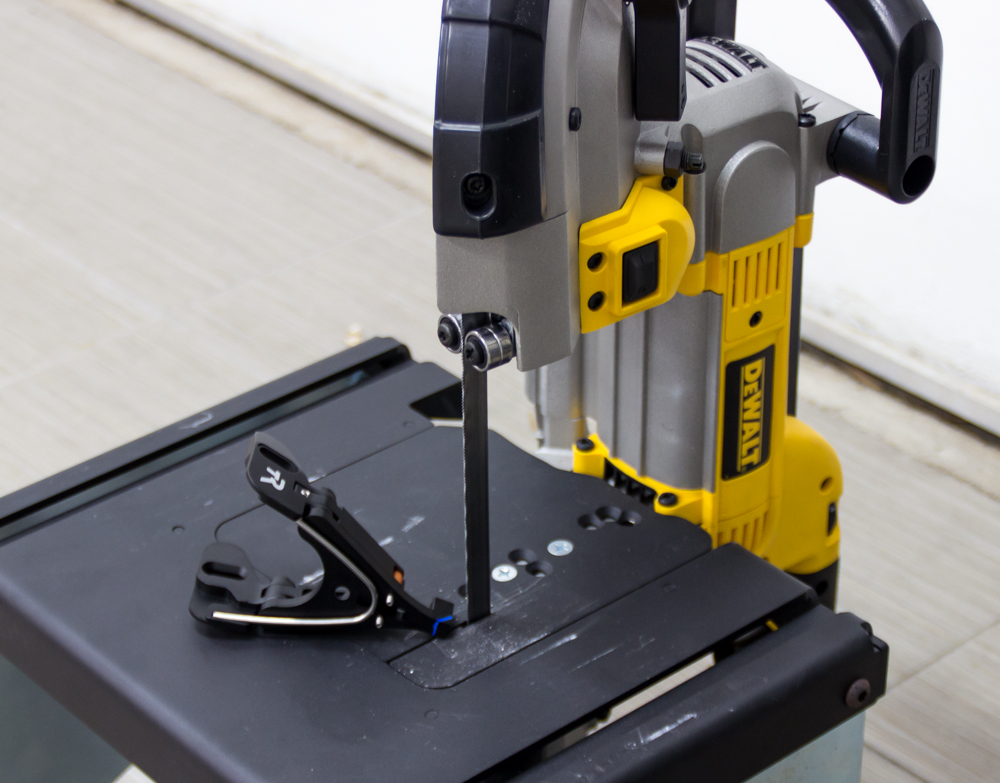
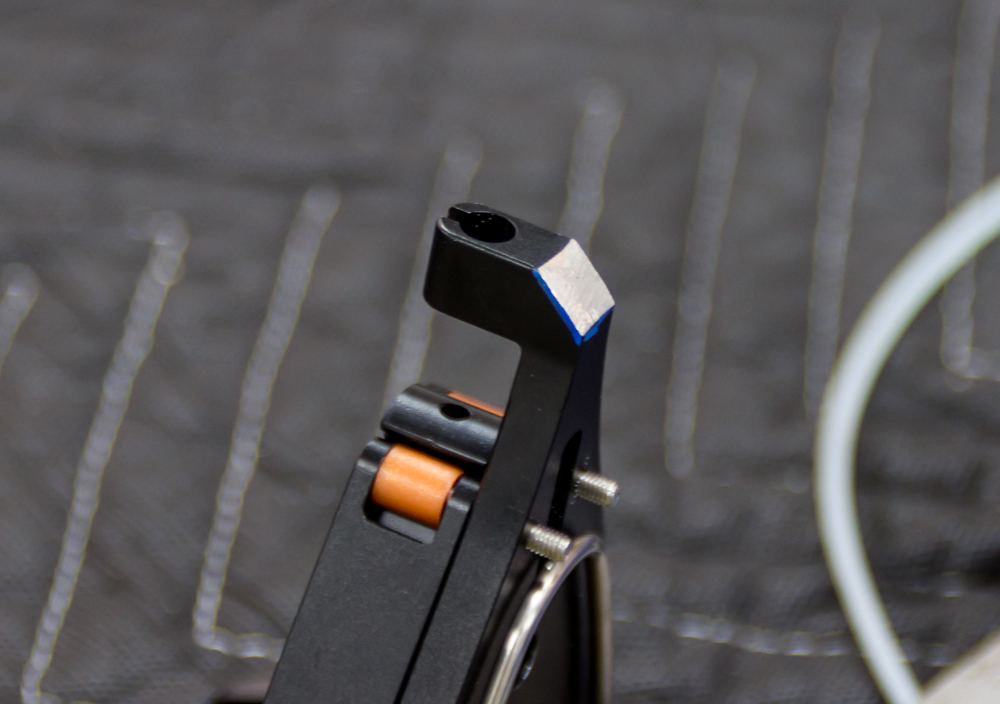
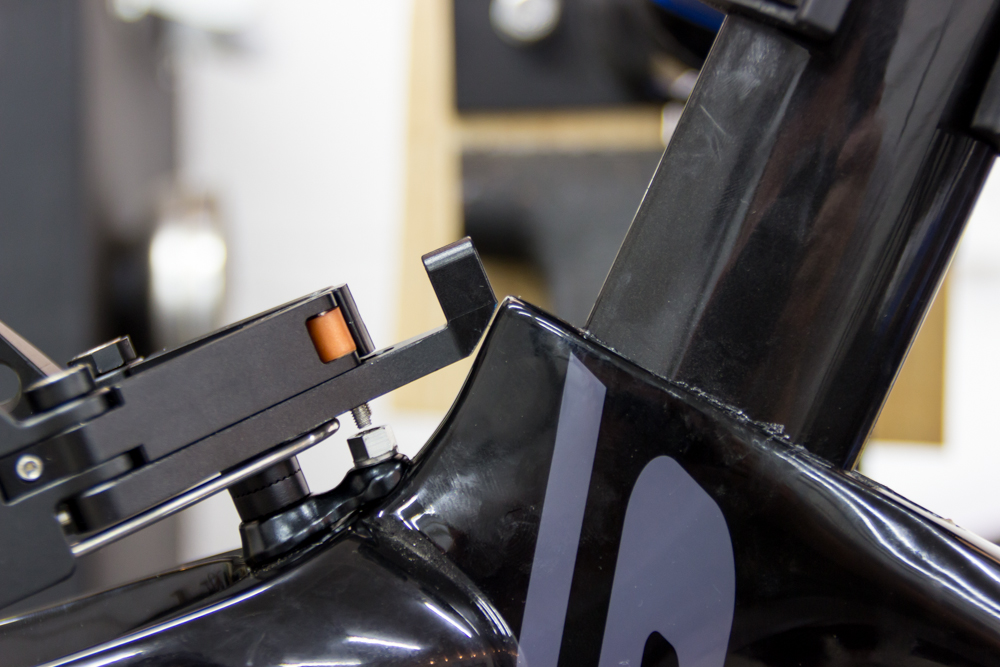
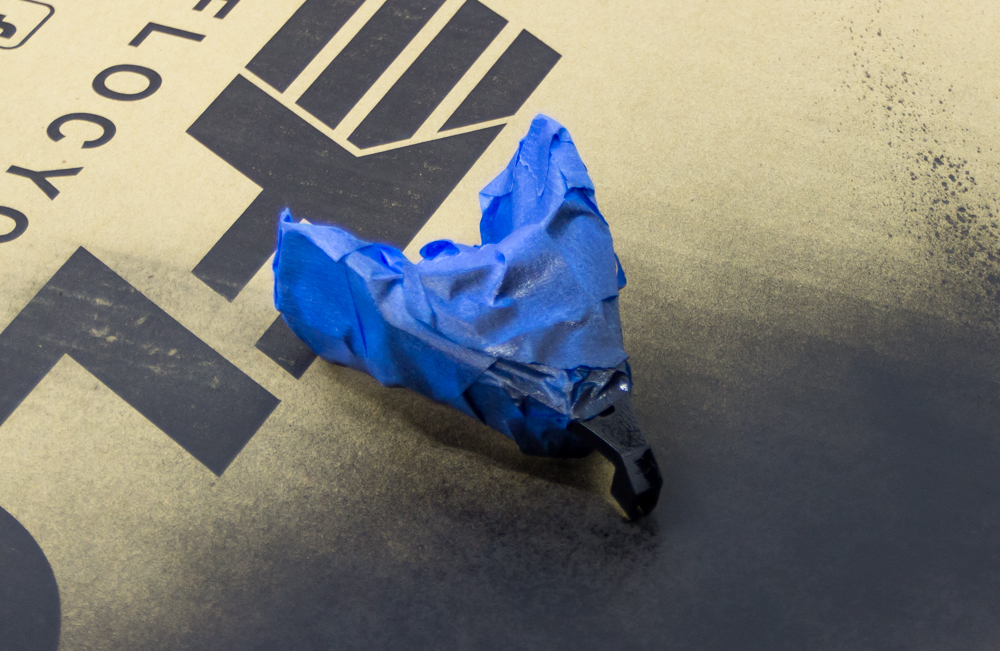
The other piece that wasn't super straight forward was the rear brake. I didn't like how it fit right out of the box, so I sawed a bit of (hopefully) extraneous material off to clean it up.
So far, it's been a real treat to ride. The last thing to do is trim the steerer after I'm sure about my position.
I haven't added any commentary on the photos because I think they rather explain themselves, but I like talking about bikes, so any questions/comments are welcome! I hope you enjoy-
damen

I have all these and more photos with commentary on my site: http://29parallel.co
Cheers!


