

My $2k limit WW Project! [BUILD COMPLETE]
Moderators: MrCurrieinahurry, maxim809, Moderator Team


Visit starbike.com Online Retailer for HighEnd cycling components
Great Prices ✓ Broad Selection ✓ Worldwide Delivery ✓
www.starbike.com
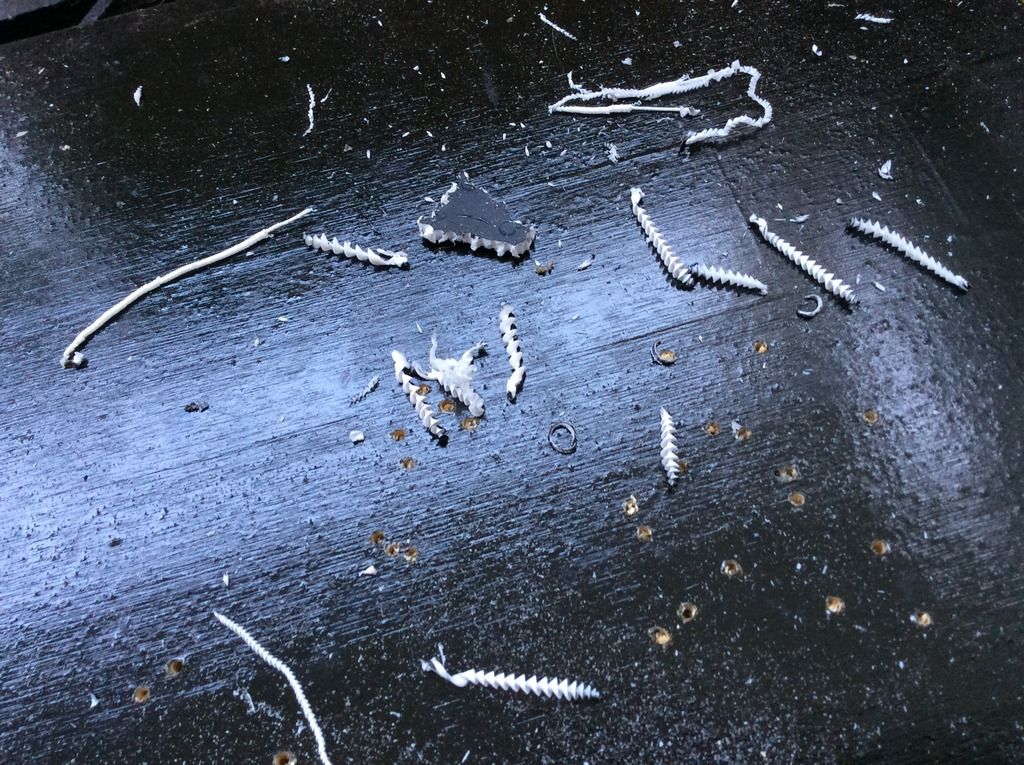
Ok back to the Garmin mount. After it was all painted and 'finished'... I decided that for this site - drilling was needed. So decided to take some weight off. I'll weigh it again tomorrow after it's dry.


My Titanium Bike And Photo Blog
http://weightweenies.starbike.com/forum ... 5#p1246304
My $2k 12lb build Adventure!
viewtopic.php?f=10&t=133246&p=1151147#p1149264
http://weightweenies.starbike.com/forum ... 5#p1246304
My $2k 12lb build Adventure!
viewtopic.php?f=10&t=133246&p=1151147#p1149264
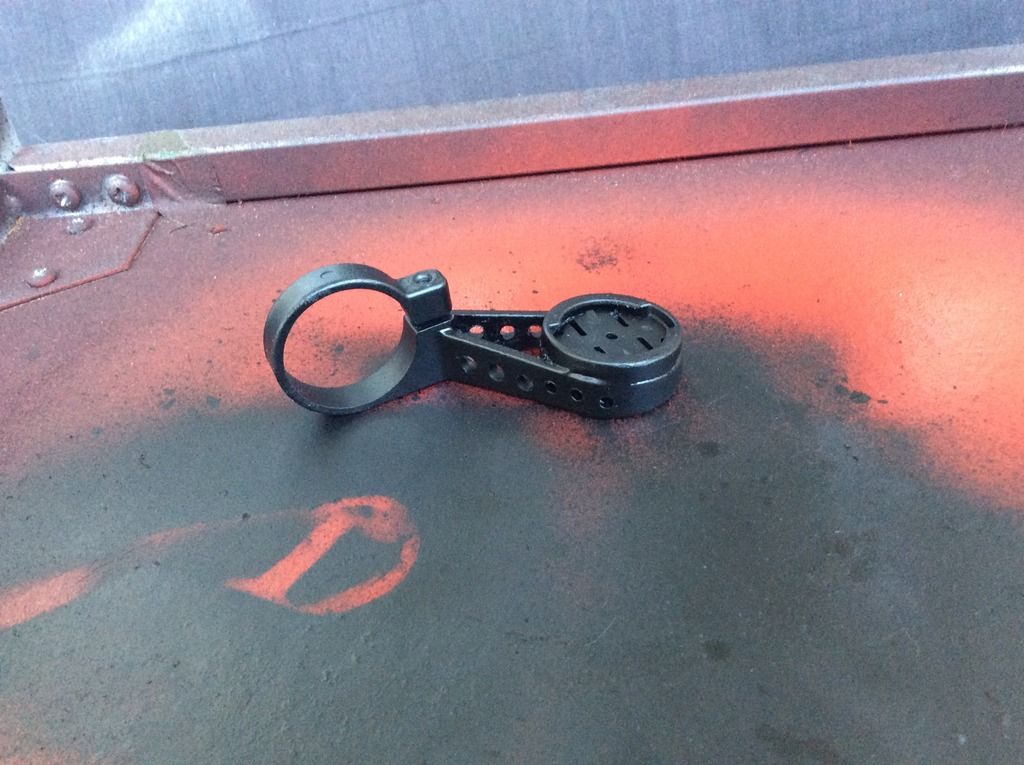
At first - the Garmin wouldn't fit into the mount. The reason being that the clearance is so tight - the ultra thin layer of paint was preventing it from turning. Had to scrape the paint off the twisting mechanism - then it works fine.
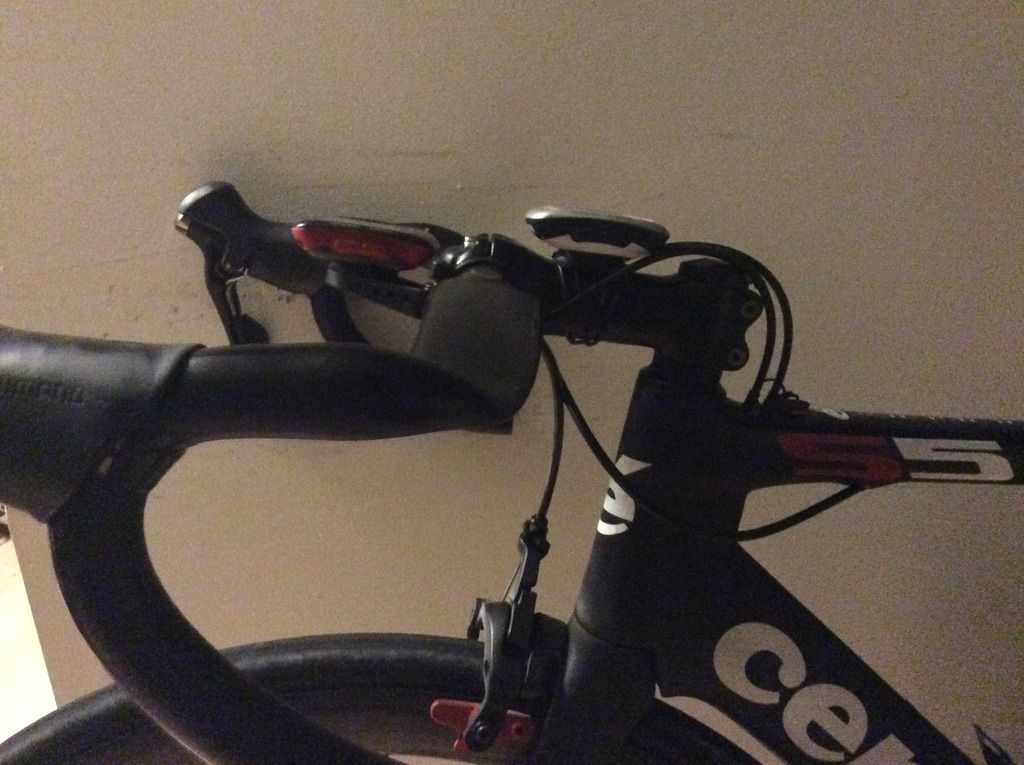
It's not like there is a huge difference in height using it over, or under - but it's noticeable when you're in the cockpit. The good news is the adhesive works great - and I now have a double sided Bar Fly mount
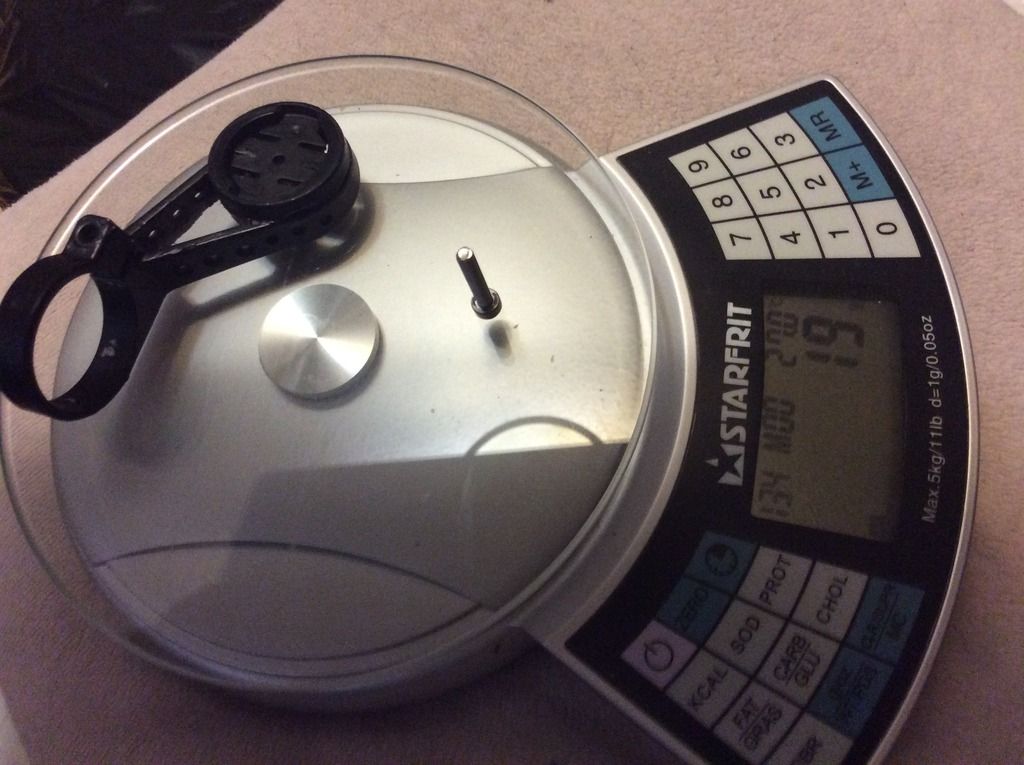
Here is the mount on my S5, working as an 'over' and then working as an 'under' mount - compared to where I was planning to mount it on my new build. Even with all the holes drilled - it's completely solid. I'll take it on my ride tomorrow and try it out. Only 2 grams were saved throughout the process. Regardless, I will add this to my build list - and add the extra weight to the total.
Over mount:
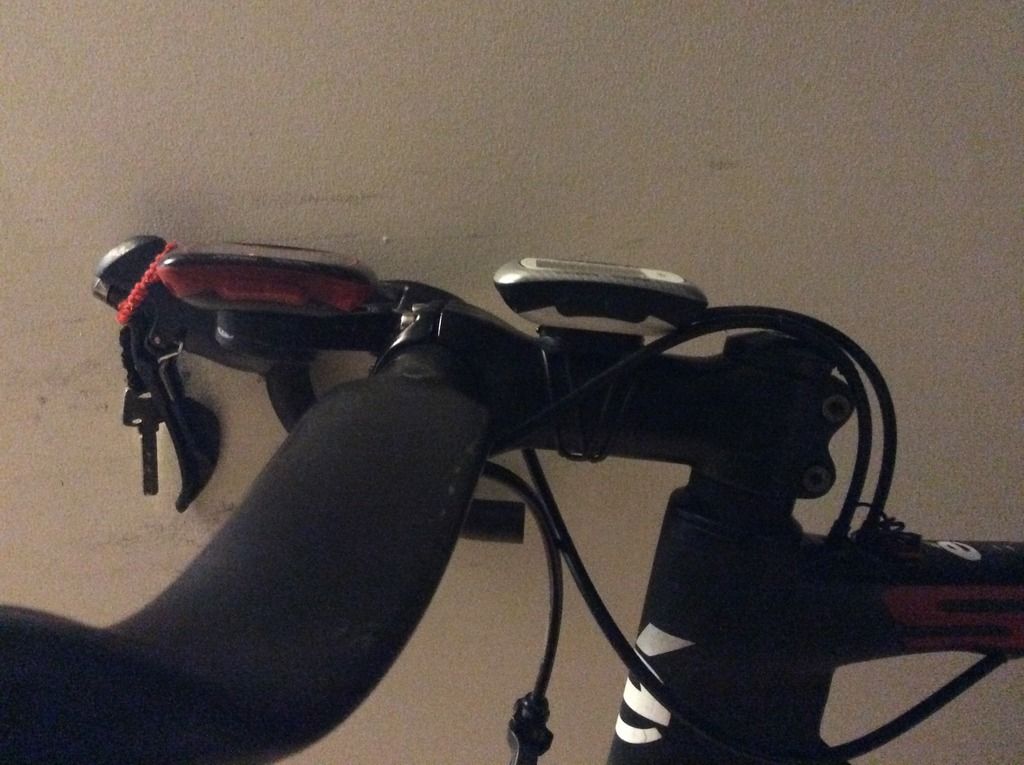
Under mount
It's not like there is a huge difference in height using it over, or under - but it's noticeable when you're in the cockpit. The good news is the adhesive works great - and I now have a double sided Bar Fly mount
Here is the mount on my S5, working as an 'over' and then working as an 'under' mount - compared to where I was planning to mount it on my new build. Even with all the holes drilled - it's completely solid. I'll take it on my ride tomorrow and try it out. Only 2 grams were saved throughout the process. Regardless, I will add this to my build list - and add the extra weight to the total.

Over mount:

Under mount

My Titanium Bike And Photo Blog
http://weightweenies.starbike.com/forum ... 5#p1246304
My $2k 12lb build Adventure!
viewtopic.php?f=10&t=133246&p=1151147#p1149264
http://weightweenies.starbike.com/forum ... 5#p1246304
My $2k 12lb build Adventure!
viewtopic.php?f=10&t=133246&p=1151147#p1149264
http://www.ebay.com/itm/DOVAL-Aero-Disc ... 3f4eae1d15
i have allready use, at time i like it, the ovalization is completely oposite to my rotor qxl
i have allready use, at time i like it, the ovalization is completely oposite to my rotor qxl
The ones listed above are the Aero rings. There is also the Road Light rings which I ordered:
http://www.ebay.com/itm/361183078498?_t ... EBIDX%3AIT
http://www.ebay.com/itm/361183078498?_t ... EBIDX%3AIT
My Titanium Bike And Photo Blog
http://weightweenies.starbike.com/forum ... 5#p1246304
My $2k 12lb build Adventure!
viewtopic.php?f=10&t=133246&p=1151147#p1149264
http://weightweenies.starbike.com/forum ... 5#p1246304
My $2k 12lb build Adventure!
viewtopic.php?f=10&t=133246&p=1151147#p1149264
Time to tape a tire. This is my first time ever mounting a tubular tire. I've used Tubular tires before just a bit - but only on my track bike and TT bike - and those were glued by a mechanic. For all you experience tubular guys this will be old news, but for anyone else who is also trying this for the fist time I hope this helps. Let's see how easy this is for a newbie....
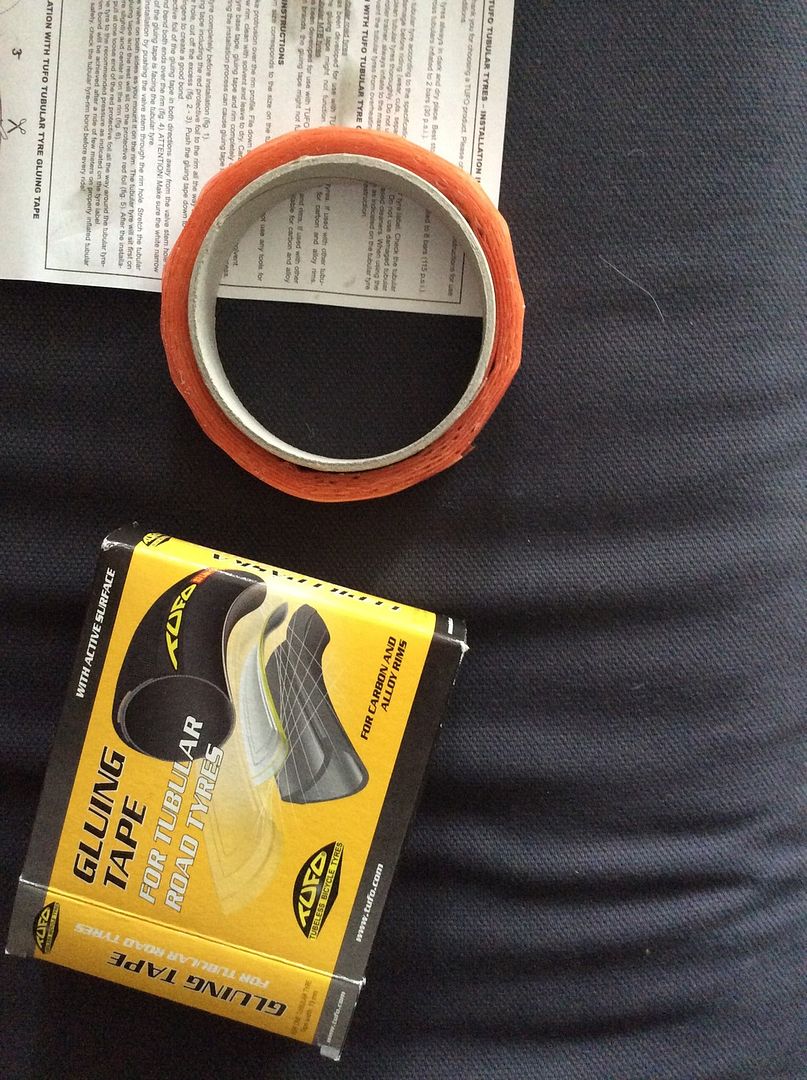
Wrapping the tape around is very straight forward. At one point I went a little off centre and it's very easy to peal it back up and replace it.
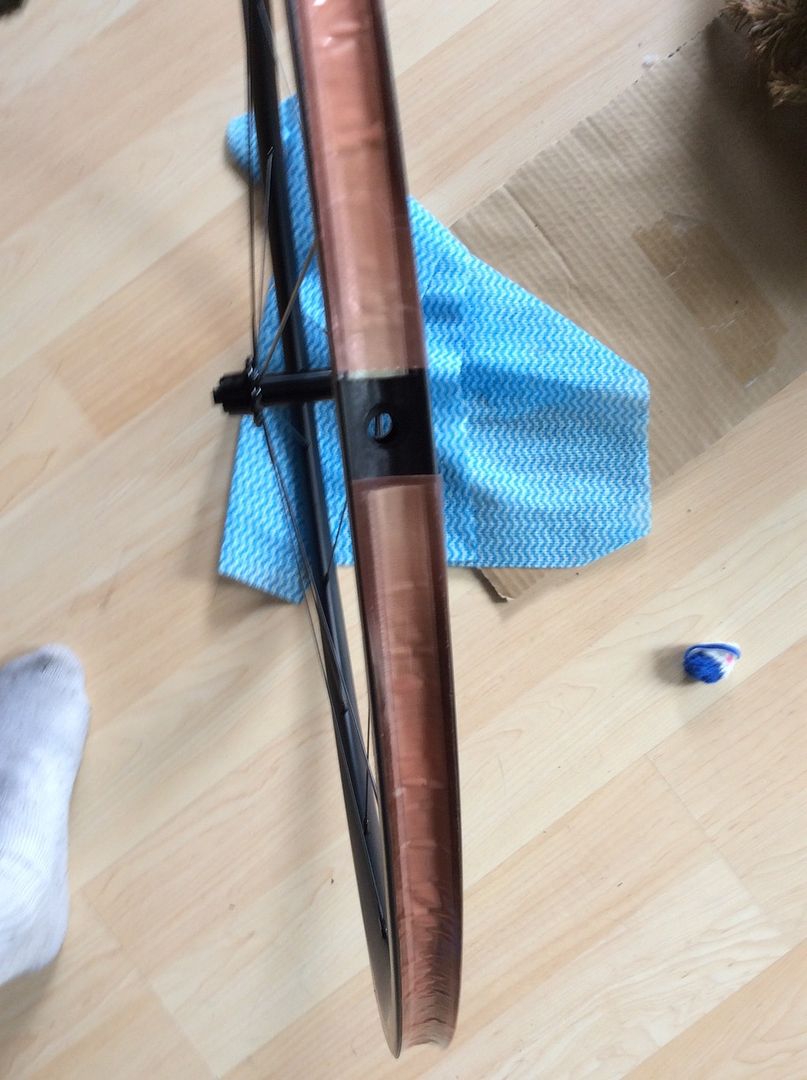
As per the instructions, lift up a few inches from each side of the valve hole exposing the sticky tape and bend them over the side. I used a little tape to help.
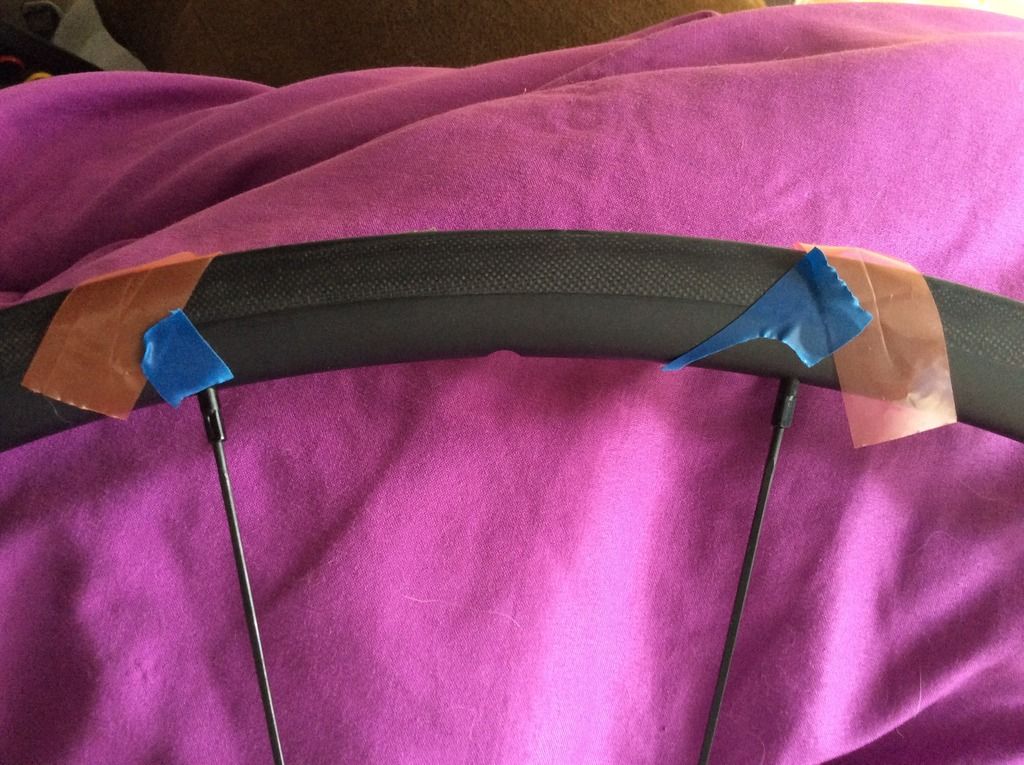
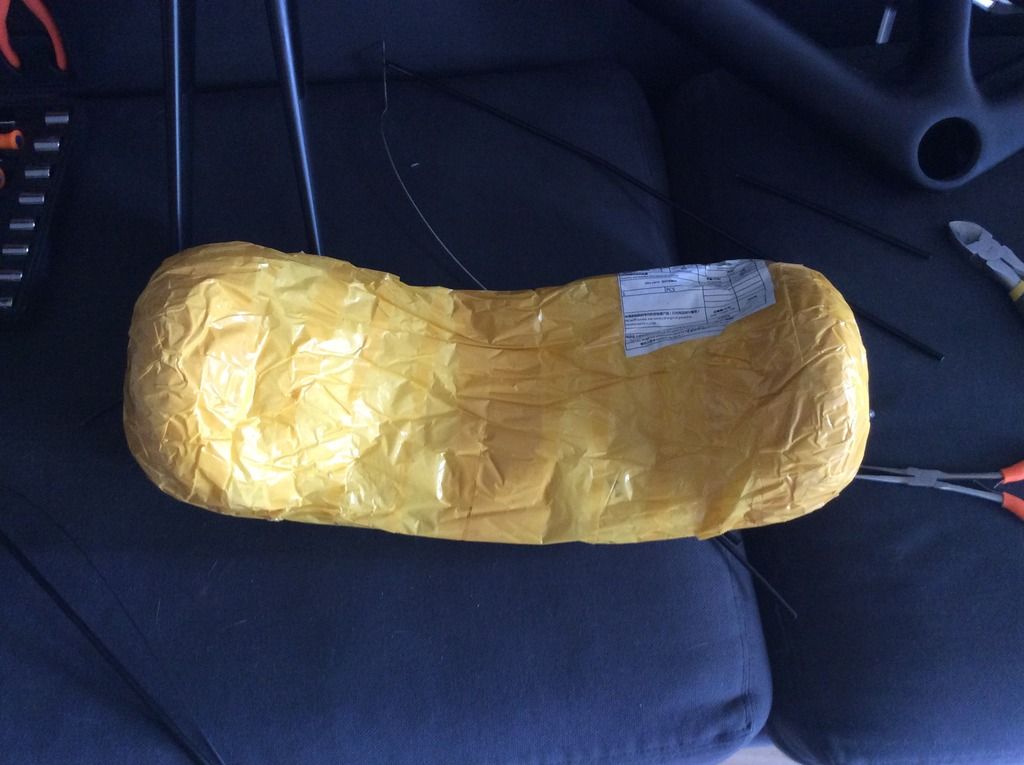
Start the tire with the valve, then place on rim. I pre stretched this tire for 2 days so it went on literally in seconds.
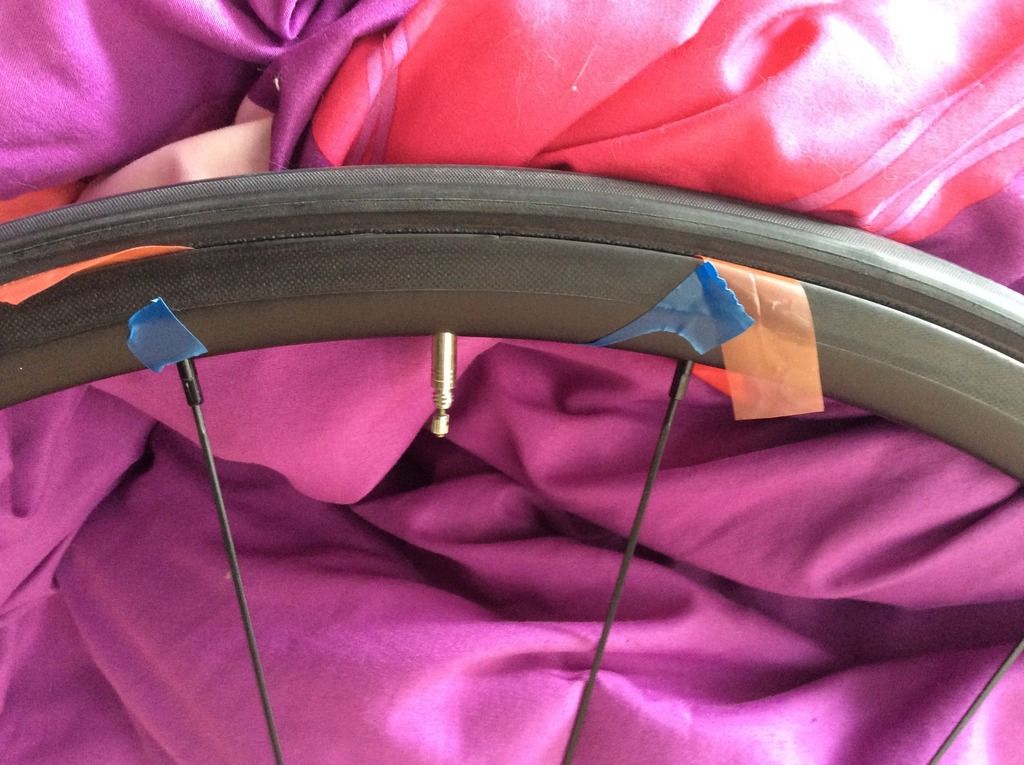
Finally - pulled the red tape out and done! Time to weigh!
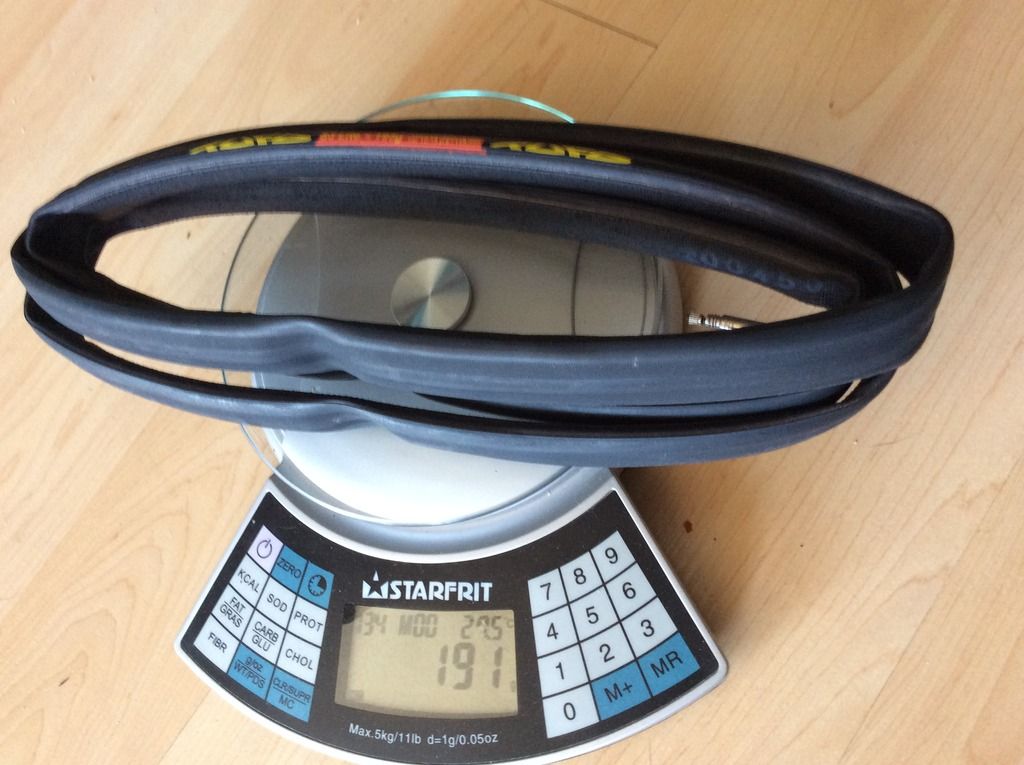
BEFORE the tape : 600g

AFTER the tape : 630g
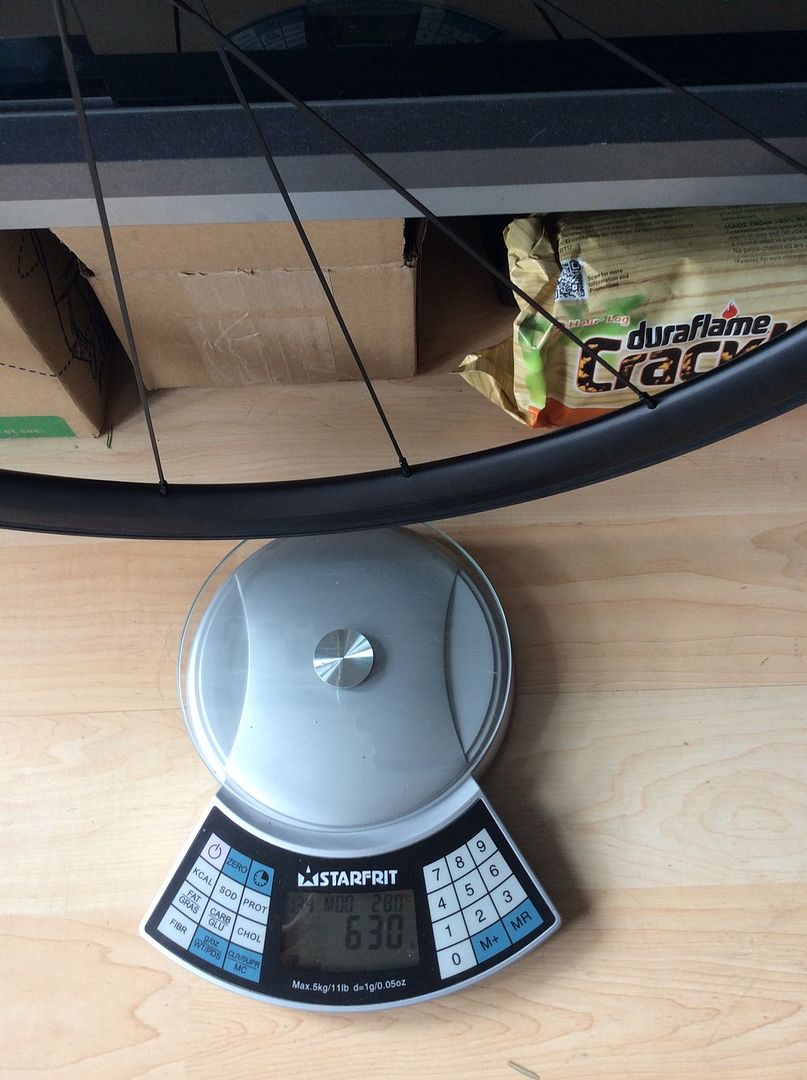
So - 30g of tape per wheel... Added to the build total.
In all - I rate this a 2/10 for difficulty. It took about 5 - 10 minutes, and the slowest part is just making sure the tape is entered in the rim - I guess you could do it without pre stretching the tire - but it sure made it that much easier.

Wrapping the tape around is very straight forward. At one point I went a little off centre and it's very easy to peal it back up and replace it.

As per the instructions, lift up a few inches from each side of the valve hole exposing the sticky tape and bend them over the side. I used a little tape to help.

Start the tire with the valve, then place on rim. I pre stretched this tire for 2 days so it went on literally in seconds.

Finally - pulled the red tape out and done! Time to weigh!
BEFORE the tape : 600g

AFTER the tape : 630g

So - 30g of tape per wheel... Added to the build total.
In all - I rate this a 2/10 for difficulty. It took about 5 - 10 minutes, and the slowest part is just making sure the tape is entered in the rim - I guess you could do it without pre stretching the tire - but it sure made it that much easier.
My Titanium Bike And Photo Blog
http://weightweenies.starbike.com/forum ... 5#p1246304
My $2k 12lb build Adventure!
viewtopic.php?f=10&t=133246&p=1151147#p1149264
http://weightweenies.starbike.com/forum ... 5#p1246304
My $2k 12lb build Adventure!
viewtopic.php?f=10&t=133246&p=1151147#p1149264
FINALLY!!!!
Have been waiting for the bars to show up - they are the last main part of the bike I need. Just waiting on the skewers, and a tire - both of which I will have by Friday...
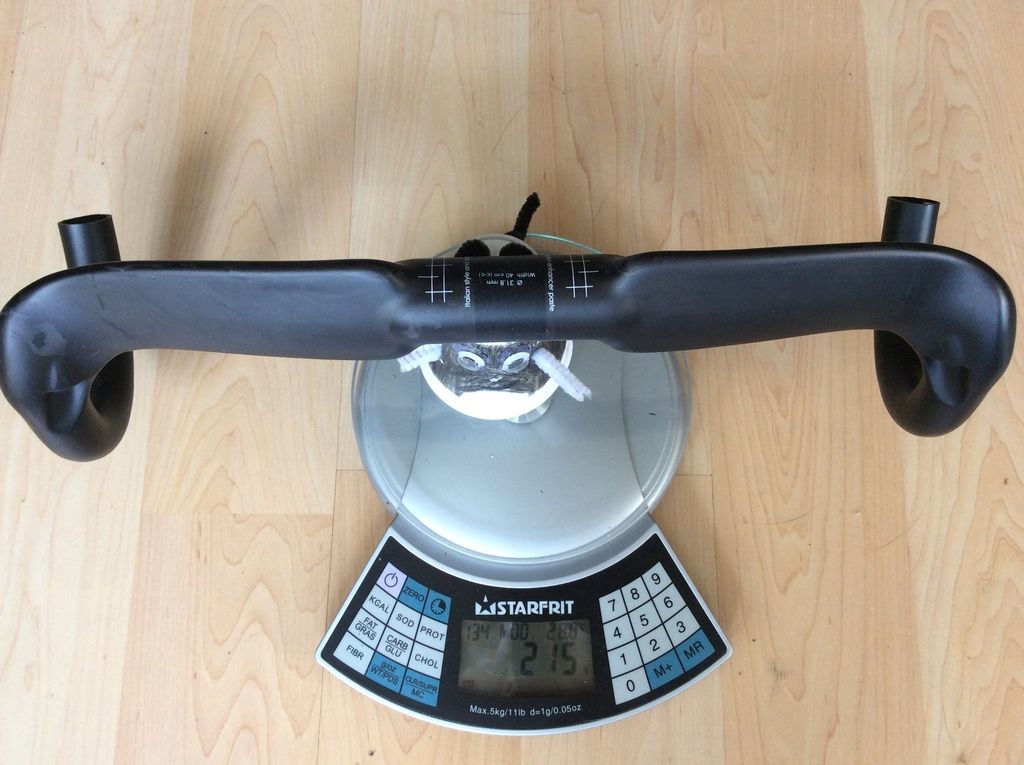
There's not much to do now... the brakes are cabled... as well as the derailleurs - but just not finalized as the crank and BB are going in tomorrow. Just have to cut the seat post. And then... that's really about it... I'll tape the rear tire Friday - throw on the new skewers and bottle cages and it's done!
Should be ready by Friday (2 days from now)
Have been waiting for the bars to show up - they are the last main part of the bike I need. Just waiting on the skewers, and a tire - both of which I will have by Friday...


There's not much to do now... the brakes are cabled... as well as the derailleurs - but just not finalized as the crank and BB are going in tomorrow. Just have to cut the seat post. And then... that's really about it... I'll tape the rear tire Friday - throw on the new skewers and bottle cages and it's done!
Should be ready by Friday (2 days from now)
My Titanium Bike And Photo Blog
http://weightweenies.starbike.com/forum ... 5#p1246304
My $2k 12lb build Adventure!
viewtopic.php?f=10&t=133246&p=1151147#p1149264
http://weightweenies.starbike.com/forum ... 5#p1246304
My $2k 12lb build Adventure!
viewtopic.php?f=10&t=133246&p=1151147#p1149264
ALMOST DONE!!!
TOTAL # OF PARTS TO ASSEMBLE - 29
# OF PARTS NOW ASSEMBLED - 24 - PARTS REMAINING - 05
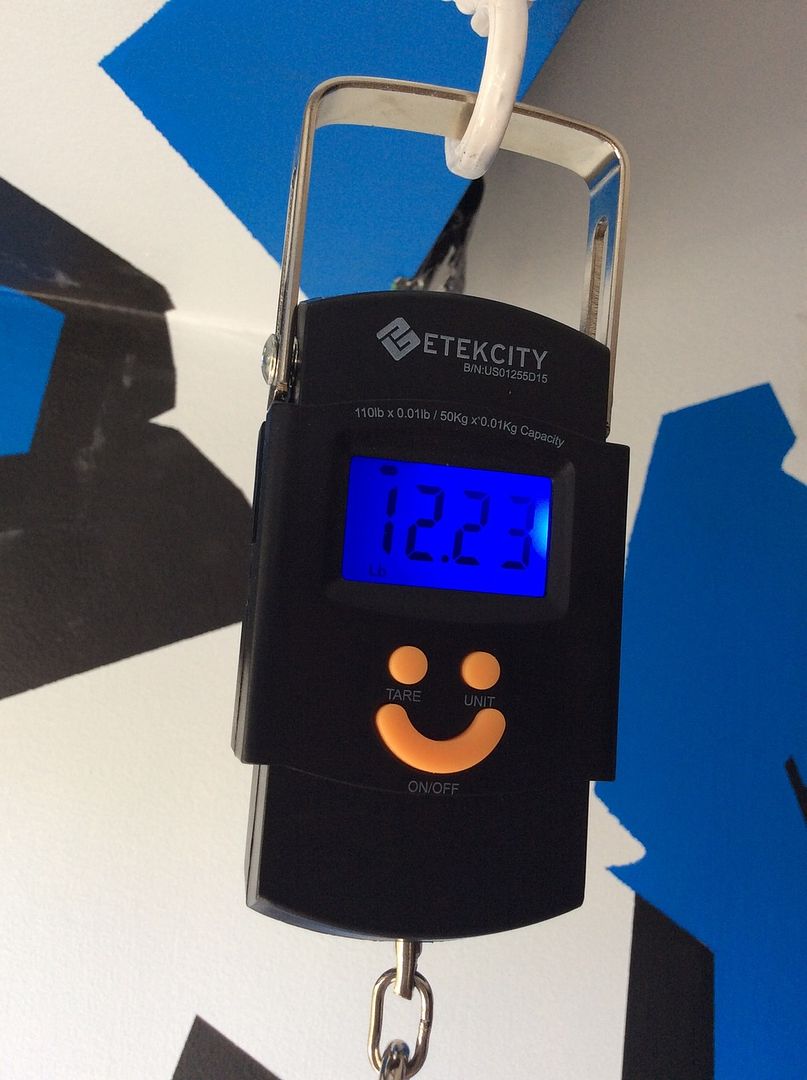
WEIGHT OF CURRENT ASSEMBLY - 5089g / 11.22lbs
I took it to LBS to get the BB/Crank installed.
I had to put on a pair of temporary steel skewers - (they weigh 105g!!!! that's included in the weight listed above) - and the rear tire is not mine - it's a 205g tempo 22 (15g heavier) i borrowed until i get my rear tire tomorrow.
The only parts missing are peddles, saddle, seat post and a bottle cage and the seat post clamp.
Otherwise this weight is for everything else assembled.
11.22lbs - 5089g
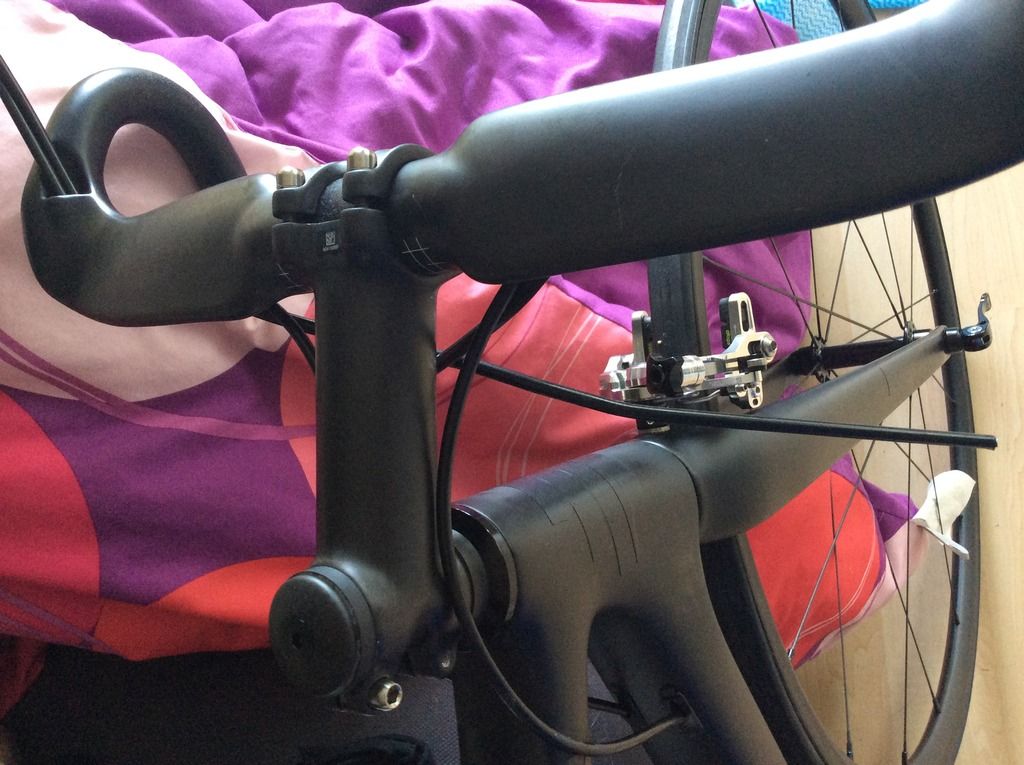
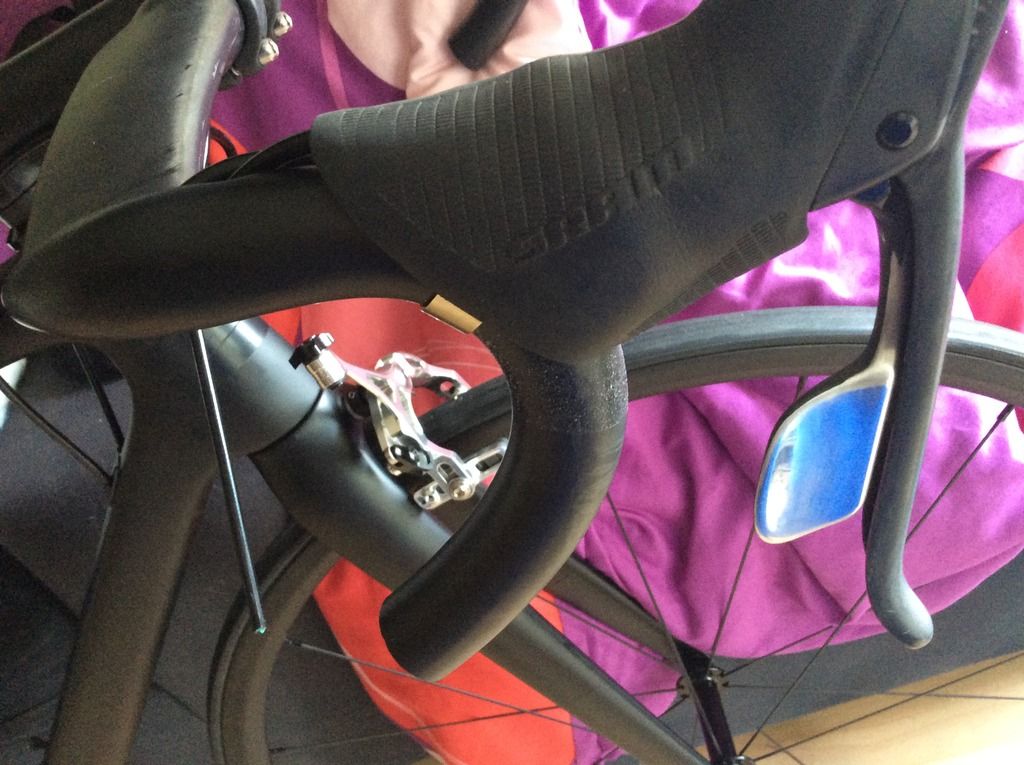
And a few quick teasers....
In the next day I will cut the seat post - assemble it with the saddle. install peddles. I need to paint that top spacer on the stem matte black.... Install bottle cage...
I get the skewers tomorrow. I will also tape the tire tomorrow.
then DONE!
TOTAL # OF PARTS TO ASSEMBLE - 29
# OF PARTS NOW ASSEMBLED - 24 - PARTS REMAINING - 05
WEIGHT OF CURRENT ASSEMBLY - 5089g / 11.22lbs
I took it to LBS to get the BB/Crank installed.
I had to put on a pair of temporary steel skewers - (they weigh 105g!!!! that's included in the weight listed above) - and the rear tire is not mine - it's a 205g tempo 22 (15g heavier) i borrowed until i get my rear tire tomorrow.
The only parts missing are peddles, saddle, seat post and a bottle cage and the seat post clamp.
Otherwise this weight is for everything else assembled.
11.22lbs - 5089g

And a few quick teasers....


In the next day I will cut the seat post - assemble it with the saddle. install peddles. I need to paint that top spacer on the stem matte black.... Install bottle cage...
I get the skewers tomorrow. I will also tape the tire tomorrow.
then DONE!
My Titanium Bike And Photo Blog
http://weightweenies.starbike.com/forum ... 5#p1246304
My $2k 12lb build Adventure!
viewtopic.php?f=10&t=133246&p=1151147#p1149264
http://weightweenies.starbike.com/forum ... 5#p1246304
My $2k 12lb build Adventure!
viewtopic.php?f=10&t=133246&p=1151147#p1149264
NEW SKEWERS
Love these. While these are more for TT where the wheels don't need to be pulled off as quick - I don't mind an extra 20 seconds to take off a wheel.
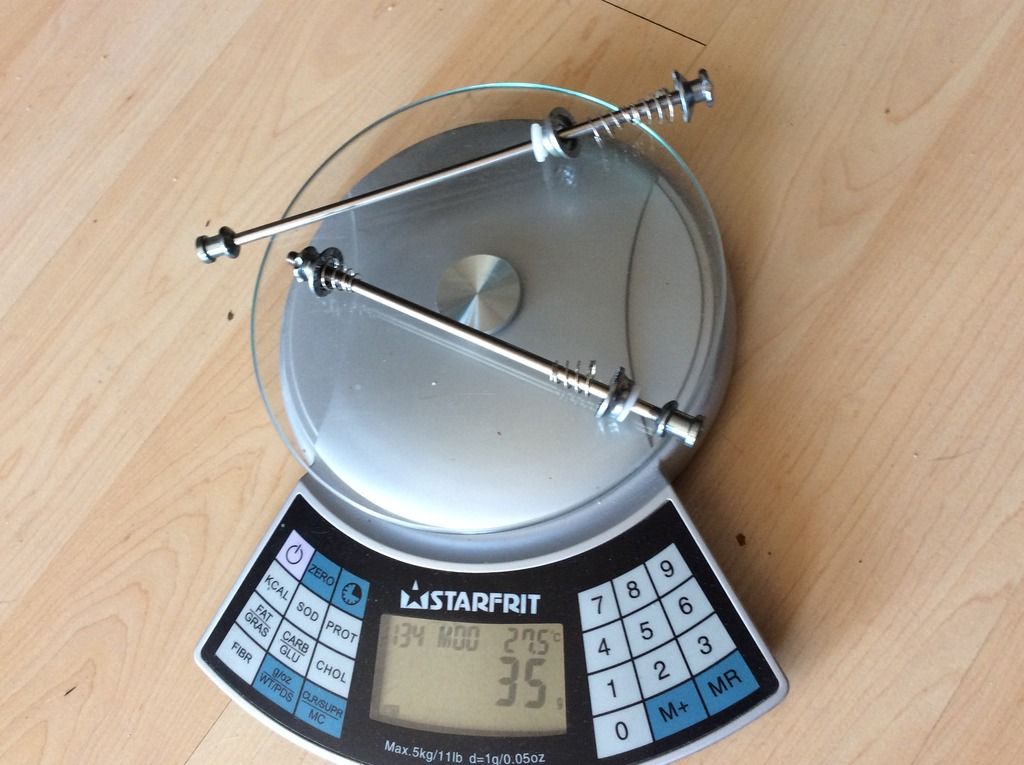
FINAL TIRE arrived. It's heavier than the first! OMG by 1g....
Love these. While these are more for TT where the wheels don't need to be pulled off as quick - I don't mind an extra 20 seconds to take off a wheel.

FINAL TIRE arrived. It's heavier than the first! OMG by 1g....

Last edited by McGilli on Fri Jul 17, 2015 7:51 pm, edited 2 times in total.
My Titanium Bike And Photo Blog
http://weightweenies.starbike.com/forum ... 5#p1246304
My $2k 12lb build Adventure!
viewtopic.php?f=10&t=133246&p=1151147#p1149264
http://weightweenies.starbike.com/forum ... 5#p1246304
My $2k 12lb build Adventure!
viewtopic.php?f=10&t=133246&p=1151147#p1149264
-
aronjancso
- Posts: 45
- Joined: Sun Dec 28, 2014 12:26 pm
- Location: Budapest, Hungary
- Contact:
Nice!
Or you can just remove the front wheel and weight it on the kitchen scale separately.
Or you can just remove the front wheel and weight it on the kitchen scale separately.
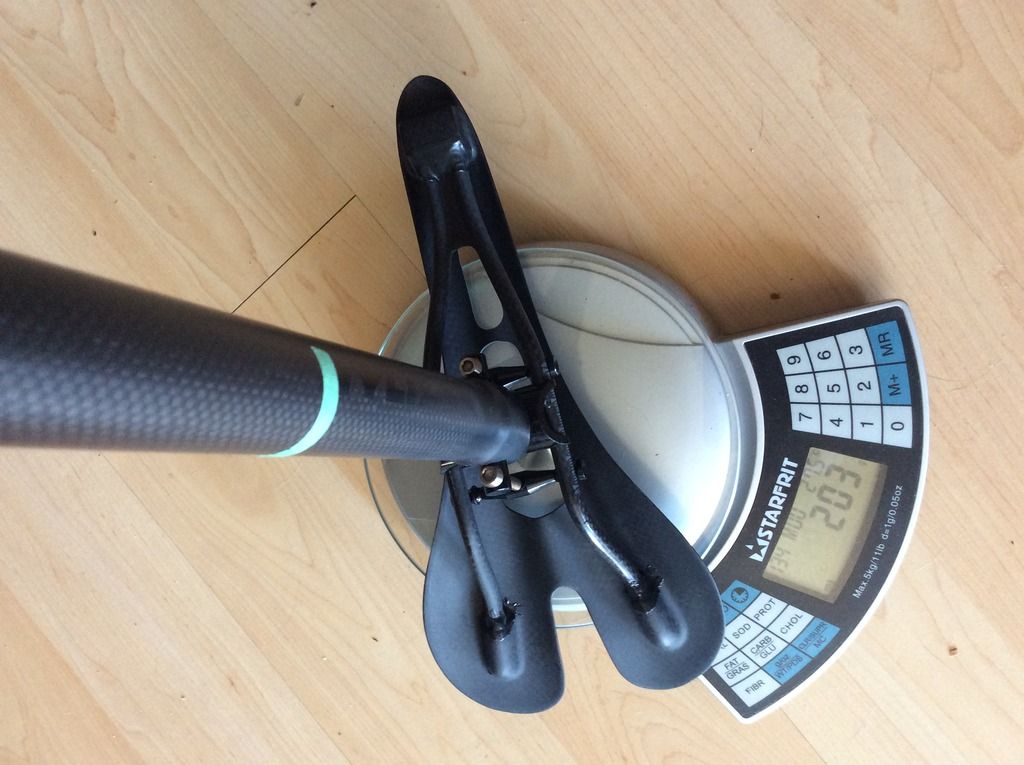
CHOPPED the seat post. with the saddle it weighs 203g.
saddle = 88g sp the seat post is now 115g
saddle = 88g sp the seat post is now 115g

My Titanium Bike And Photo Blog
http://weightweenies.starbike.com/forum ... 5#p1246304
My $2k 12lb build Adventure!
viewtopic.php?f=10&t=133246&p=1151147#p1149264
http://weightweenies.starbike.com/forum ... 5#p1246304
My $2k 12lb build Adventure!
viewtopic.php?f=10&t=133246&p=1151147#p1149264
aronjancso wrote:Nice!
Or you can just remove the front wheel and weight it on the kitchen scale separately.
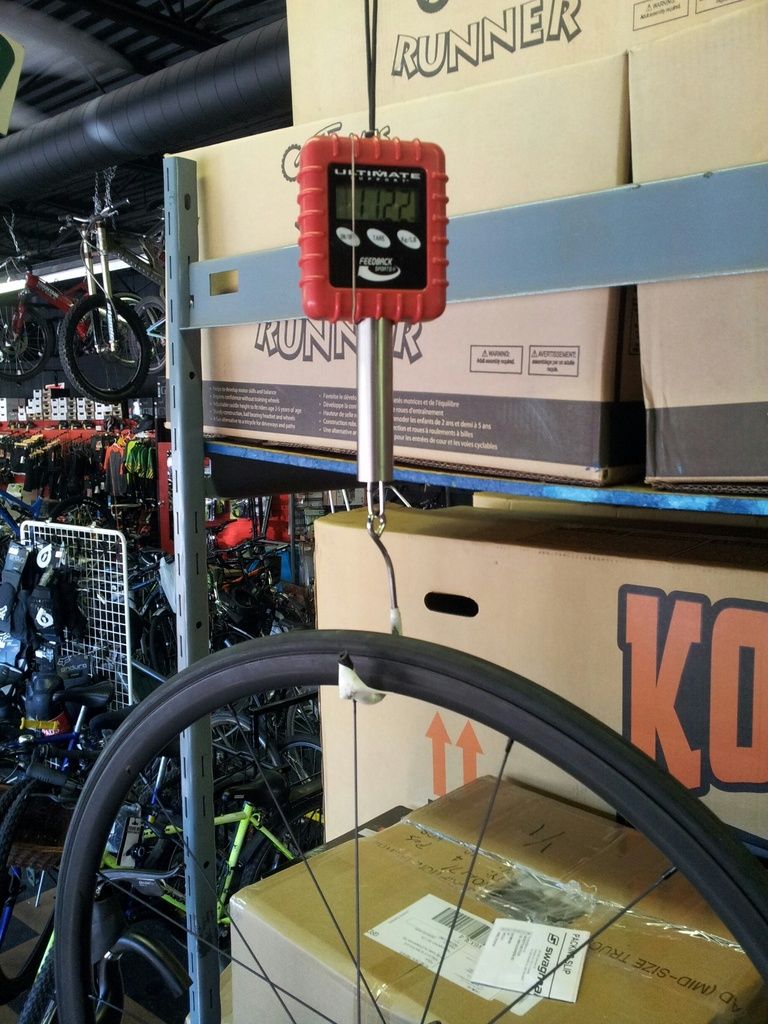
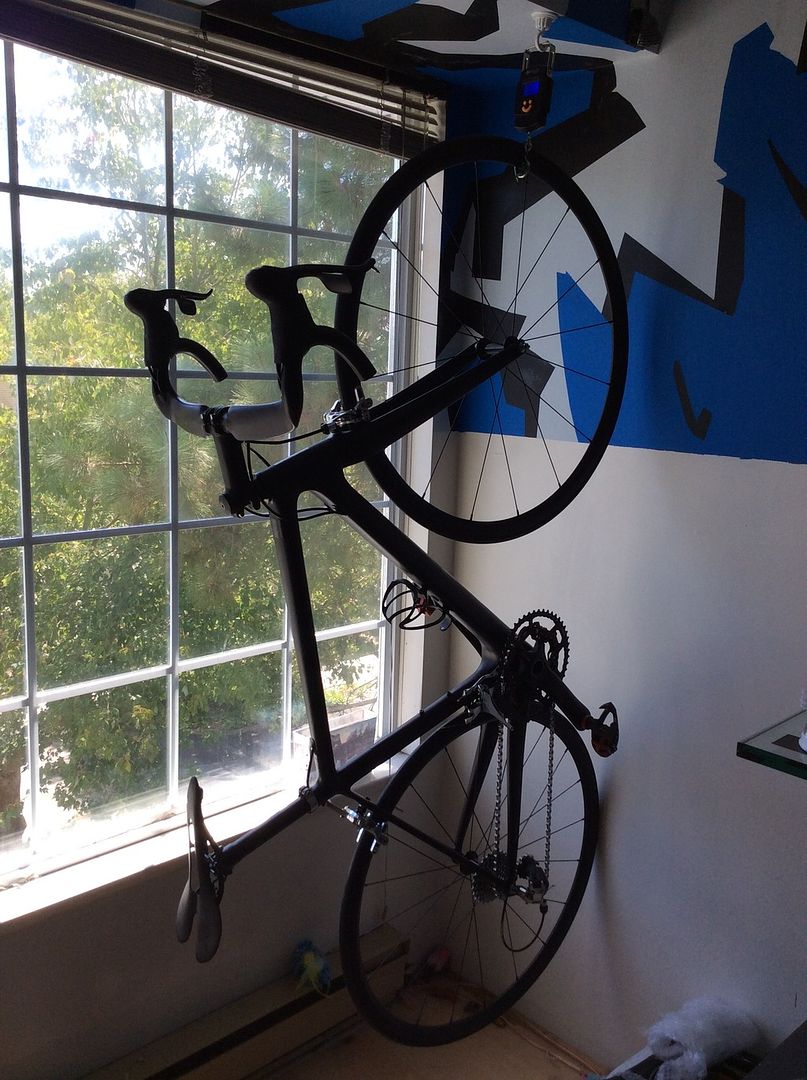
Yes thanks!
Actually - ha I forgot I bought a hanging scale for weighing the bike!
My Titanium Bike And Photo Blog
http://weightweenies.starbike.com/forum ... 5#p1246304
My $2k 12lb build Adventure!
viewtopic.php?f=10&t=133246&p=1151147#p1149264
http://weightweenies.starbike.com/forum ... 5#p1246304
My $2k 12lb build Adventure!
viewtopic.php?f=10&t=133246&p=1151147#p1149264
ALL PARTS IN HAND
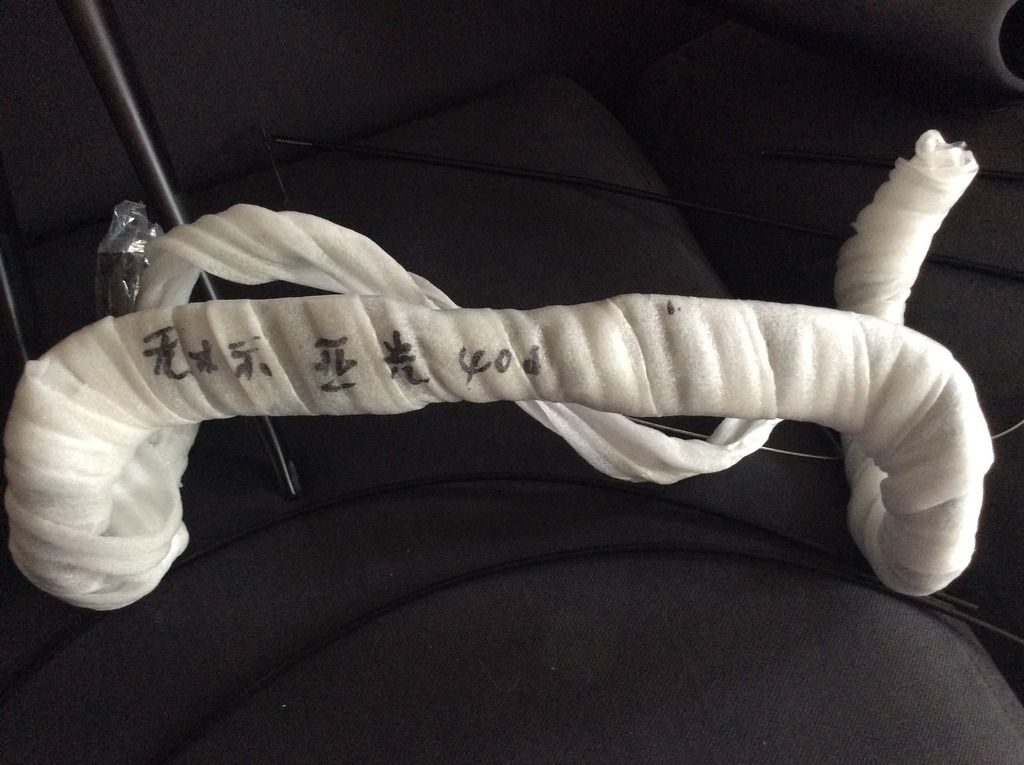
I'm just stretching the rear tire right now.
Once I get the tire installed and taped - I'll get the seat post and saddle finalized. Skewers are installed.
Final weight and pictures coming very soon...
I'm just stretching the rear tire right now.
Once I get the tire installed and taped - I'll get the seat post and saddle finalized. Skewers are installed.
Final weight and pictures coming very soon...
My Titanium Bike And Photo Blog
http://weightweenies.starbike.com/forum ... 5#p1246304
My $2k 12lb build Adventure!
viewtopic.php?f=10&t=133246&p=1151147#p1149264
http://weightweenies.starbike.com/forum ... 5#p1246304
My $2k 12lb build Adventure!
viewtopic.php?f=10&t=133246&p=1151147#p1149264
Visit starbike.com Online Retailer for HighEnd cycling components
Great Prices ✓ Broad Selection ✓ Worldwide Delivery ✓
www.starbike.com
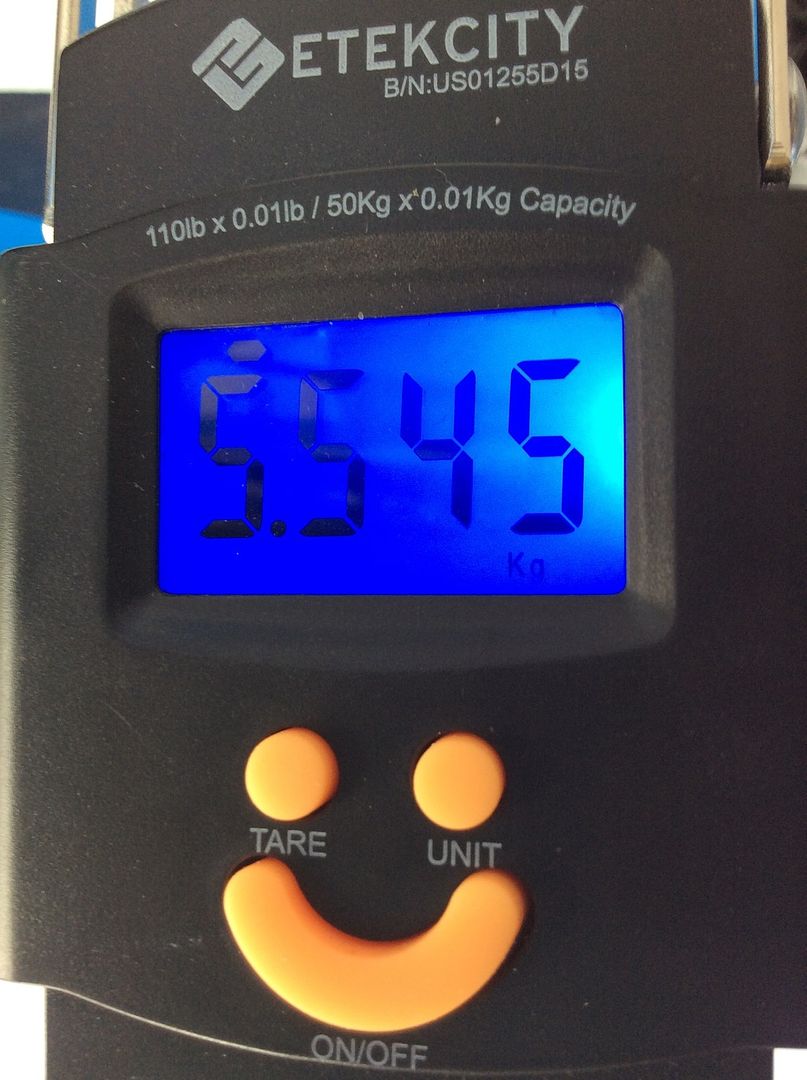
BUILD COMPLETE
I had this thing pegged at 5523 - and it came in at 5545 on my scale.
What I didn't account for was the cable housing out of the back to the rear derailleur, grease, lock tite and sweat
Here it is - as I am going to ride it. I've ended up ordering a Bar Fly 2 (which i removed from the parts list for now until it arrives) - which is about 20g or so - but otherwise this is it!
I'll get some real pictures soon after I've take it for a ride...


My Titanium Bike And Photo Blog
http://weightweenies.starbike.com/forum ... 5#p1246304
My $2k 12lb build Adventure!
viewtopic.php?f=10&t=133246&p=1151147#p1149264
http://weightweenies.starbike.com/forum ... 5#p1246304
My $2k 12lb build Adventure!
viewtopic.php?f=10&t=133246&p=1151147#p1149264


